
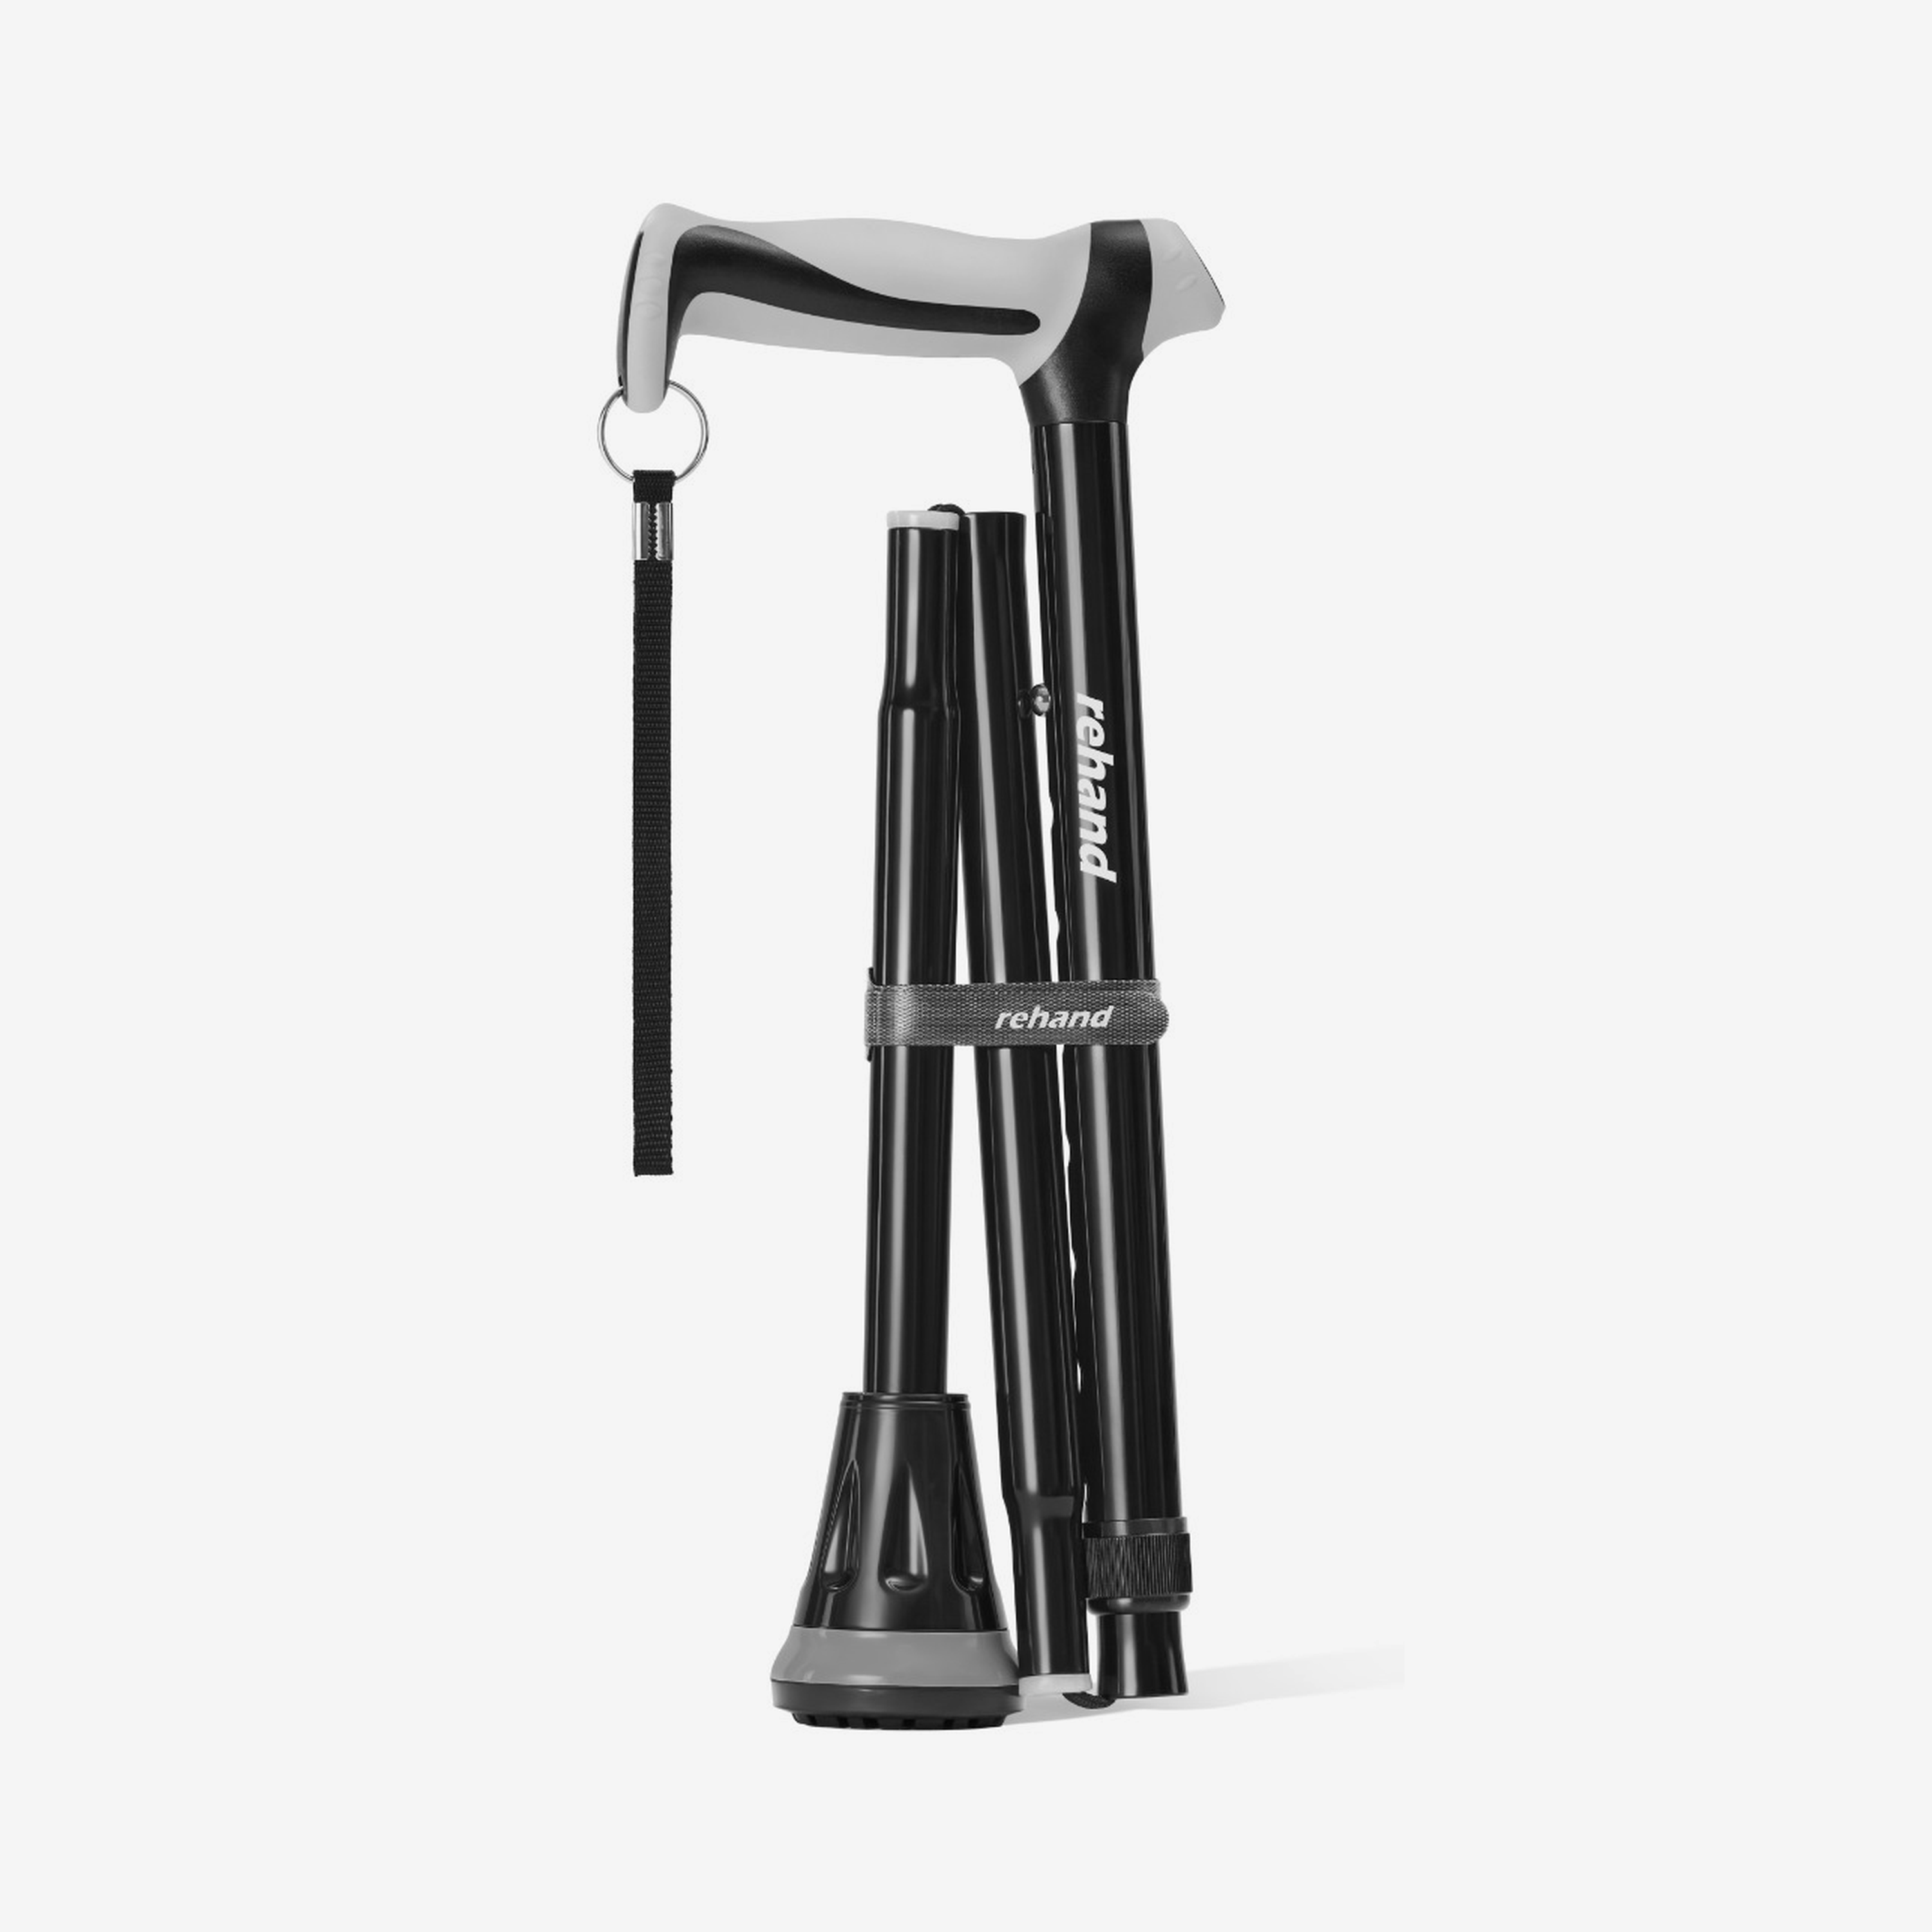
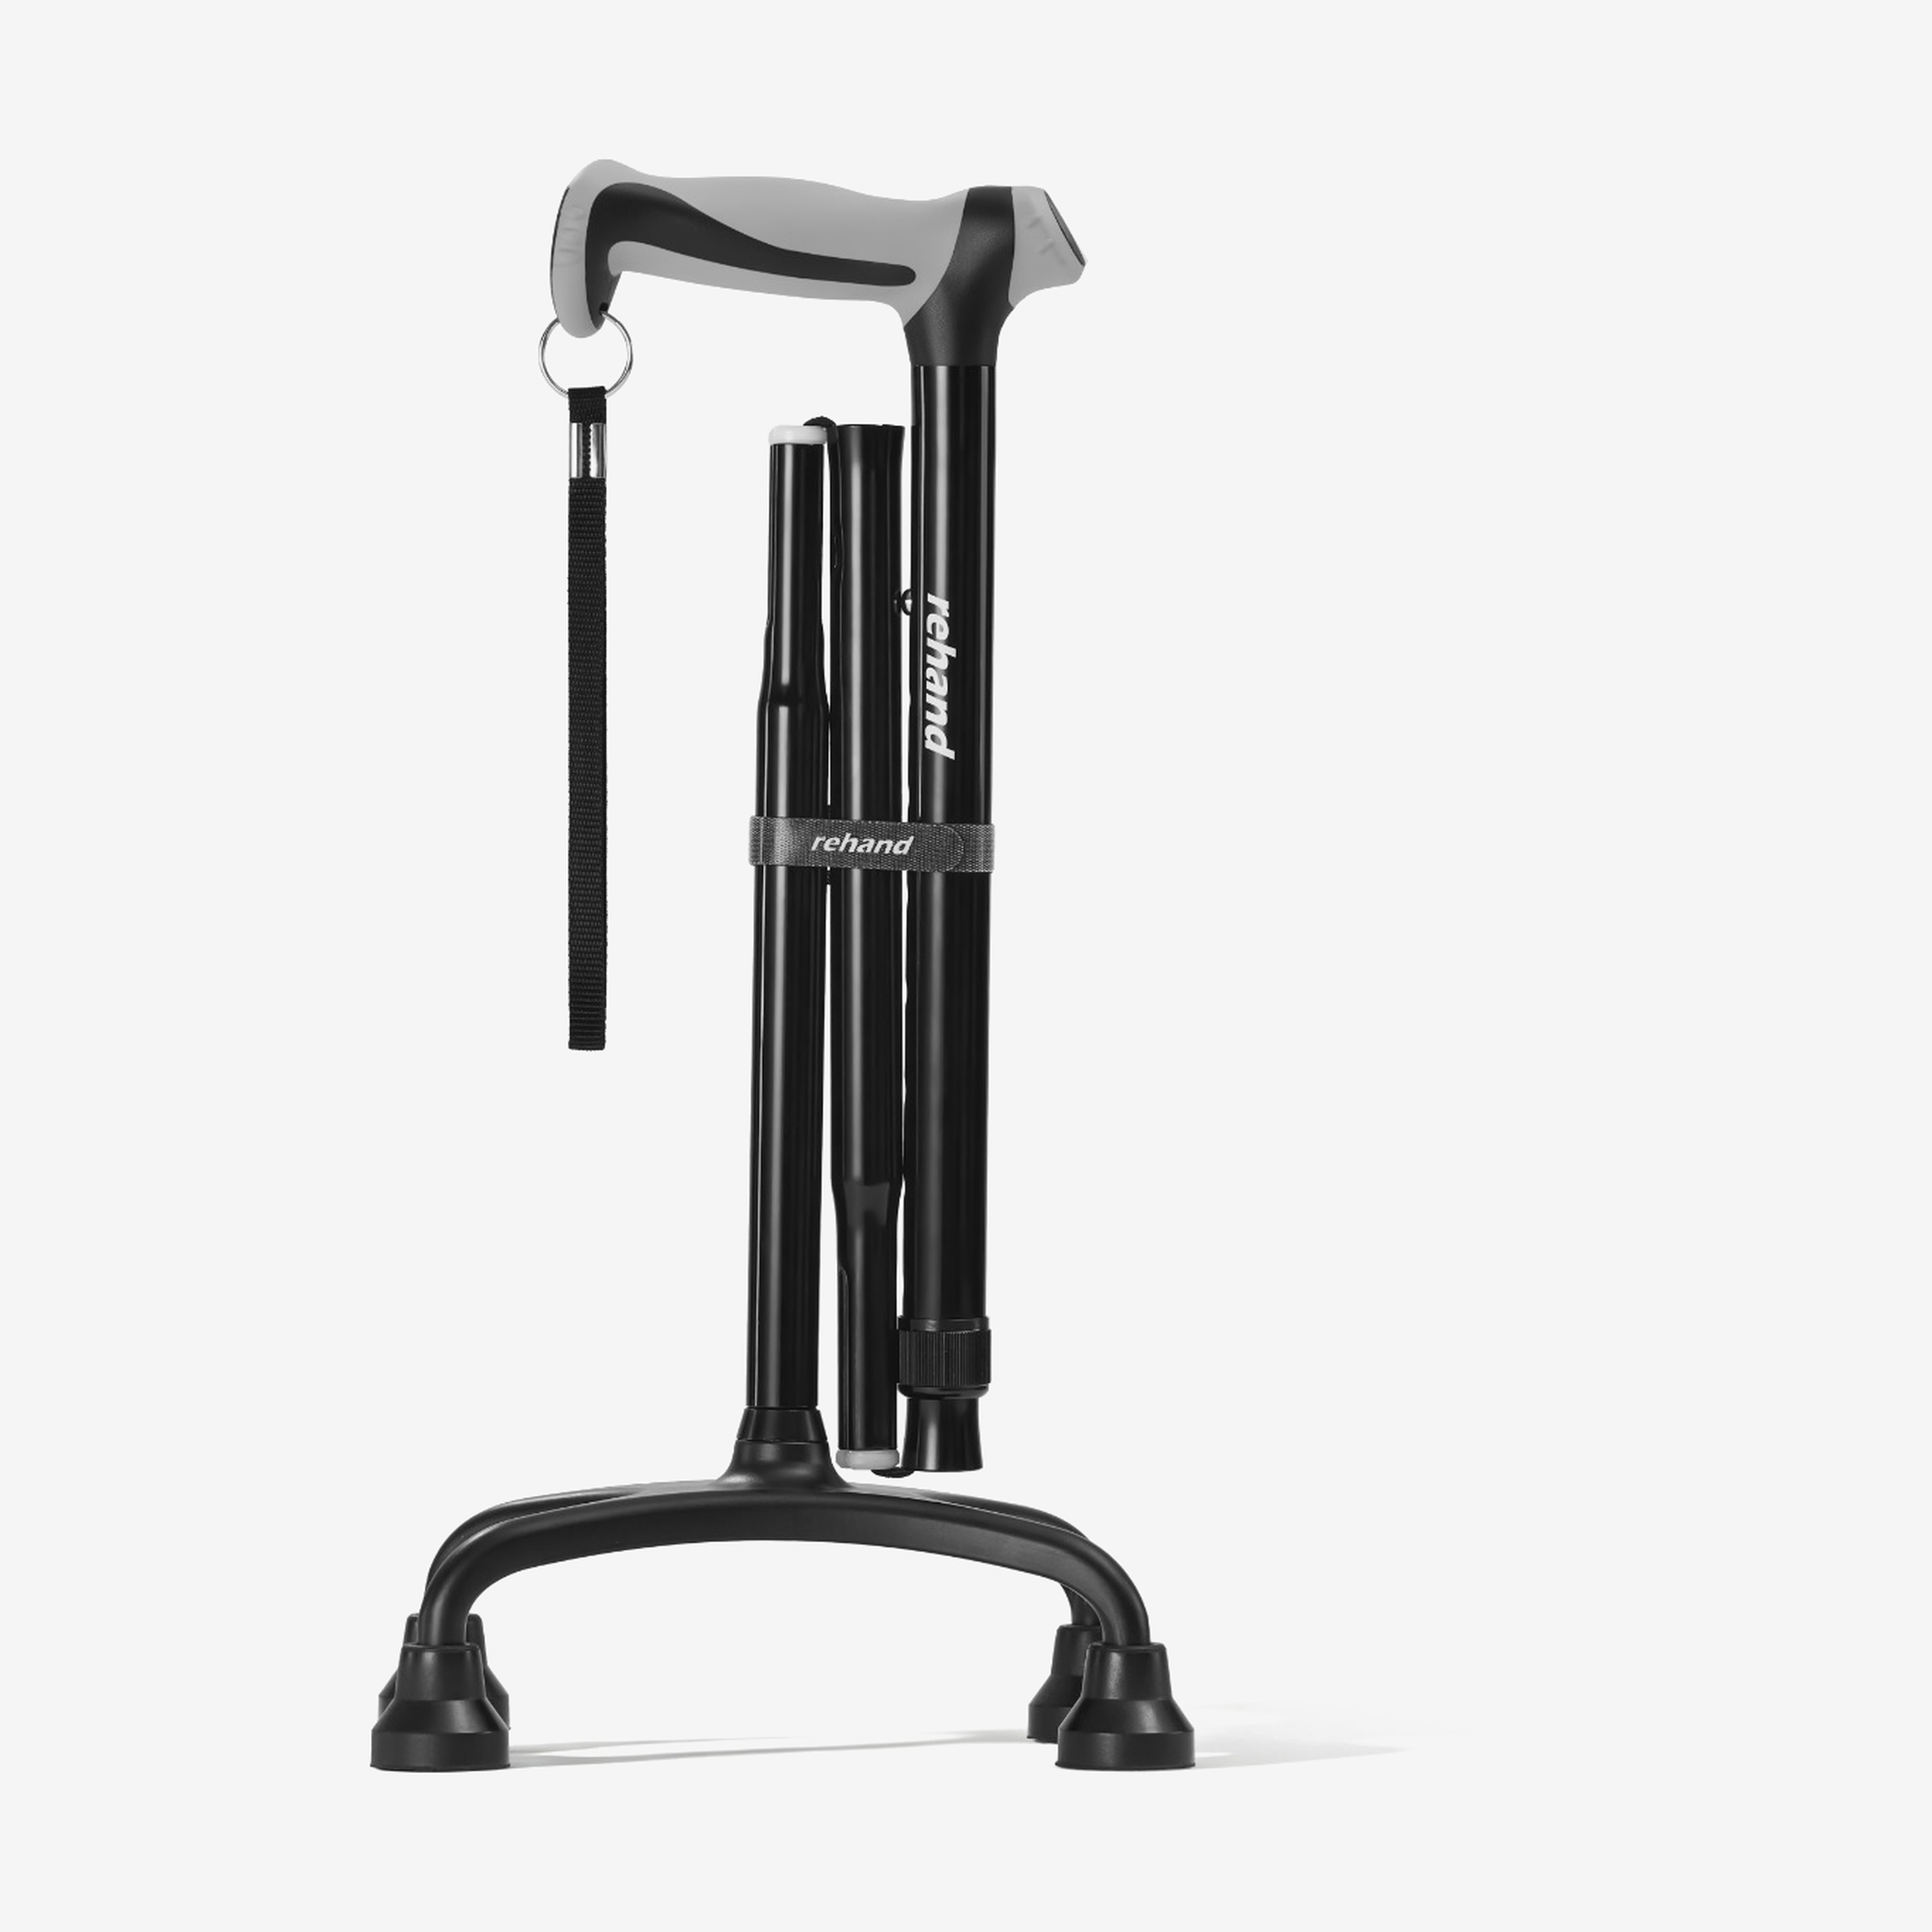
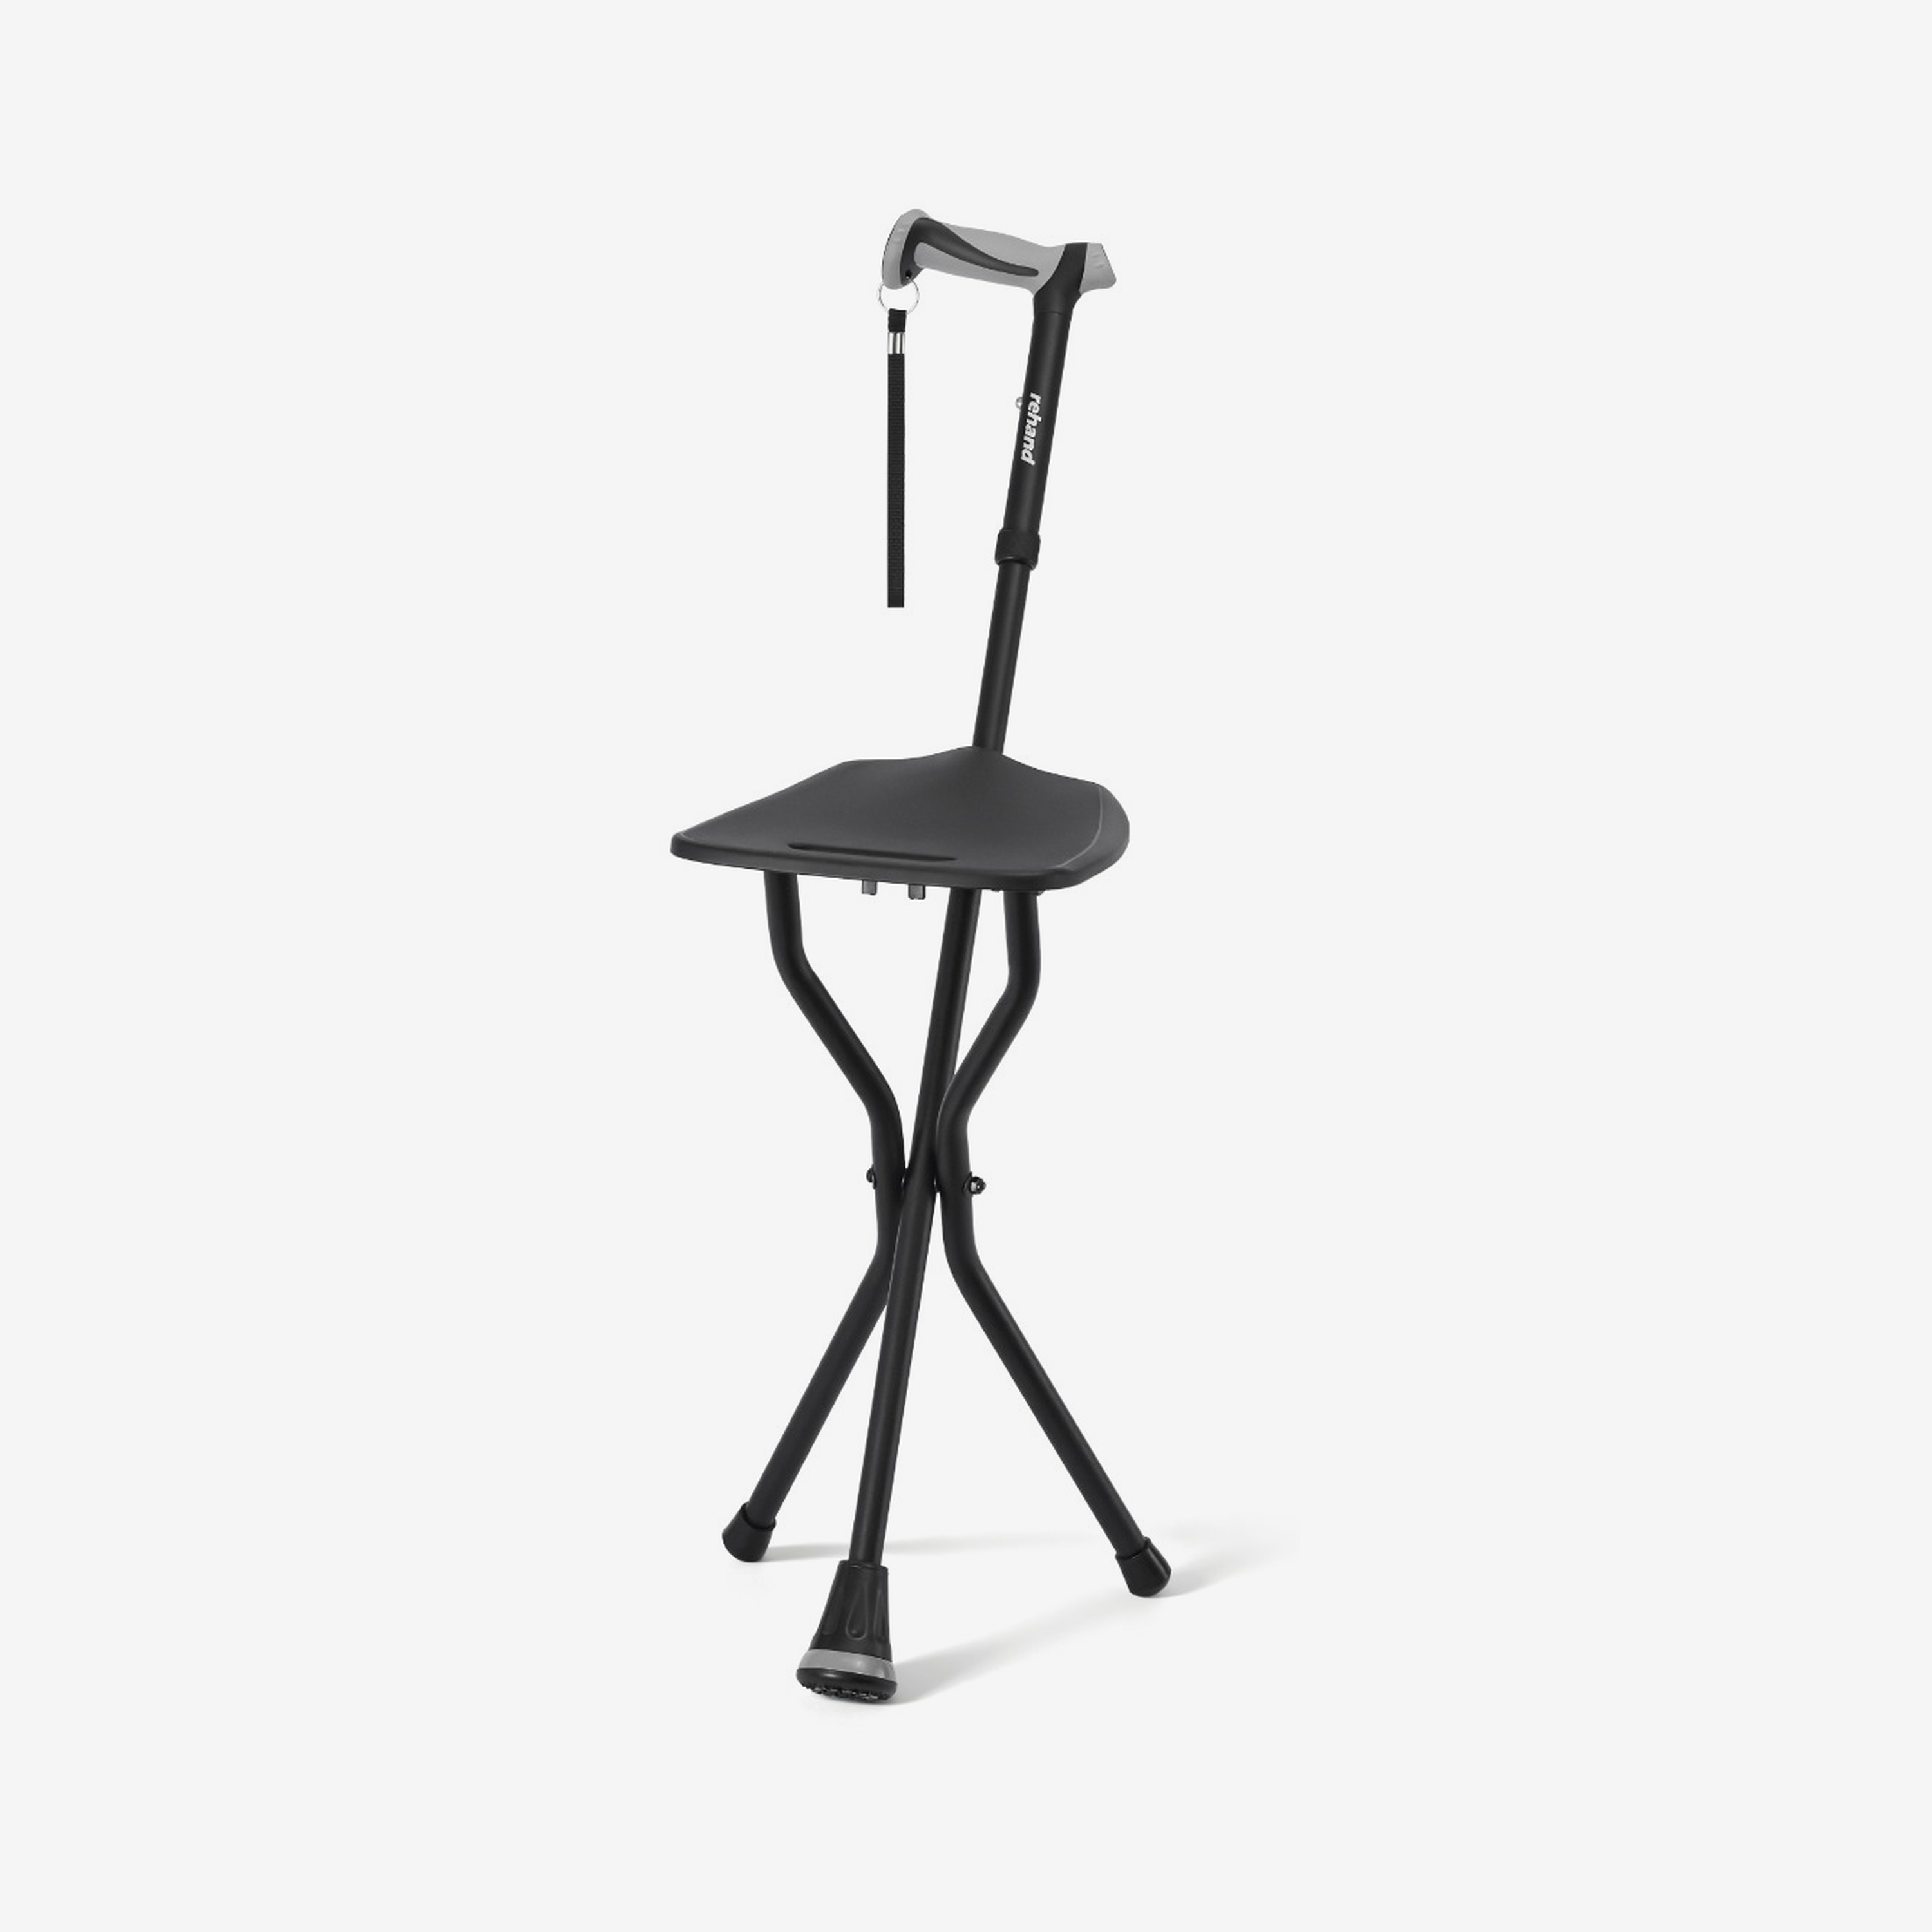
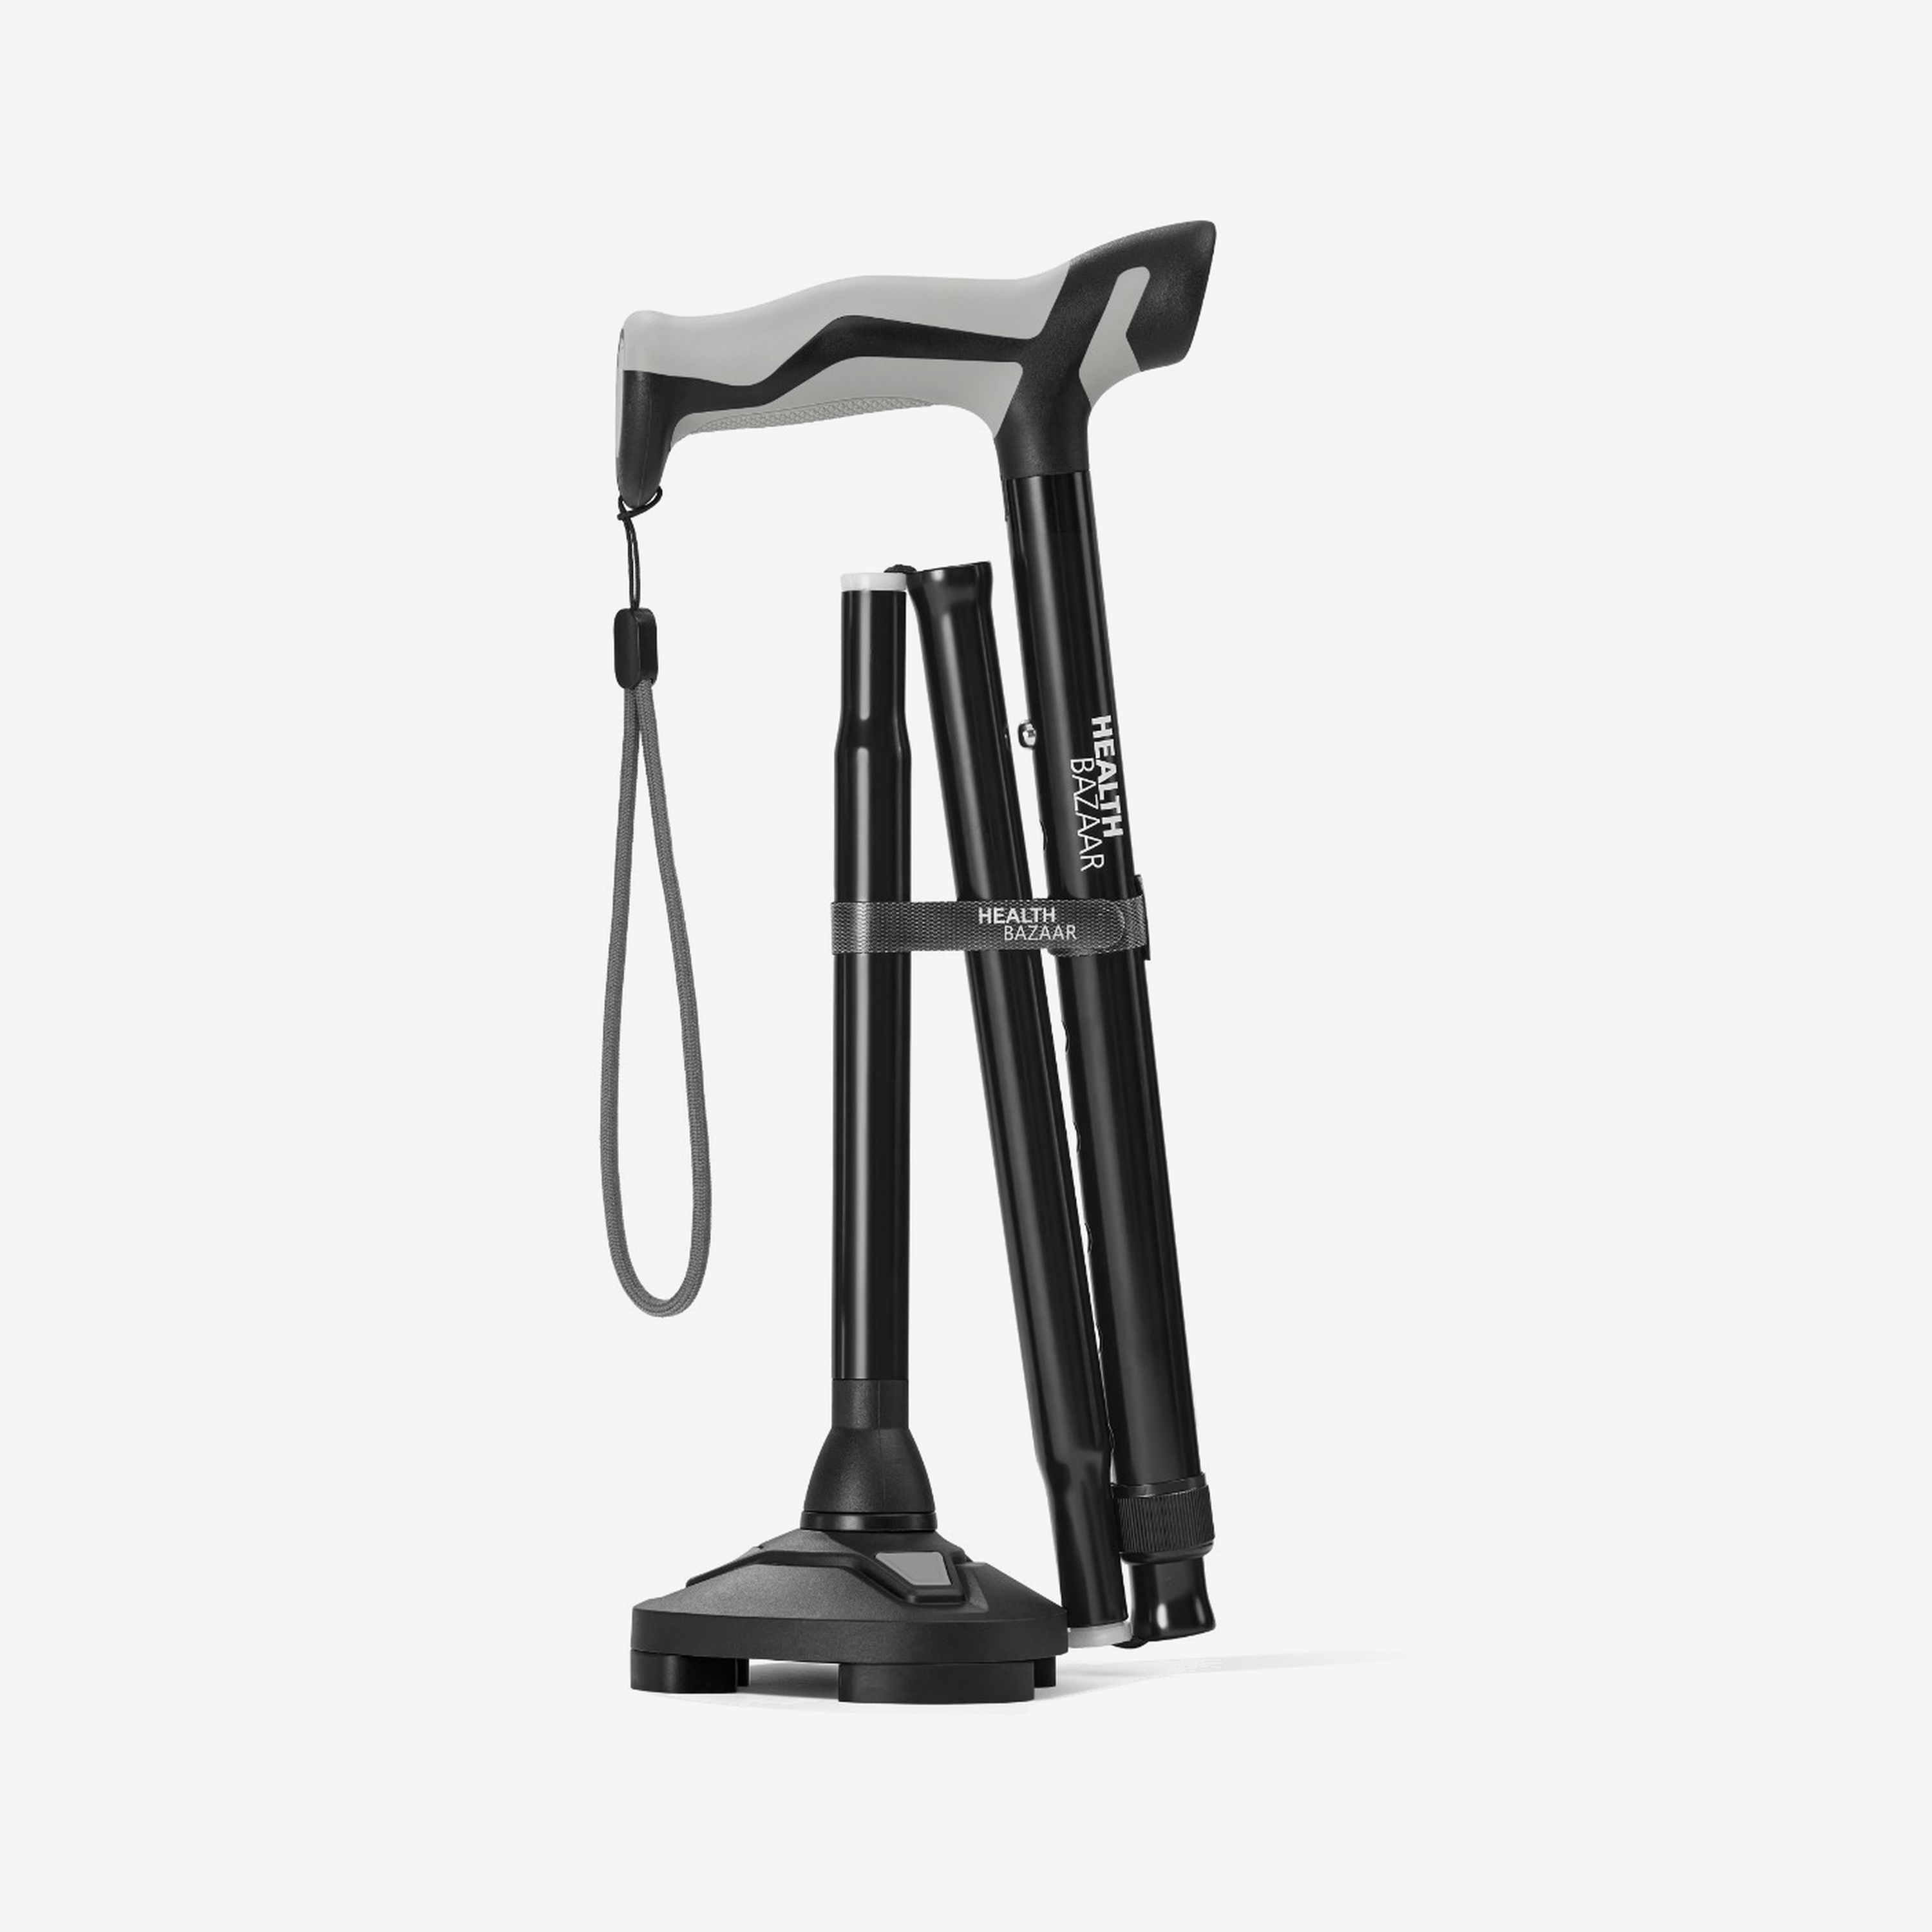
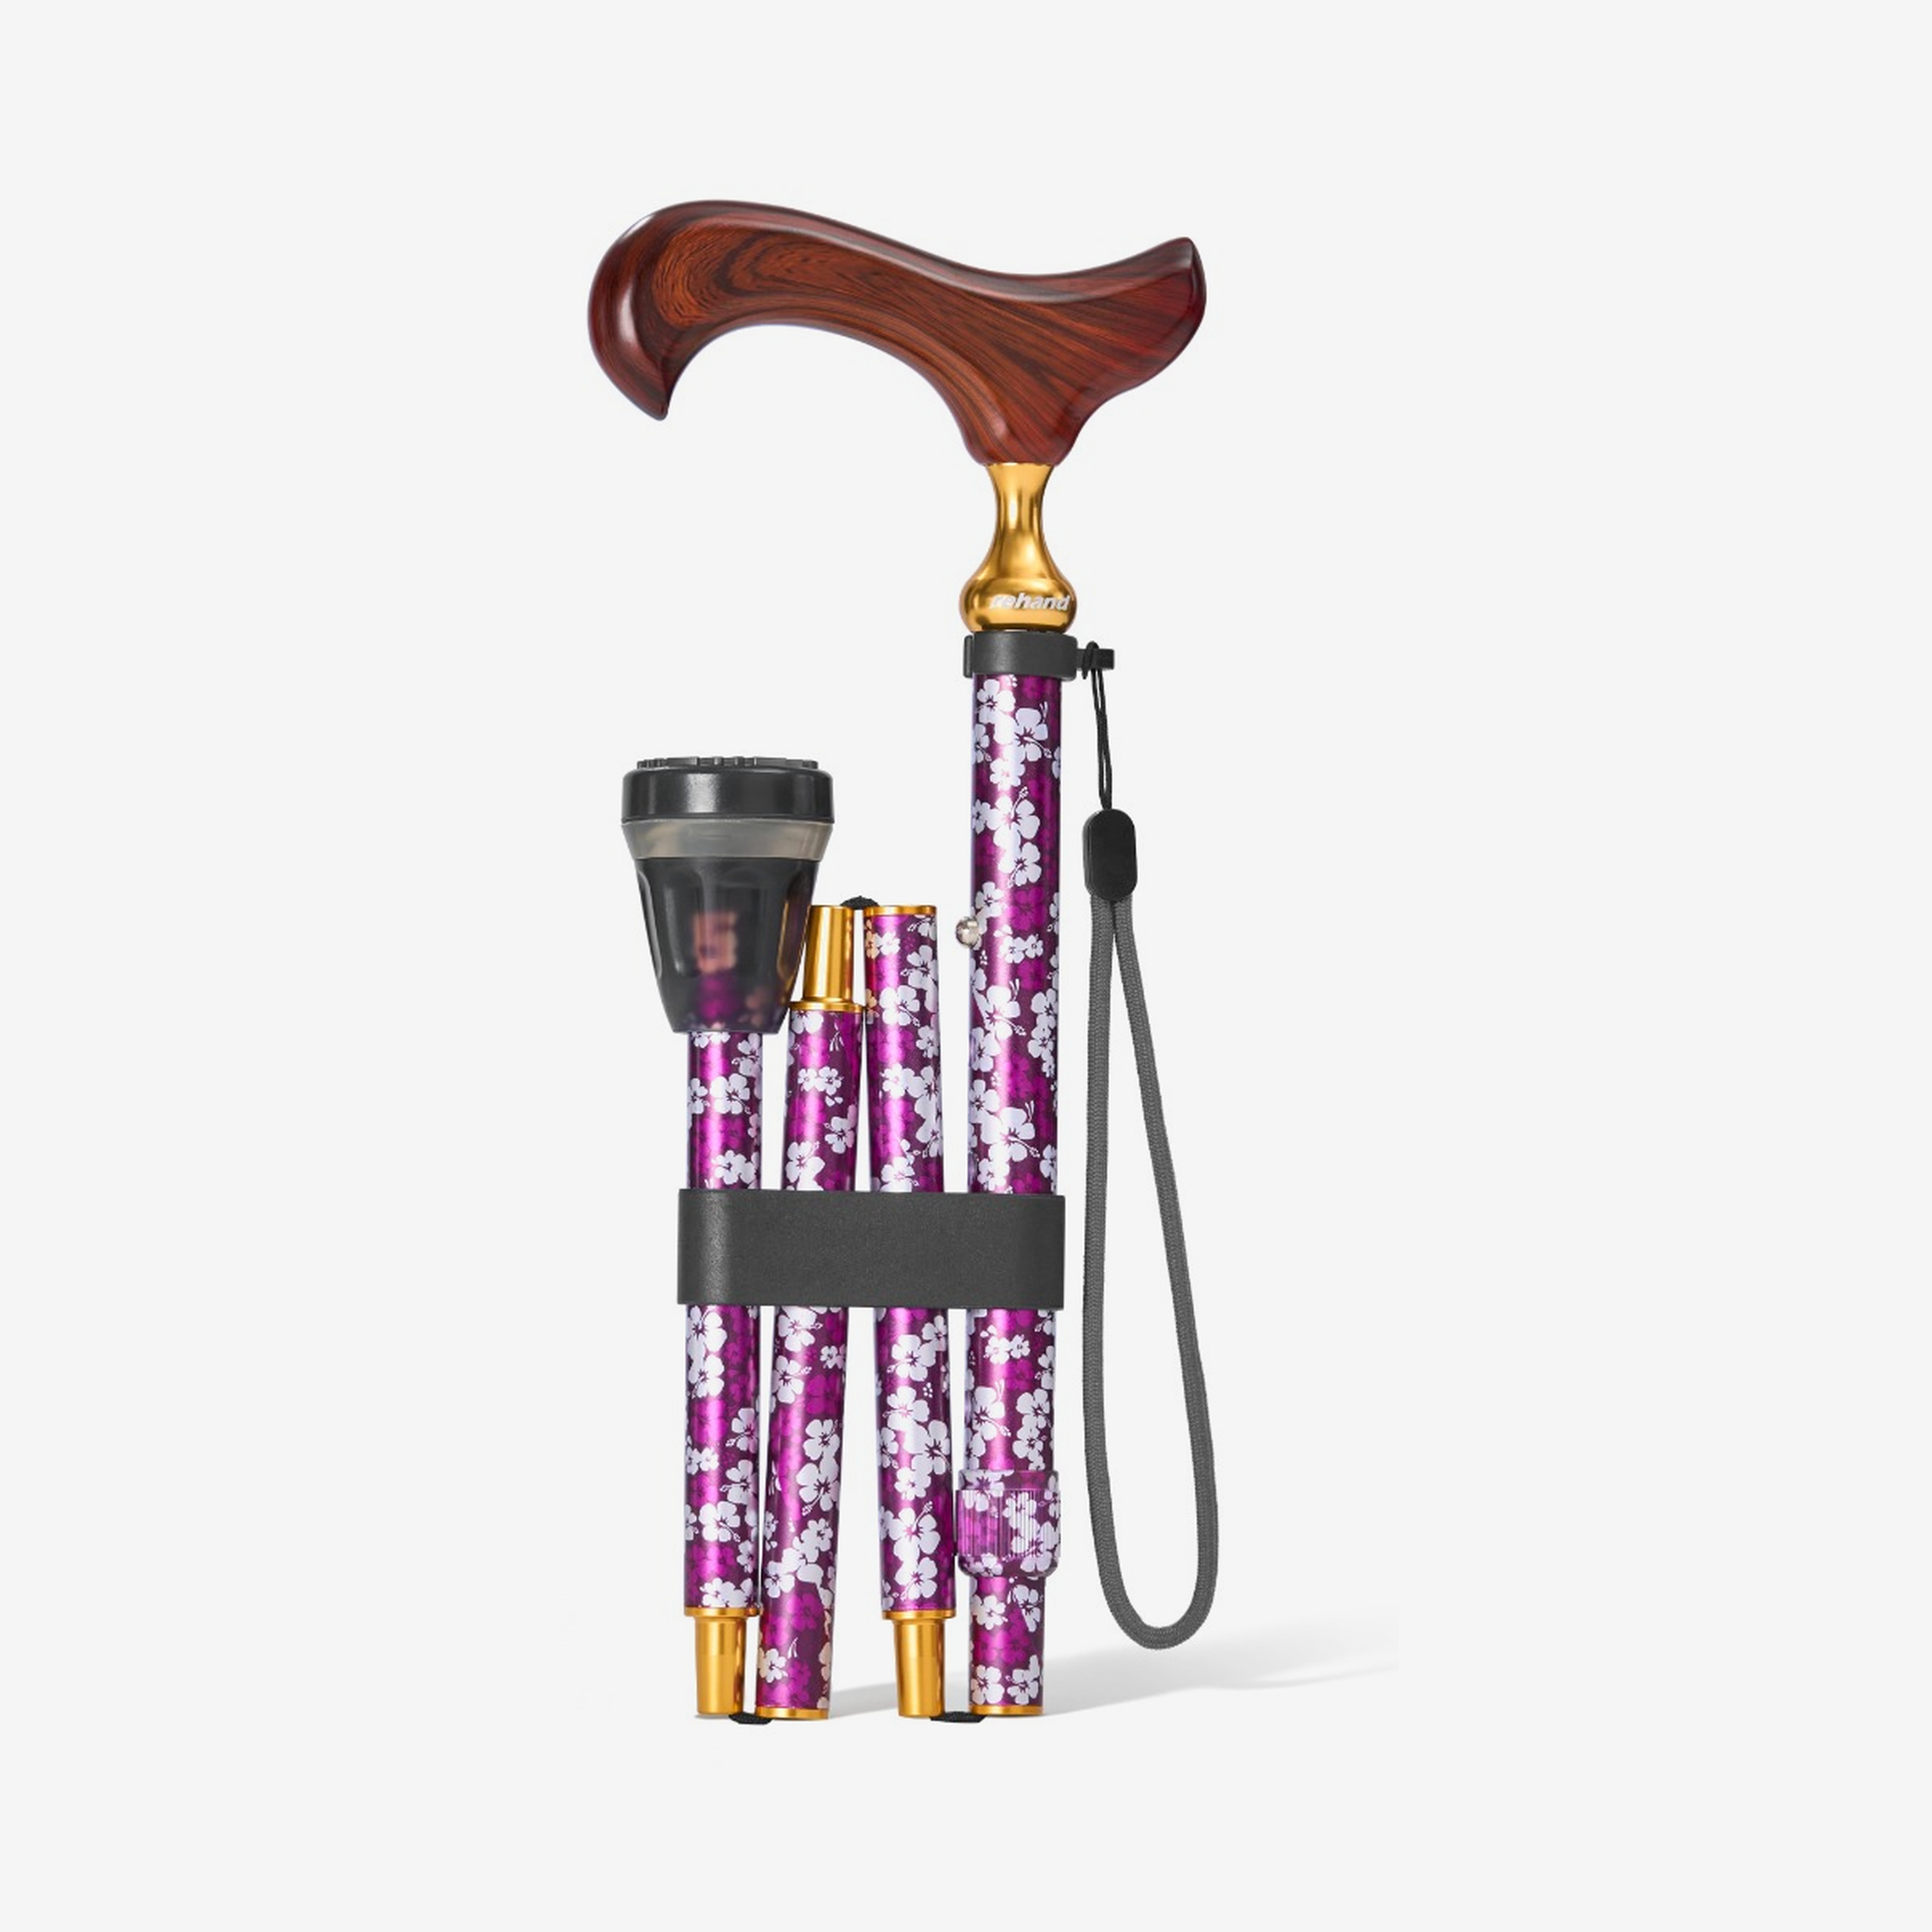

A walking cane may rattle when the height button is not fully seated, the locking collar is loose, folding sections are not completely joined, the rubber tip is worn, or a component is damaged. Do not cover the sound with tape, glue, or makeshift parts. Place the cane on a stable surface, inspect each connection, and stop using it if the shaft, handle, base, or locking mechanism moves unexpectedly.
First: Sound or Structural Movement?
Some adjustable metal parts can make a faint sound when handled, but the cane should not change height, rotate unexpectedly, separate at a folding joint, or rock at the base during normal use.
Before troubleshooting, ask:
- Does the handle move independently from the shaft?
- Does the height change when downward pressure is applied?
- Can you see a gap between folding sections?
- Does the base rotate or pull away when it should be fixed?
- Is there a crack, bend, exposed cord, or missing part?
If the answer to any of these is yes, stop using the cane and contact the manufacturer.
1. Check the Height Button
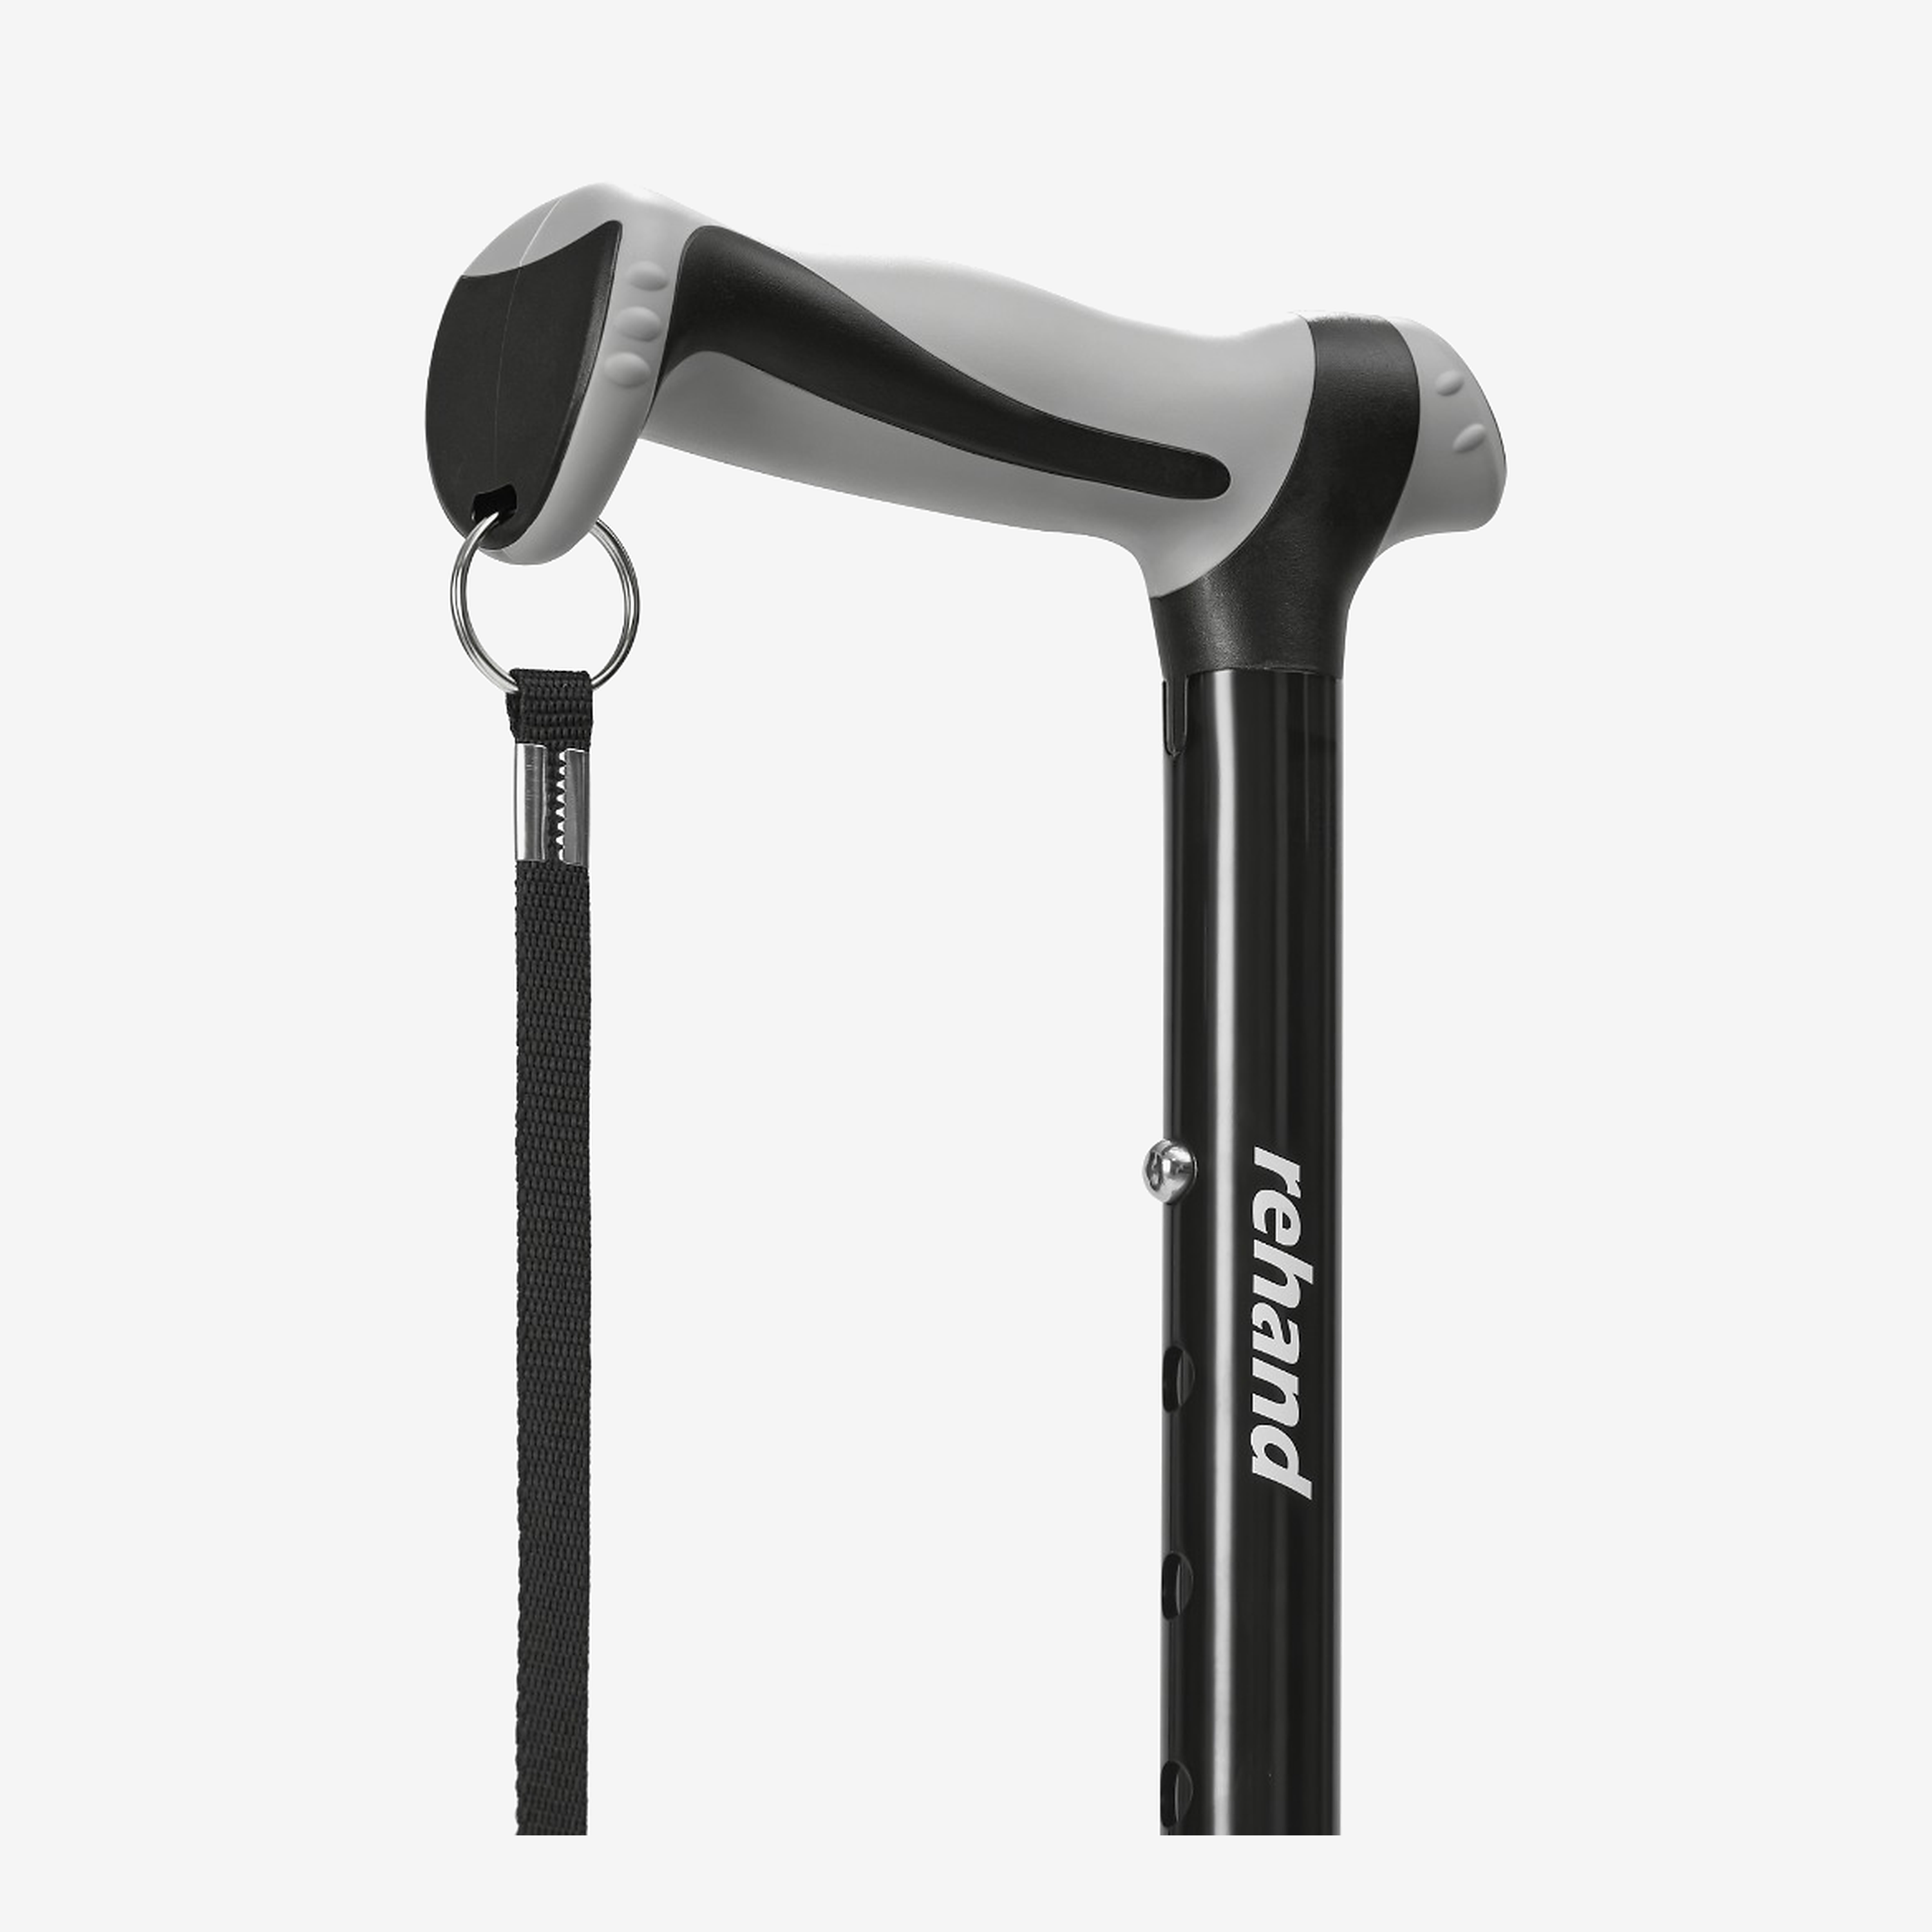
On a push-button adjustable cane, the metal button must extend fully through one adjustment hole. A partially engaged button can click, move, or allow the shaft to shift.
Without leaning on the cane:
- Press the button.
- Move the shaft to the intended height.
- Rotate gently until the button visibly and audibly seats in the hole.
- Pull up and push down lightly by hand to confirm the height does not change.
Do not place the button between holes. Rehand’s classic folding walking cane uses eight discrete height settings; it is not a stepless-adjustment model.
2. Tighten the Locking Collar by Hand
Many adjustable canes include a collar where the upper and lower tubes meet. After the height button is fully seated, turn the collar in the direction specified by the product manual until it is hand-tight.
The collar helps reduce movement between the tubes; it is not a substitute for the height button. Do not overtighten it with pliers or another tool, which may damage the threads or plastic insert.
3. Inspect Every Folding Joint
Set a folding cane on a table and check each section. The ends should be fully inserted with no exposed connector that is normally hidden.
Fold and unfold the cane only as instructed. Keep fingers and face away from sections that may snap together under internal cord tension. If the internal cord is frayed, unusually loose, exposed, or no longer draws the sections together, stop using the cane.
4. Check the Rubber Tip
A worn or loose tip can create tapping, squeaking, or uneven contact. Look for smooth tread, cracks, embedded debris, separation from the shaft, or a hard object inside the tip.
MedlinePlus recommends checking cane tips daily and replacing them if worn. Use only the correct size and attachment type. A removable single tip is different from a factory-installed pivoting or multi-point base.
5. Inspect the Handle and Wrist Strap
Hold the shaft still and gently test the handle. It should not twist, lift, or separate. Check for cracks where the handle meets the shaft.
A wrist-strap ring or buckle may make a light sound when it touches the shaft. Move the strap away and repeat the test. If the sound disappears and no structural part moves, the strap hardware may be the source. Never let the strap hide a crack or loose handle.
6. Test the Cane Without Bearing Full Weight
After all visible parts pass inspection:
- Place the cane upright on a dry, level surface.
- Make sure the tip or all base contact points sit flat.
- Apply light hand pressure while watching every joint.
- Stop if the cane shortens, twists, rocks, separates, or produces a new sharp click.
Only return to normal use if the cane remains correctly assembled and the sound has a harmless, identified source.
Repairs to Avoid
Do not use:
- tape around an adjustable joint;
- glue inside a shaft or base;
- screws, nails, or pins not supplied for the model;
- lubricant around the height button;
- a mismatched replacement tip;
- heat or cutting tools.
These changes can hide damage, interfere with locking parts, and make inspection more difficult. Rehand fixed bases are assembled with dedicated fixtures and locking components and undergo three rounds of stability inspection; they should not be removed or repaired at home.
When to Contact Rehand
Stop using the cane and contact support if you find a cracked handle, bent shaft, loose fixed base, damaged height button, stripped collar, frayed folding cord, or a missing structural component. Send:
- the order number or invoice;
- one photo of the full cane;
- close-up photos of the affected part;
- a short video showing the sound or movement, if it is safe to record without using the cane.
CTA
For setup videos and model-specific checks, visit the Rehand User Manuals. If a structural part is loose or damaged, contact Rehand Support before using the cane again.
Sources
- Rehand User Manuals; accessed October 13, 2026: https://rehand.com/pages/user-manuals
- MedlinePlus, “Using a Cane,” reviewed April 1, 2025; accessed October 13, 2026: https://medlineplus.gov/ency/patientinstructions/000343.htm
- Rehand Foldable Walking Cane current product specifications; accessed October 13, 2026: https://rehand.com/products/rehand-walking-cane