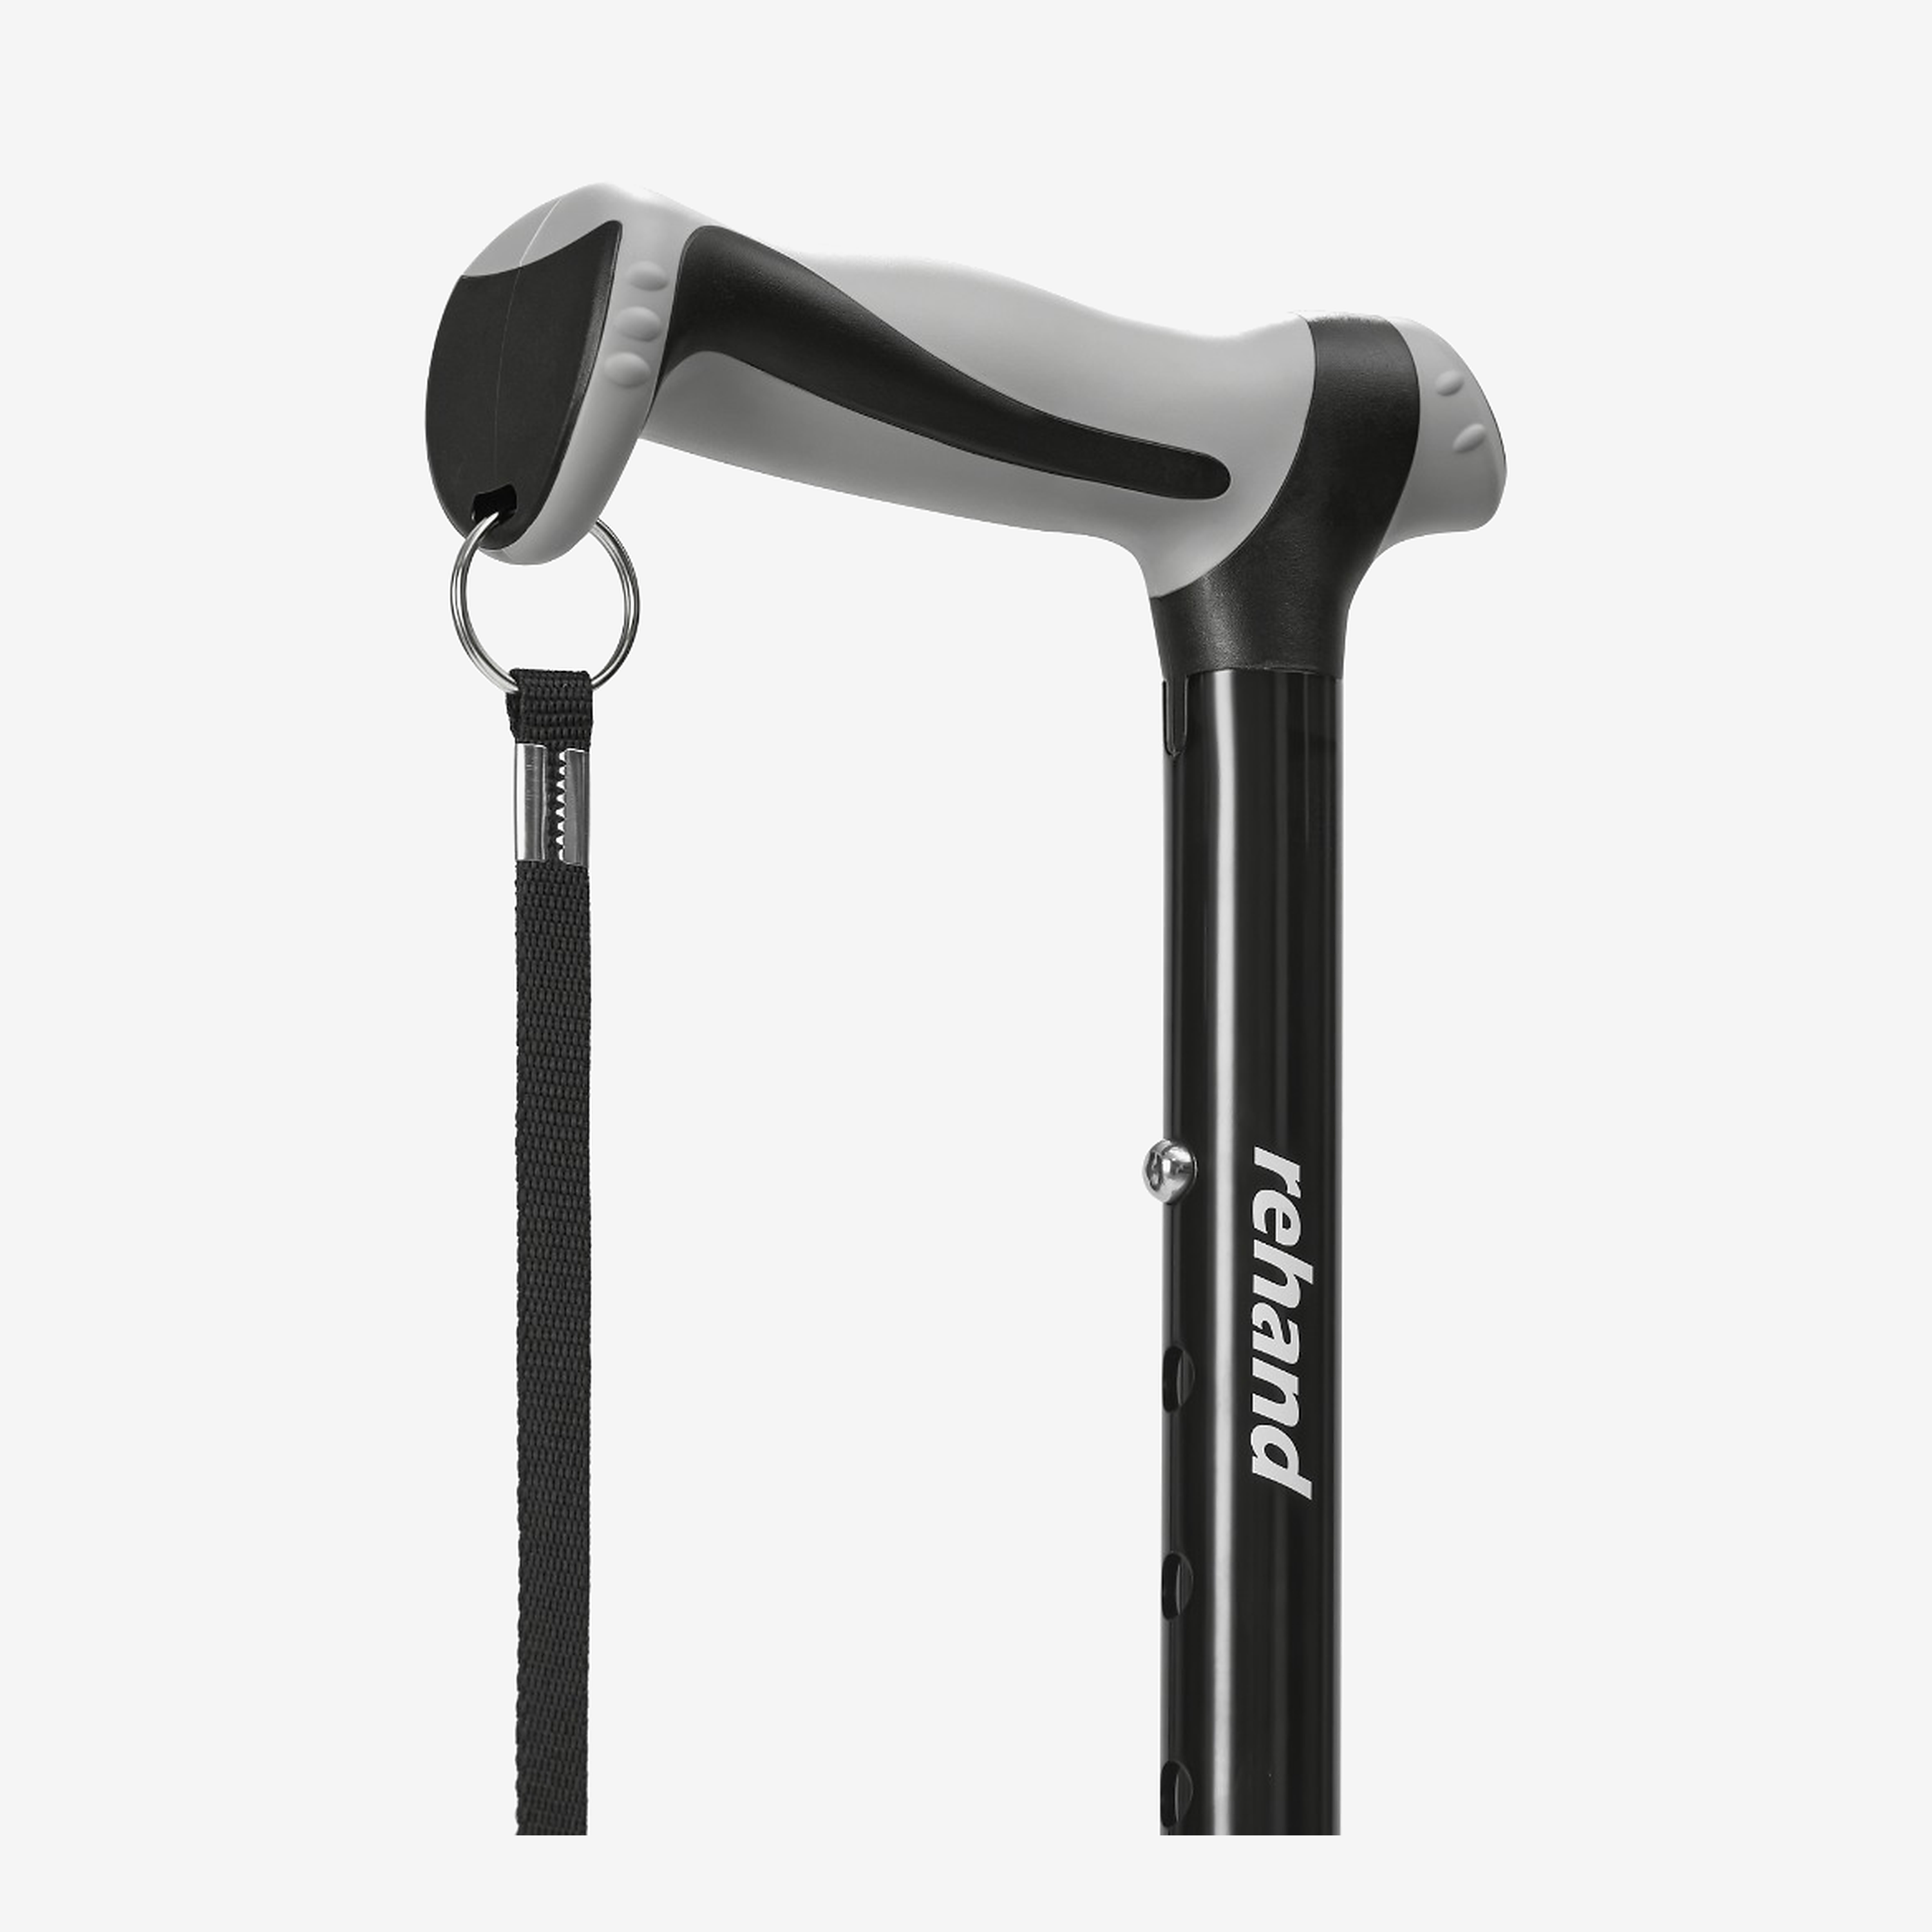

No walking cane makes ice safe. Before going out in winter, check the weather and route, avoid icy surfaces when possible, clear entrances, wear appropriate footwear, use available railings, and inspect the cane's tip or base. If the route cannot be made reasonably clear, postpone the trip or arrange assistance.
1. Check the route—not just the temperature
Look for ice, packed snow, slush, wet lobby floors, unshoveled curbs, and stairs without a usable handrail. The CDC states that walking on ice is extremely dangerous and recommends keeping steps and walkways free of ice with de-icing compound or sand. The National Institute on Aging similarly advises clearing snow and ice and using railings on icy stairs and walkways.
A weather forecast cannot show every shaded sidewalk or refrozen puddle. Ask someone at the destination about entrances and drop-off points when conditions are uncertain.
2. Decide whether to delay or get help
If the path is icy, visibility is poor, or snow hides curbs and surface changes, the safest decision may be not to walk there yet. A new cane tip, wider base, or “all-terrain” label does not cancel the hazard.
If winter travel is unavoidable, ask a clinician whether your current device and technique are appropriate. Someone who needs more support may require a different mobility aid or hands-on assistance; a blog cannot make that decision.
3. Inspect the ground-contact part
Clean off dirt and examine the entire tip or base. Look for worn tread, hard or cracked rubber, uneven contact, missing pieces, or looseness. Mayo Clinic advises replacing a rubber tip when its tread is worn or the rubber has become stiff.
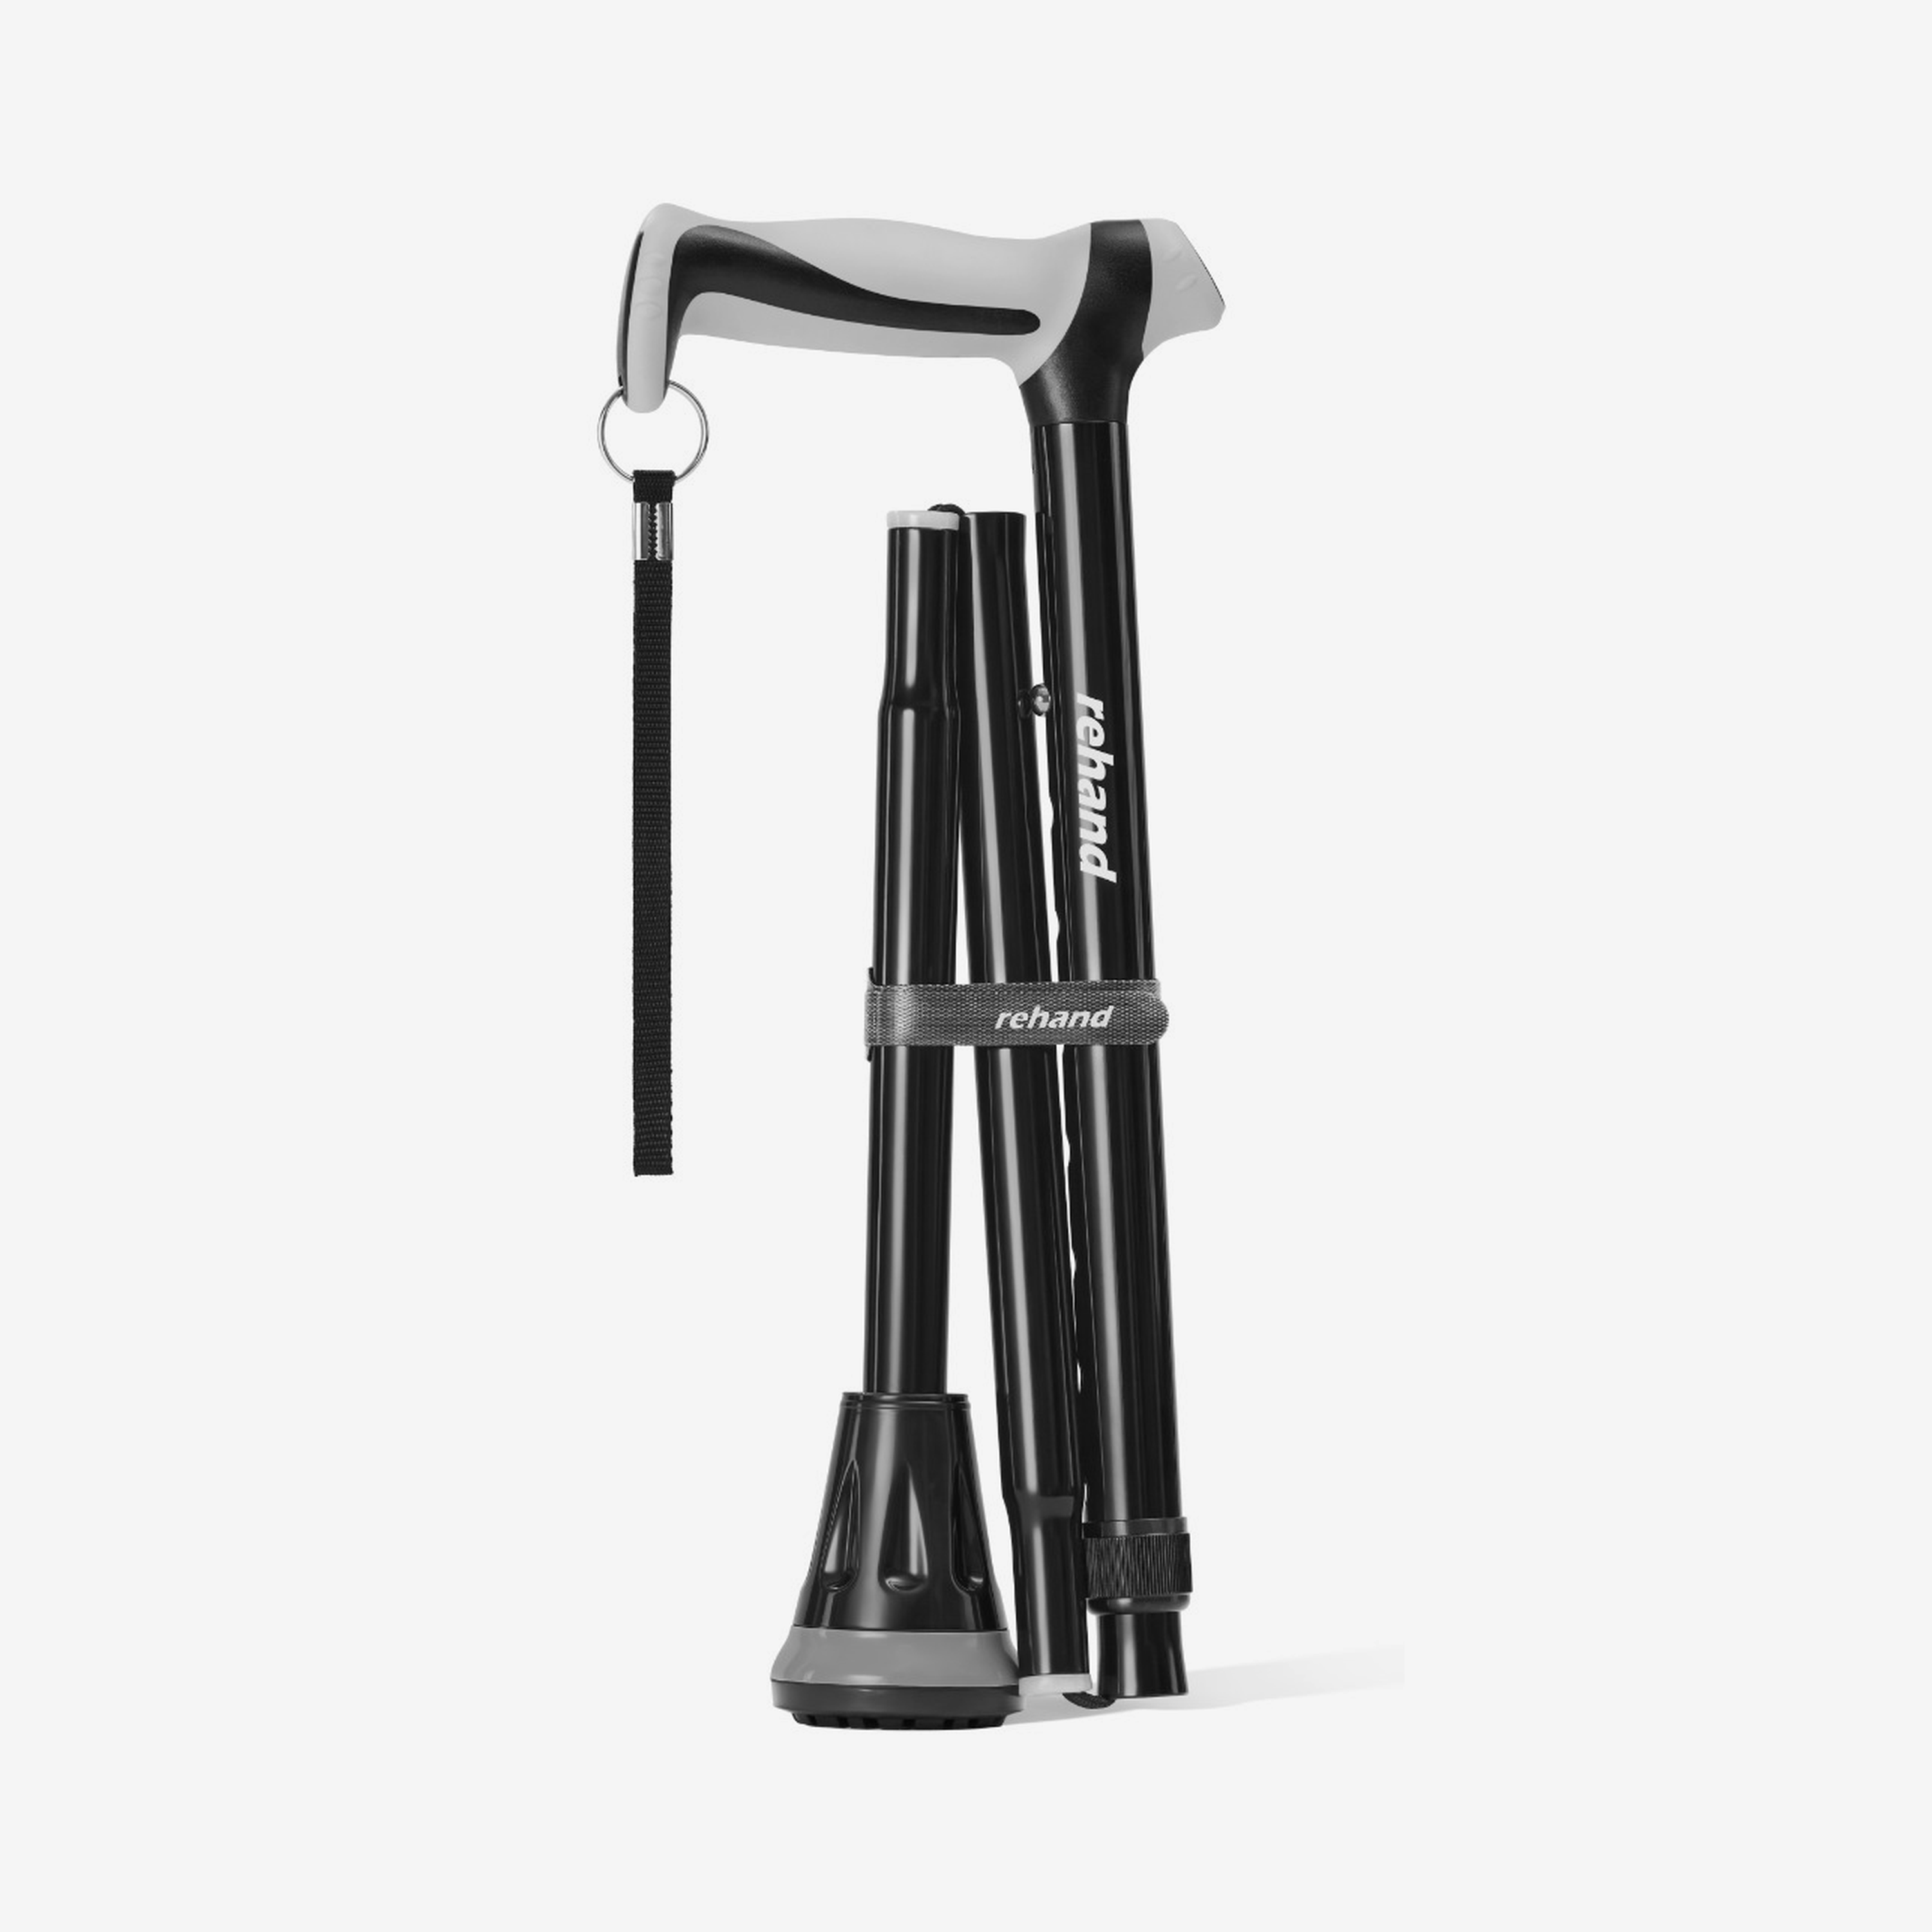
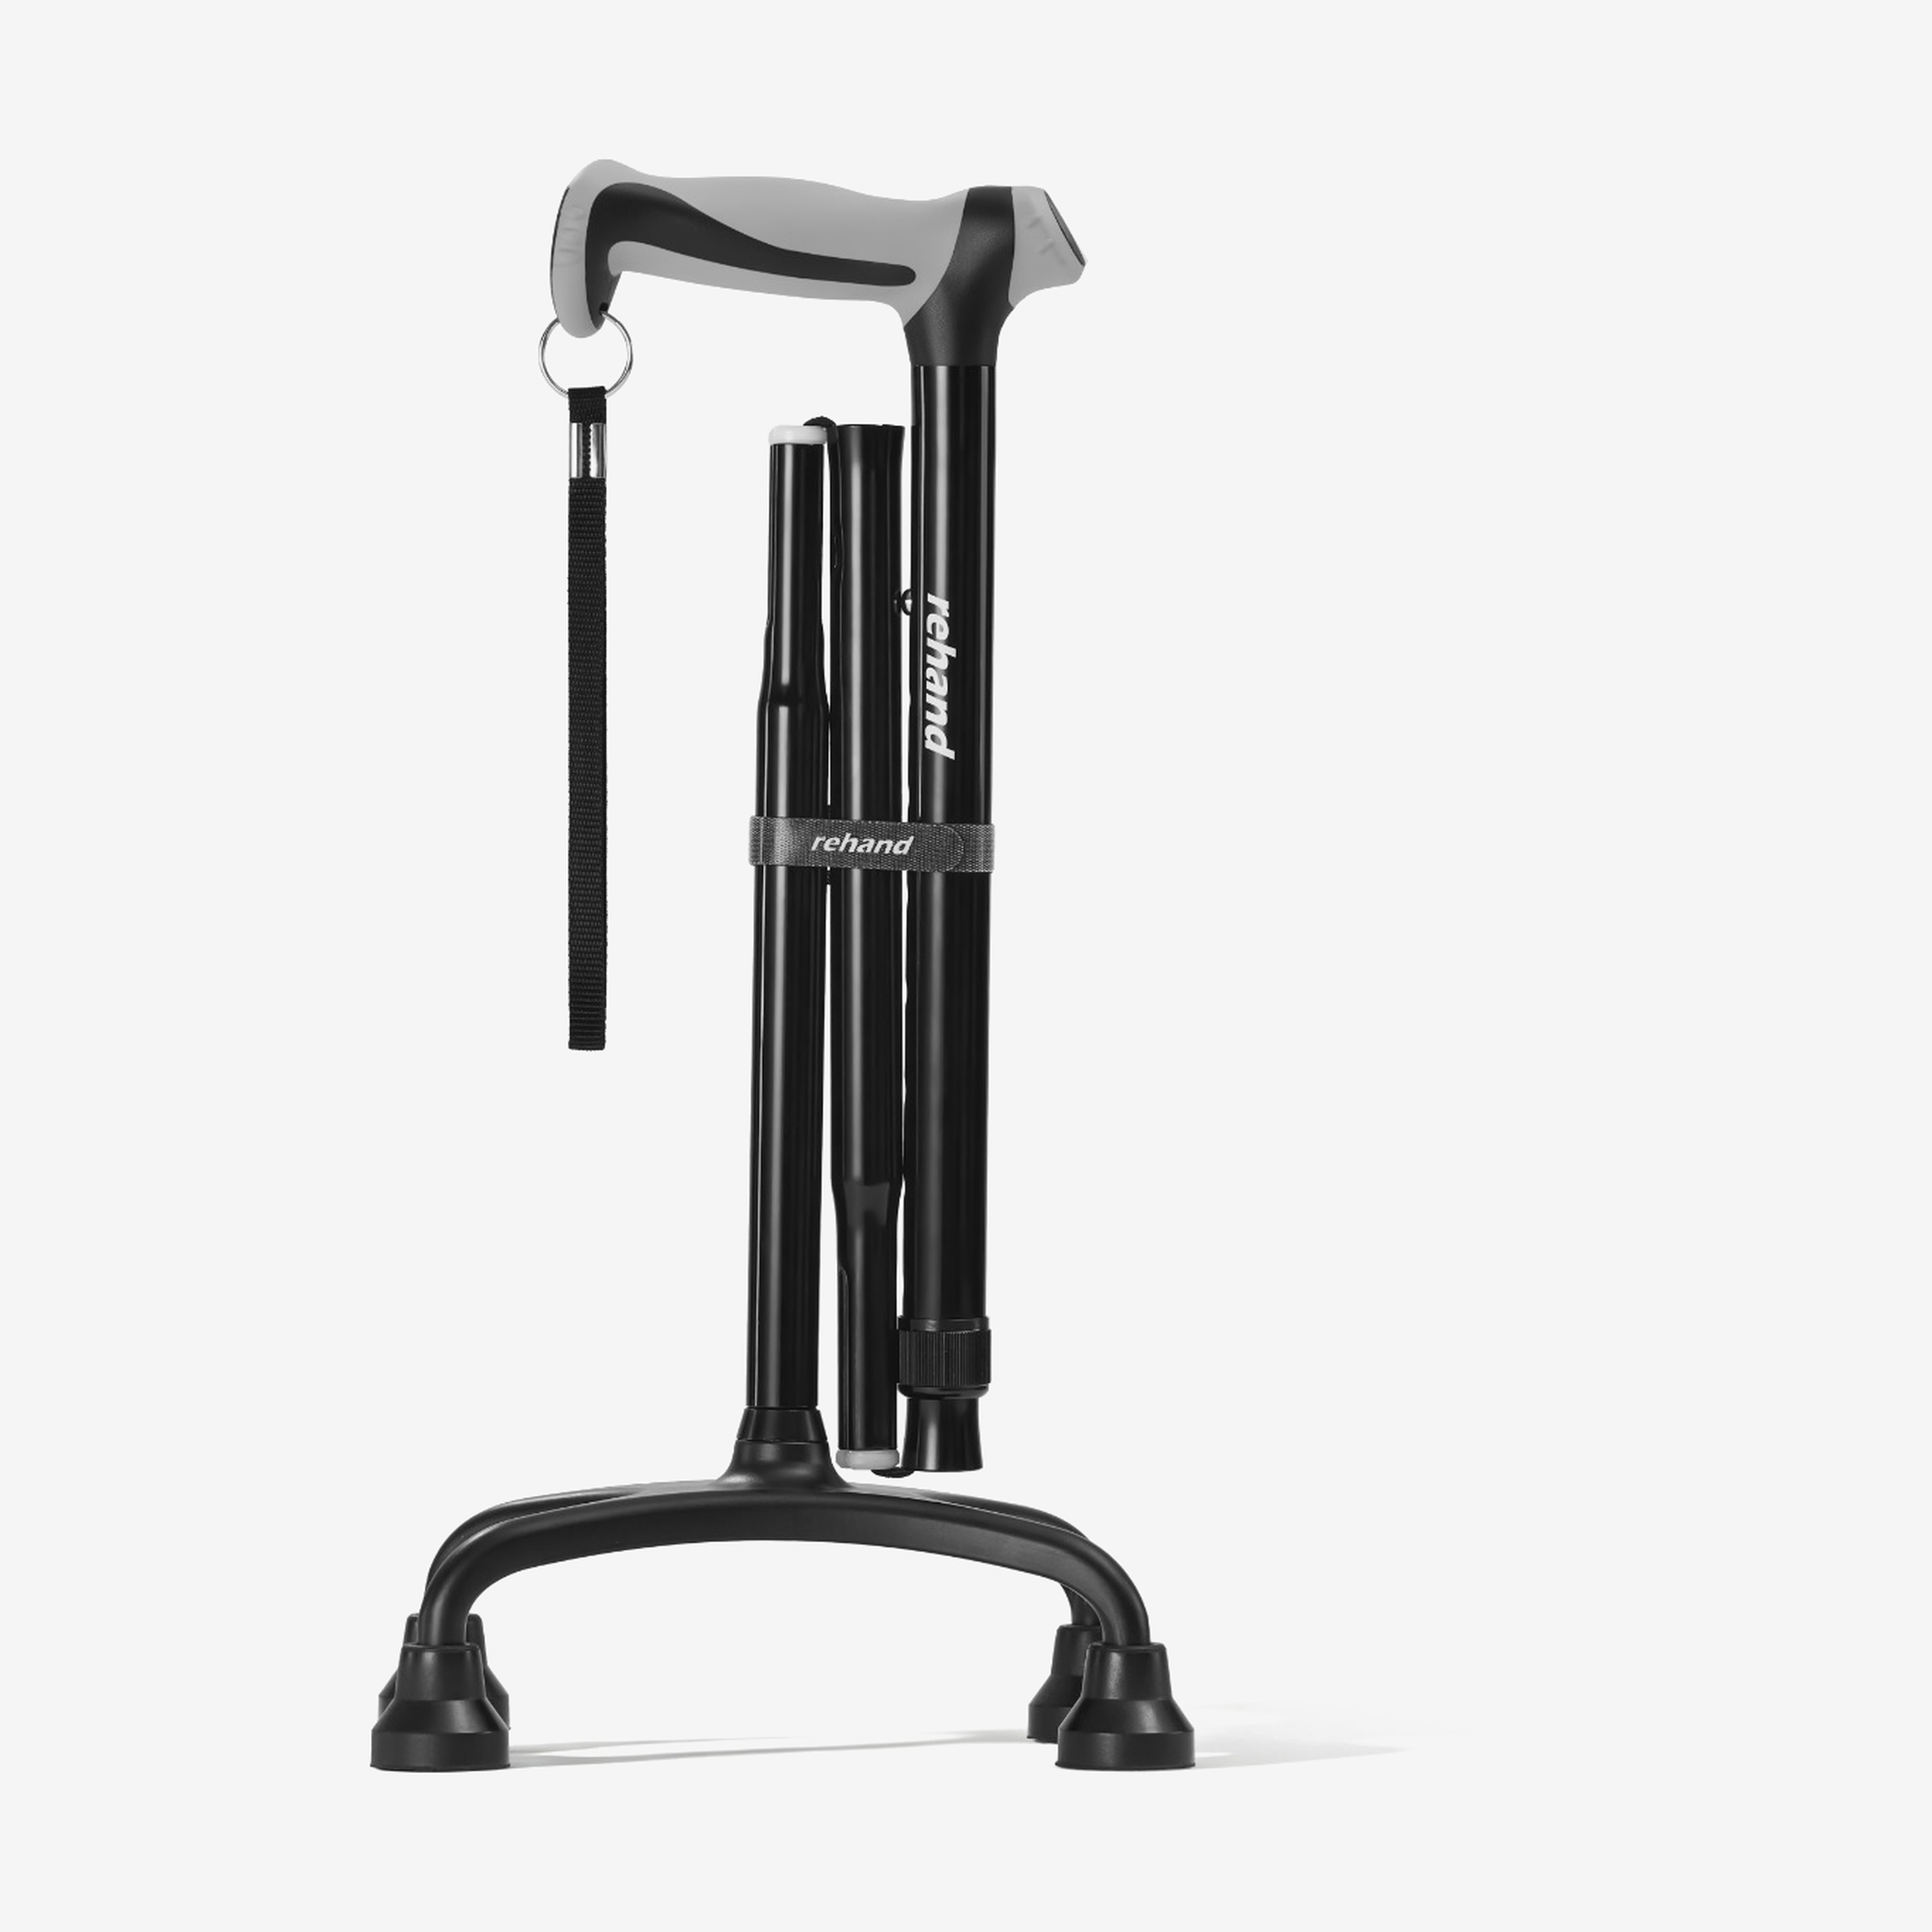
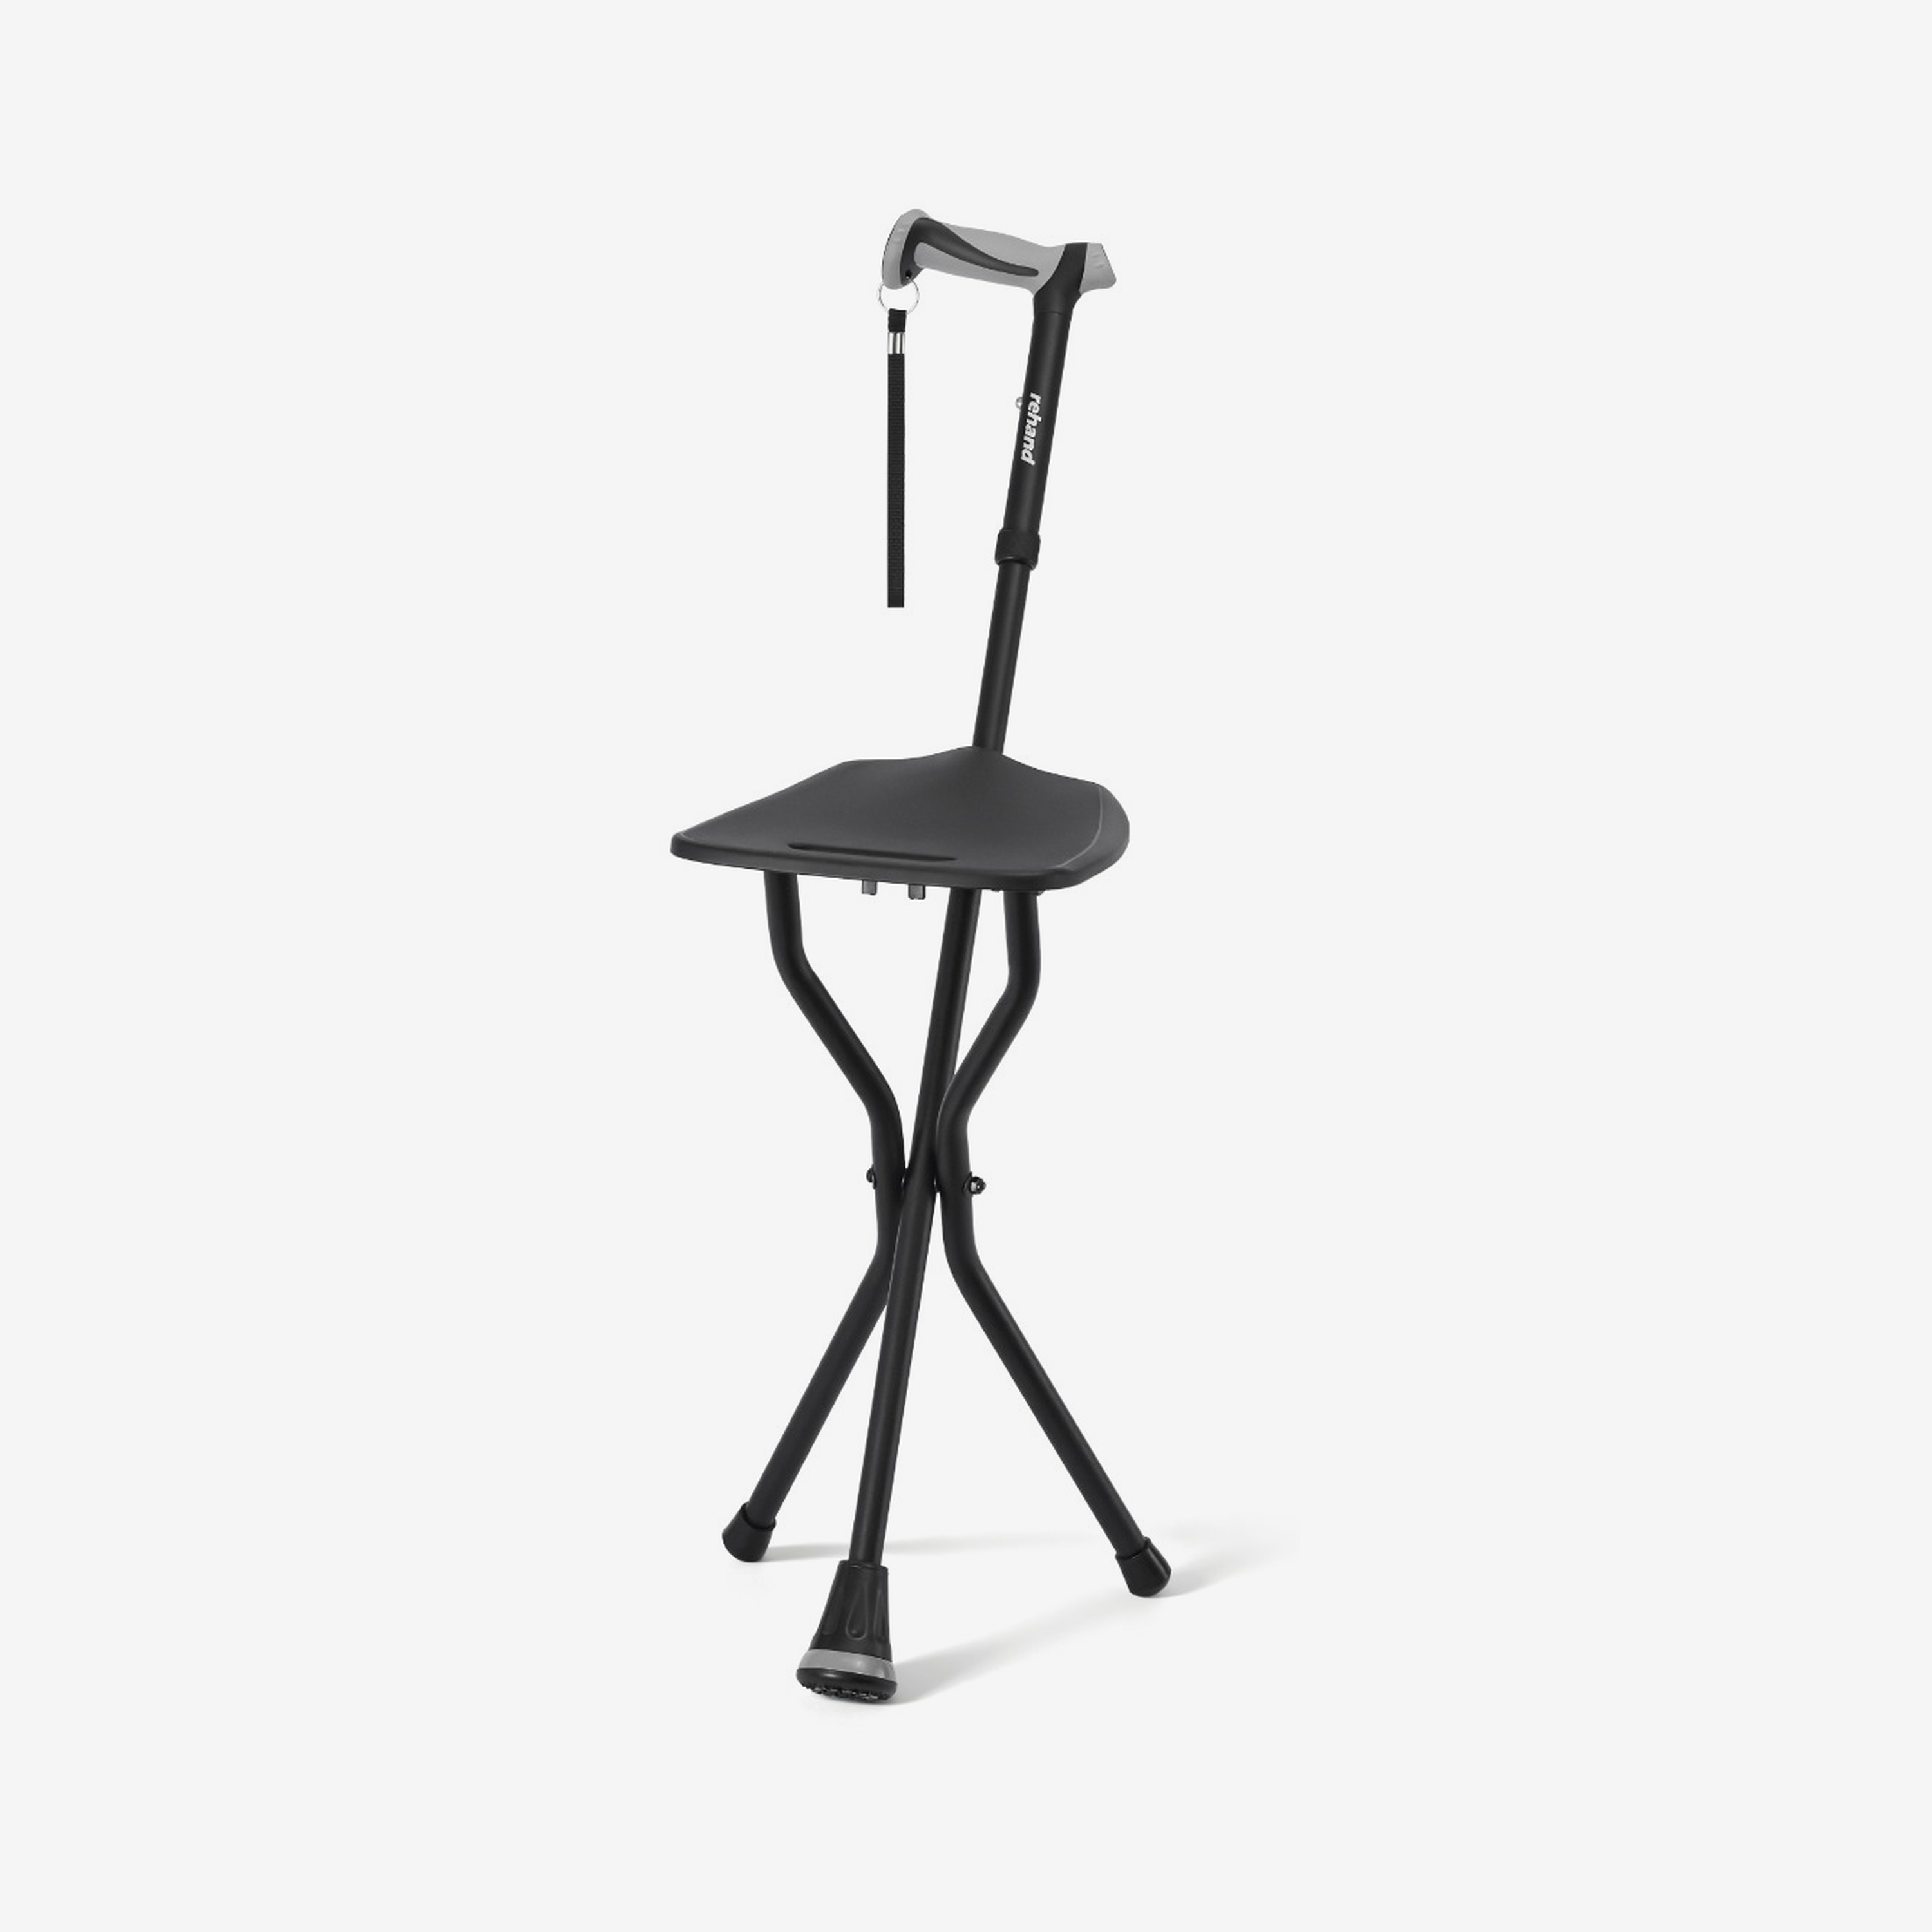
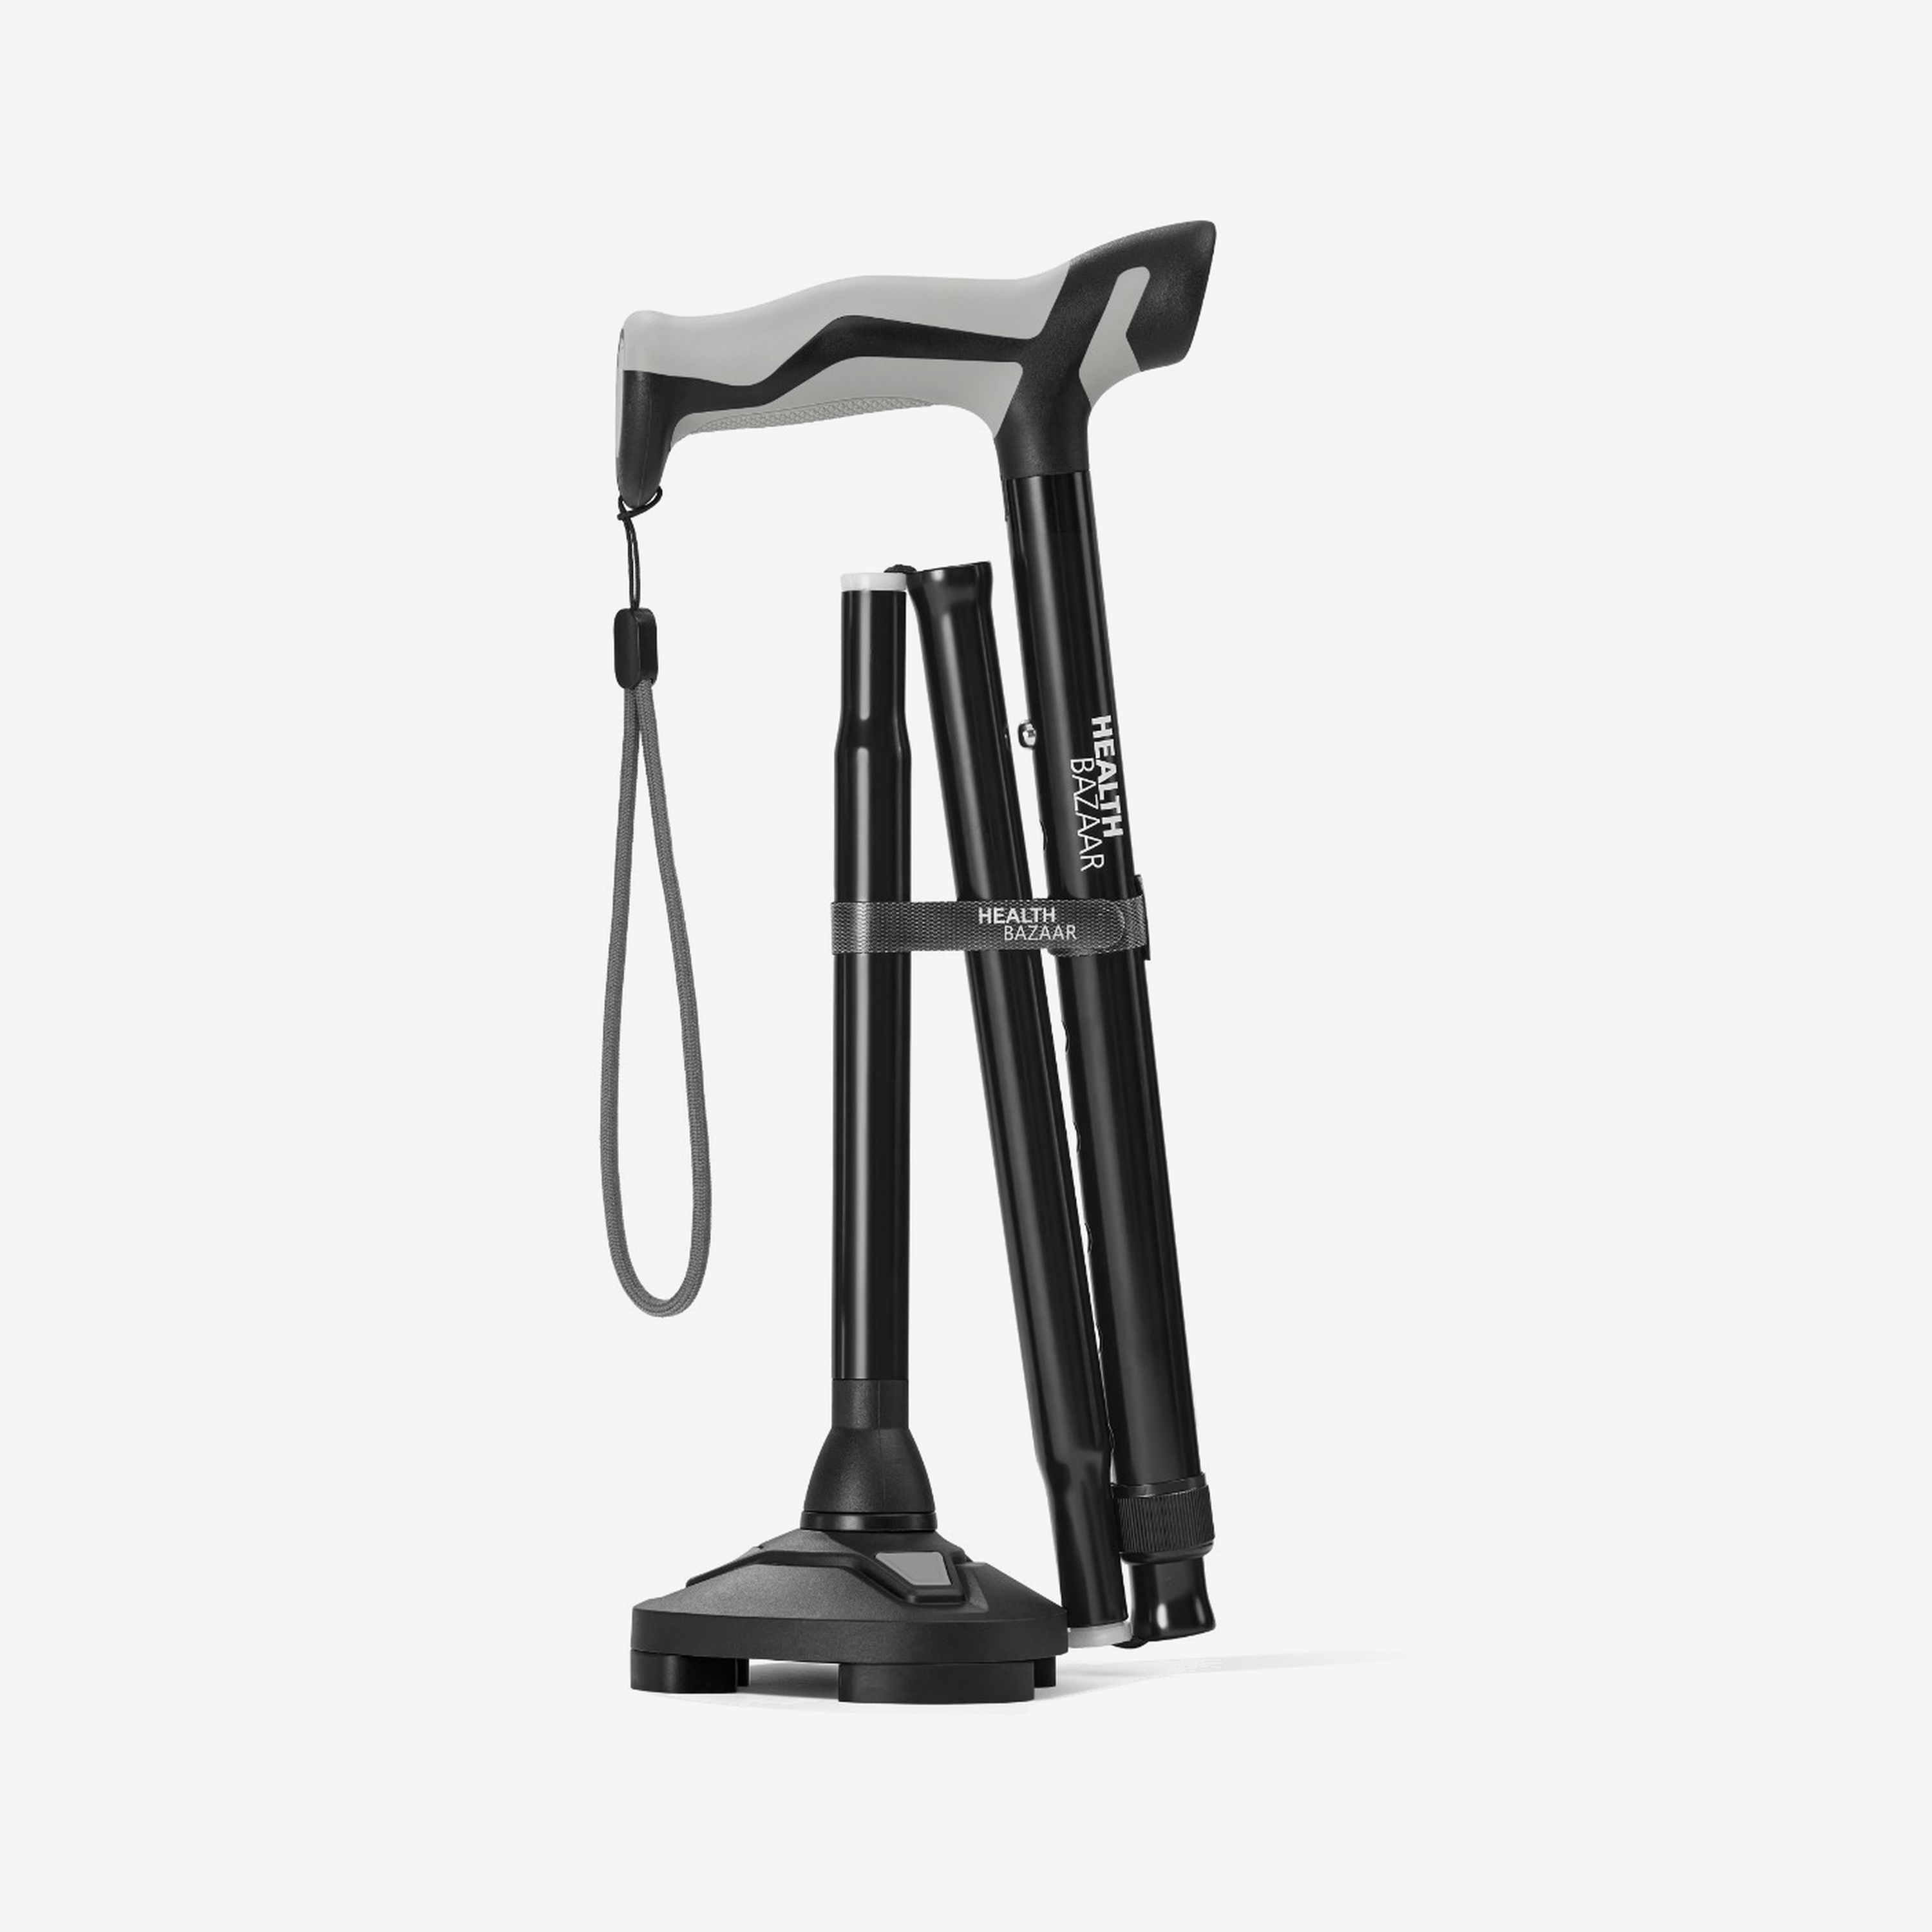
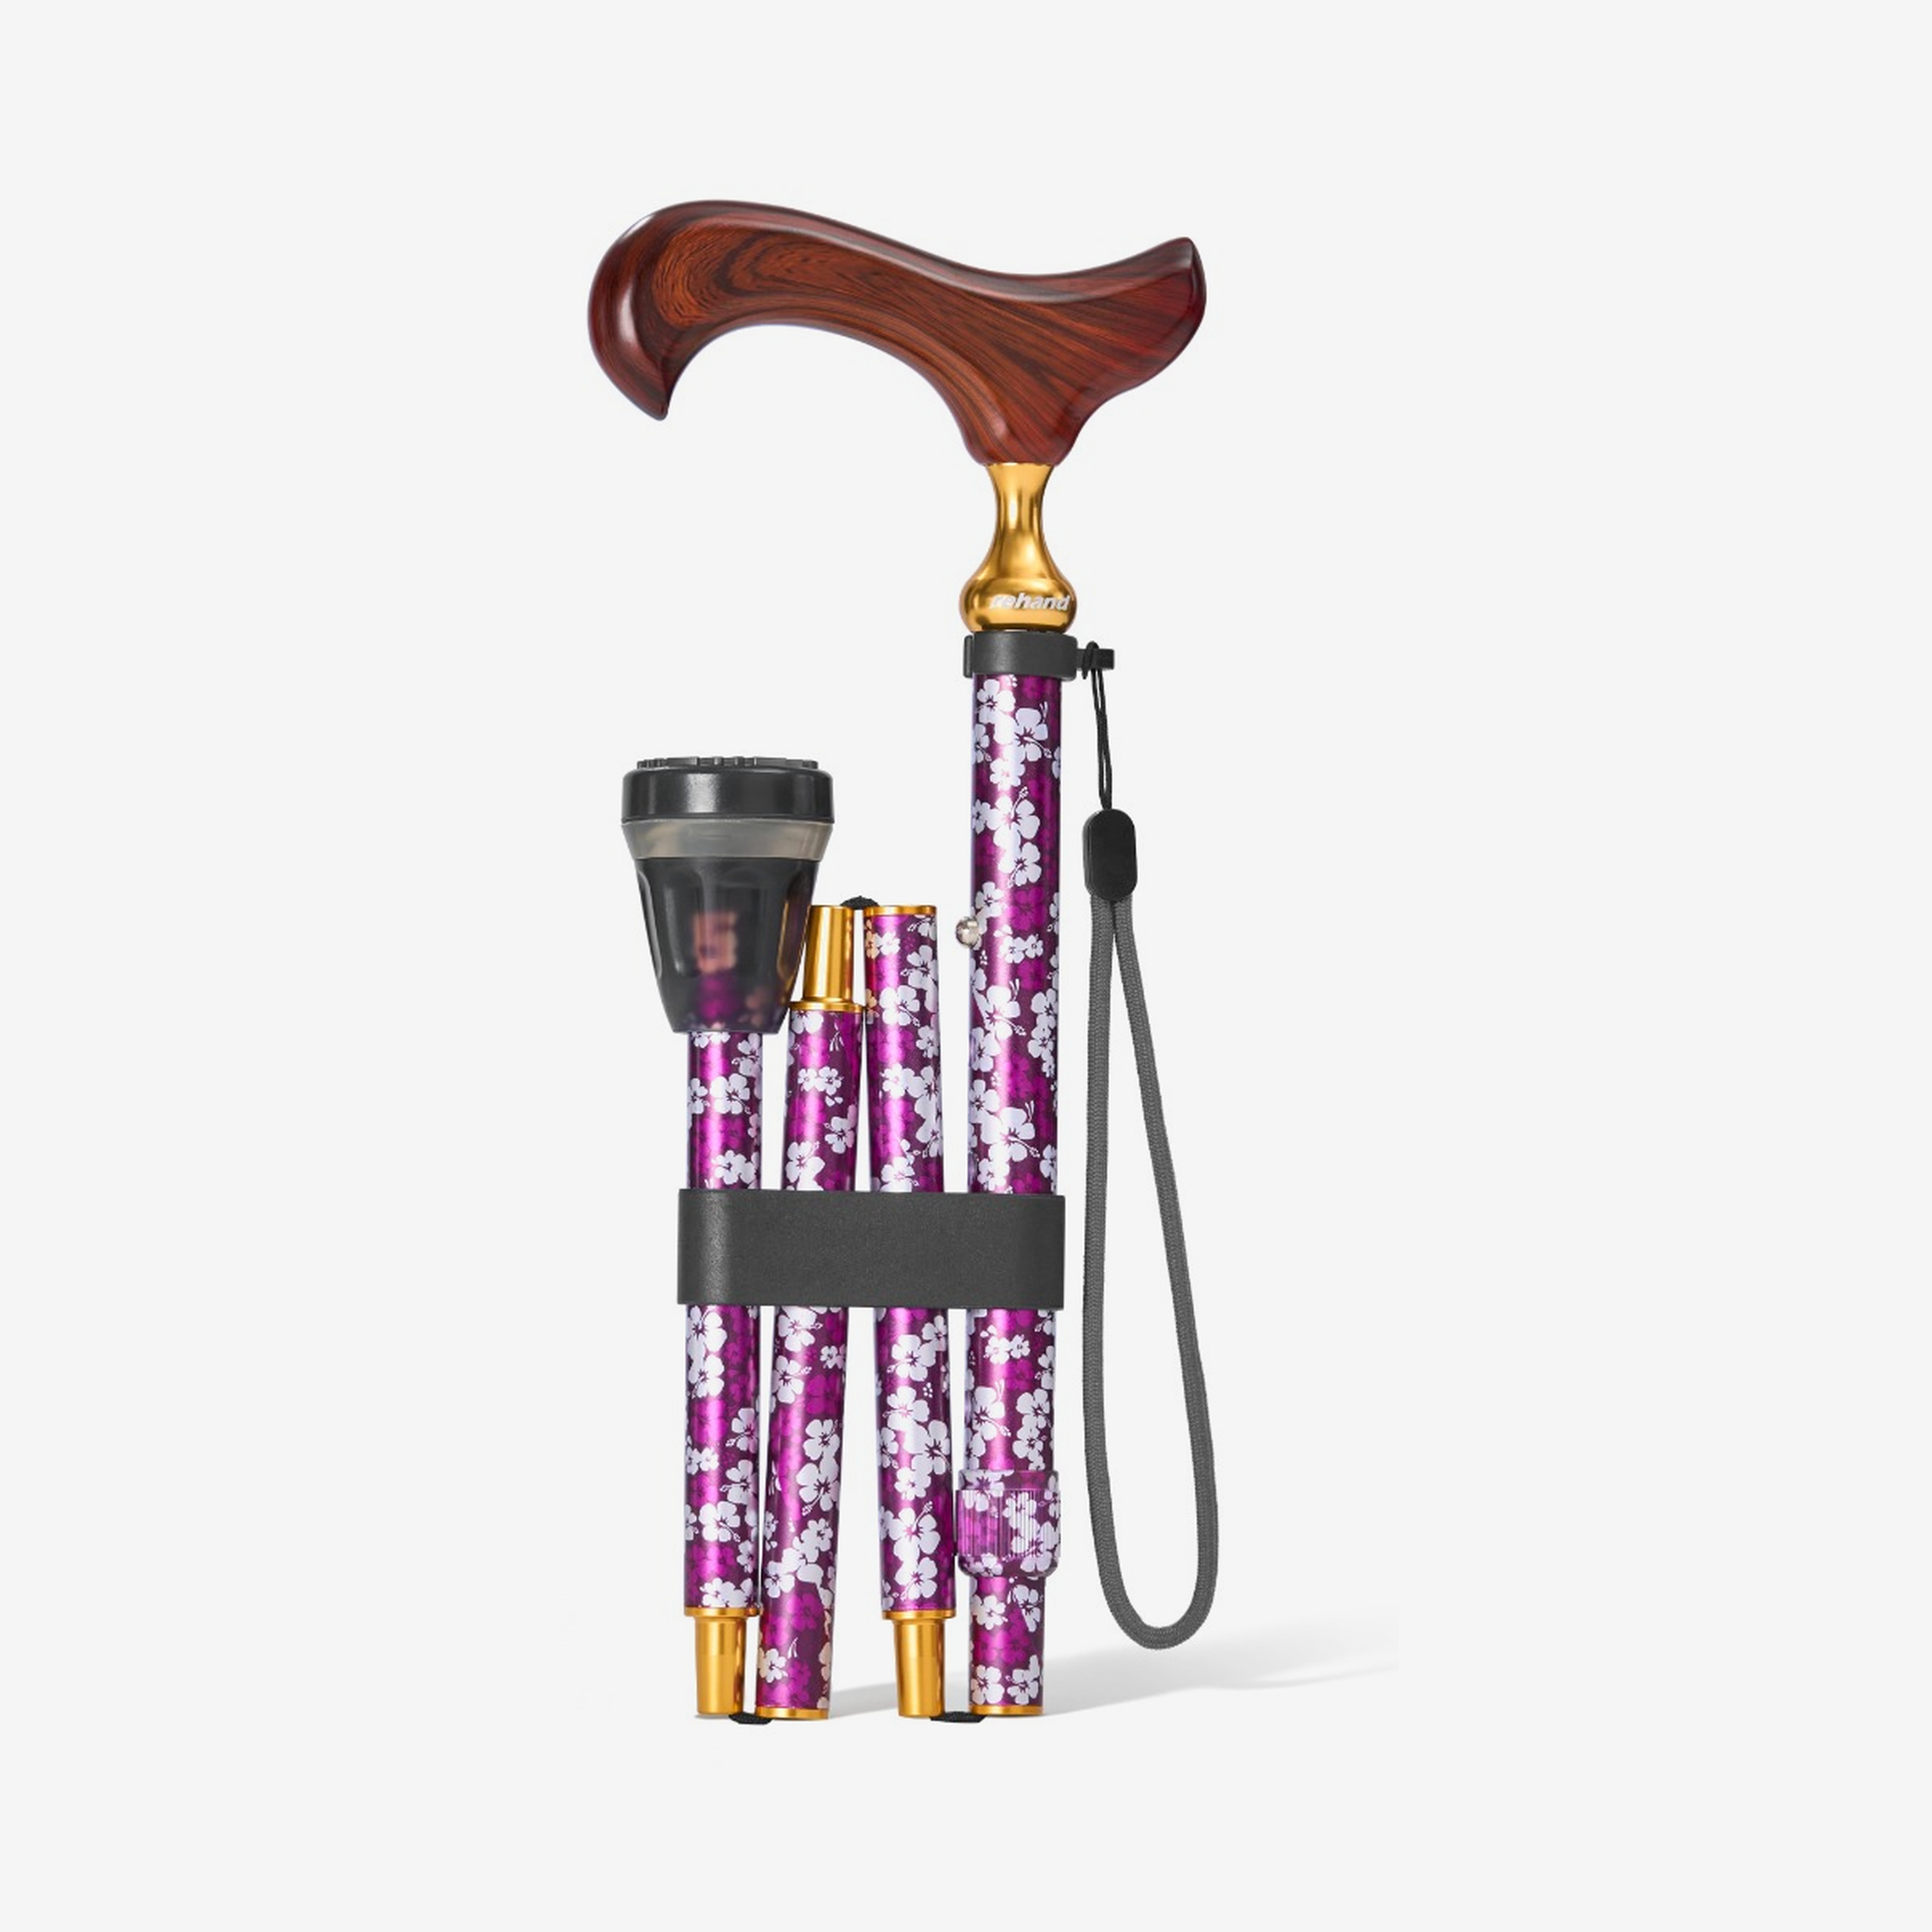
For the compatible Rehand Foldable Walking Cane, the removable 3/4-inch tip can be matched through the Replacement Cane Tips page. Rehand self-standing, quad, cane-seat, and specialty bases are not user-replaceable with that item.
4. Confirm the cane still fits with winter footwear
Boots can change standing height. Put on the footwear you will actually use, then recheck the handle near your wrist crease and the slight bend at your elbow. Use the Rehand Fit Guide and follow any individual instructions from your PT or clinician.
Do not change to an untested height immediately before a difficult route. Confirm the push button and collar are secure, and practice on a clean, dry, level surface first.
5. Keep a hand available for the rail
On stairs and ramps, use a secure handrail when available and follow the method taught by your clinician. Do not fill the free hand with bags. A cane wrist strap is not a handrail and should not carry shopping or luggage.
Our cane-on-stairs guide explains why the handrail comes first. If ice is present, avoid the route rather than trying to solve it with a different cane angle.
6. Plan for wet indoor transitions
Snow and slush can collect on a tip and transfer to smooth indoor floors. Pause at the entrance, clear visible moisture as the building allows, and watch for wet mats or polished surfaces. A cane that felt secure on dry pavement may behave differently on a wet floor.
7. Keep the route visible
Short winter days can reduce visibility. Use well-lit entrances and paths, wear clothing that helps others see you, and carry a separate light if needed without changing your grip. A cane with a built-in light can illuminate a limited area, but it does not identify every patch of ice or replace general lighting.
8. Clean, dry, and inspect after the trip
Wipe away visible moisture, grit, and road salt according to the model instructions. Dry the exterior before folding or storing the cane. Check joints, height controls, and the base again if the cane was dropped or struck a curb.
Use the walking-cane cleaning guide for conservative surface care and the Rehand User Manuals for model-specific instructions.
The bottom line
Winter cane use starts with a route decision, not a product claim. Avoid ice, clear walkways, use handrails, check footwear and fit, inspect the ground-contact part, and dry the cane afterward. When conditions exceed what you can manage safely, wait or ask for help.
Next step: Save this checklist before the first freezing day and inspect your current tip or base while the weather is still clear.
Sources
- Centers for Disease Control and Prevention, Stay Safe During and After a Winter Storm, accessed October 20, 2026.
- National Institute on Aging, Cold Weather Safety for Older Adults and Falls and Fractures in Older Adults, accessed October 20, 2026.
- Mayo Clinic, Tips for choosing and using canes, updated July 30, 2026; accessed October 20, 2026.