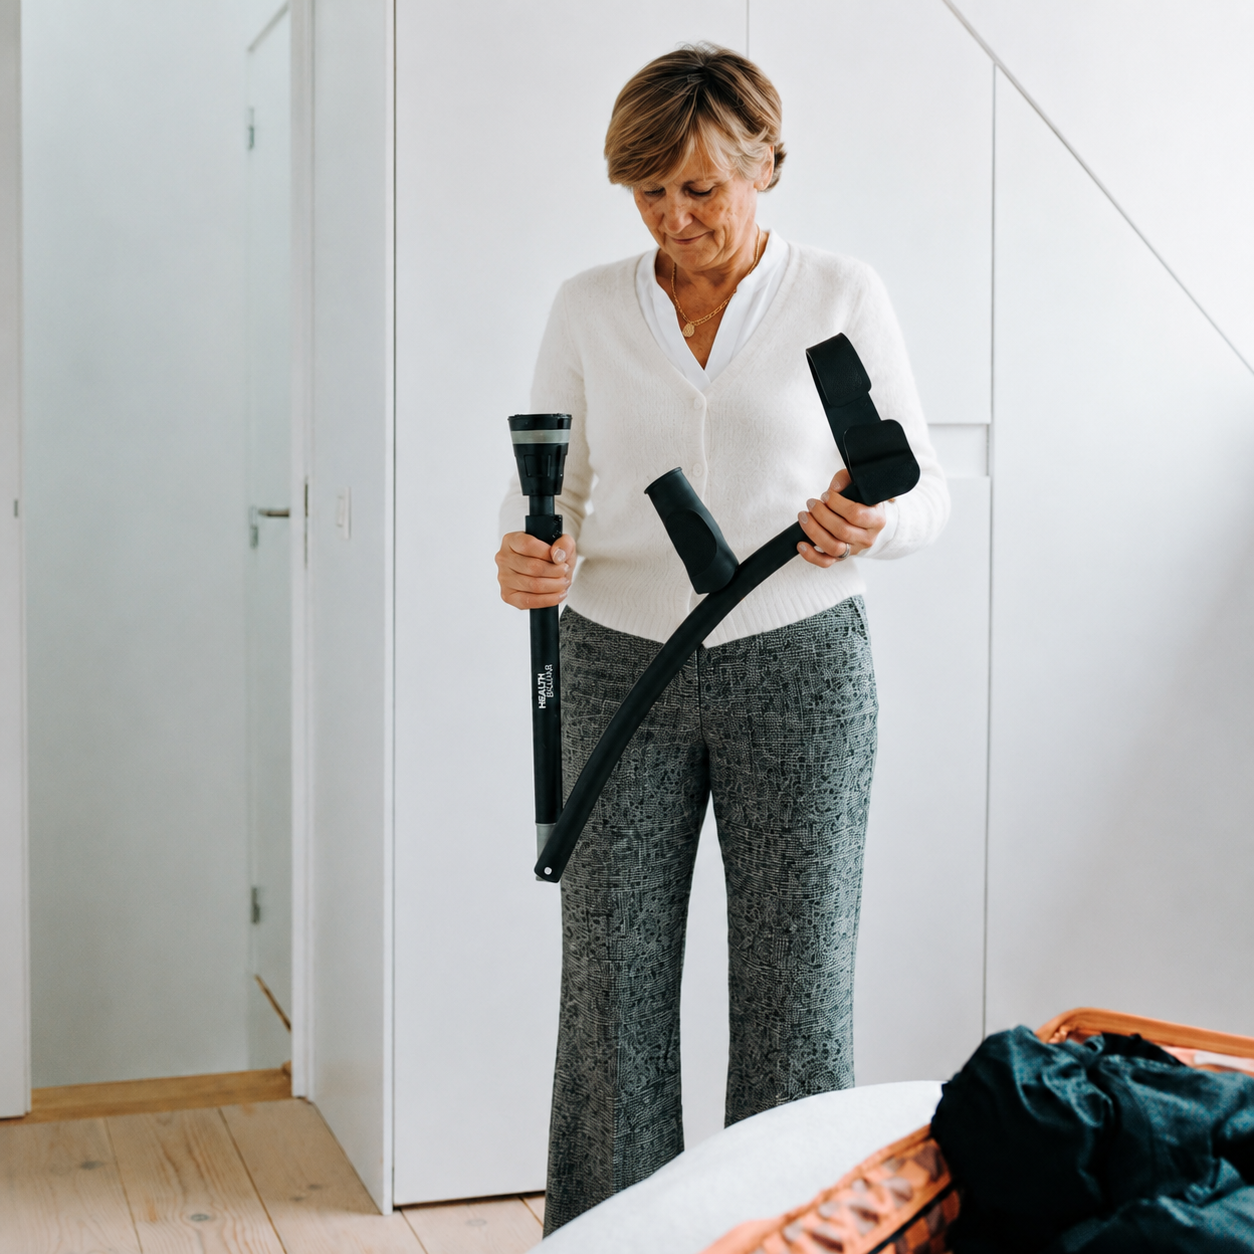


Congratulations on taking a massive step toward reclaiming your mobility! Undergoing knee or hip surgery is no small feat, and entering the rehab phase is where the real transformation happens.
If your physical therapist recommended a quad cane for your recovery, you are in good hands. Unlike standard single-tip canes, a four-prong cane provides a wide base of support, ensuring maximum stability as your joint heals.
However, bringing a quad cane home is one thing; using it correctly without straining your back or risking a slip is another. In this masterclass, we will walk you through the exact, step-by-step mechanics of walking after knee surgery or hip replacement using a quad cane, ensuring your recovery is safe, smooth, and pain-free.
1. The Setup: Adjusting Your Quad Cane to the Perfect Height
Before you take your first step, your cane needs to fit your body. Using a cane that is too high will shrug your shoulder and cause neck pain; a cane that is too low will make you slouch, triggering severe lower back aches.
How to measure for the perfect fit:
-
Stand up straight with your recovery shoes on.
-
Let your arms hang naturally at your sides.
-
The top of the quad cane (the handle grip) should align perfectly with the crease of your wrist.
-
When you place your hand on the grip, your elbow should bend at a comfortable 15 to 20-degree angle.
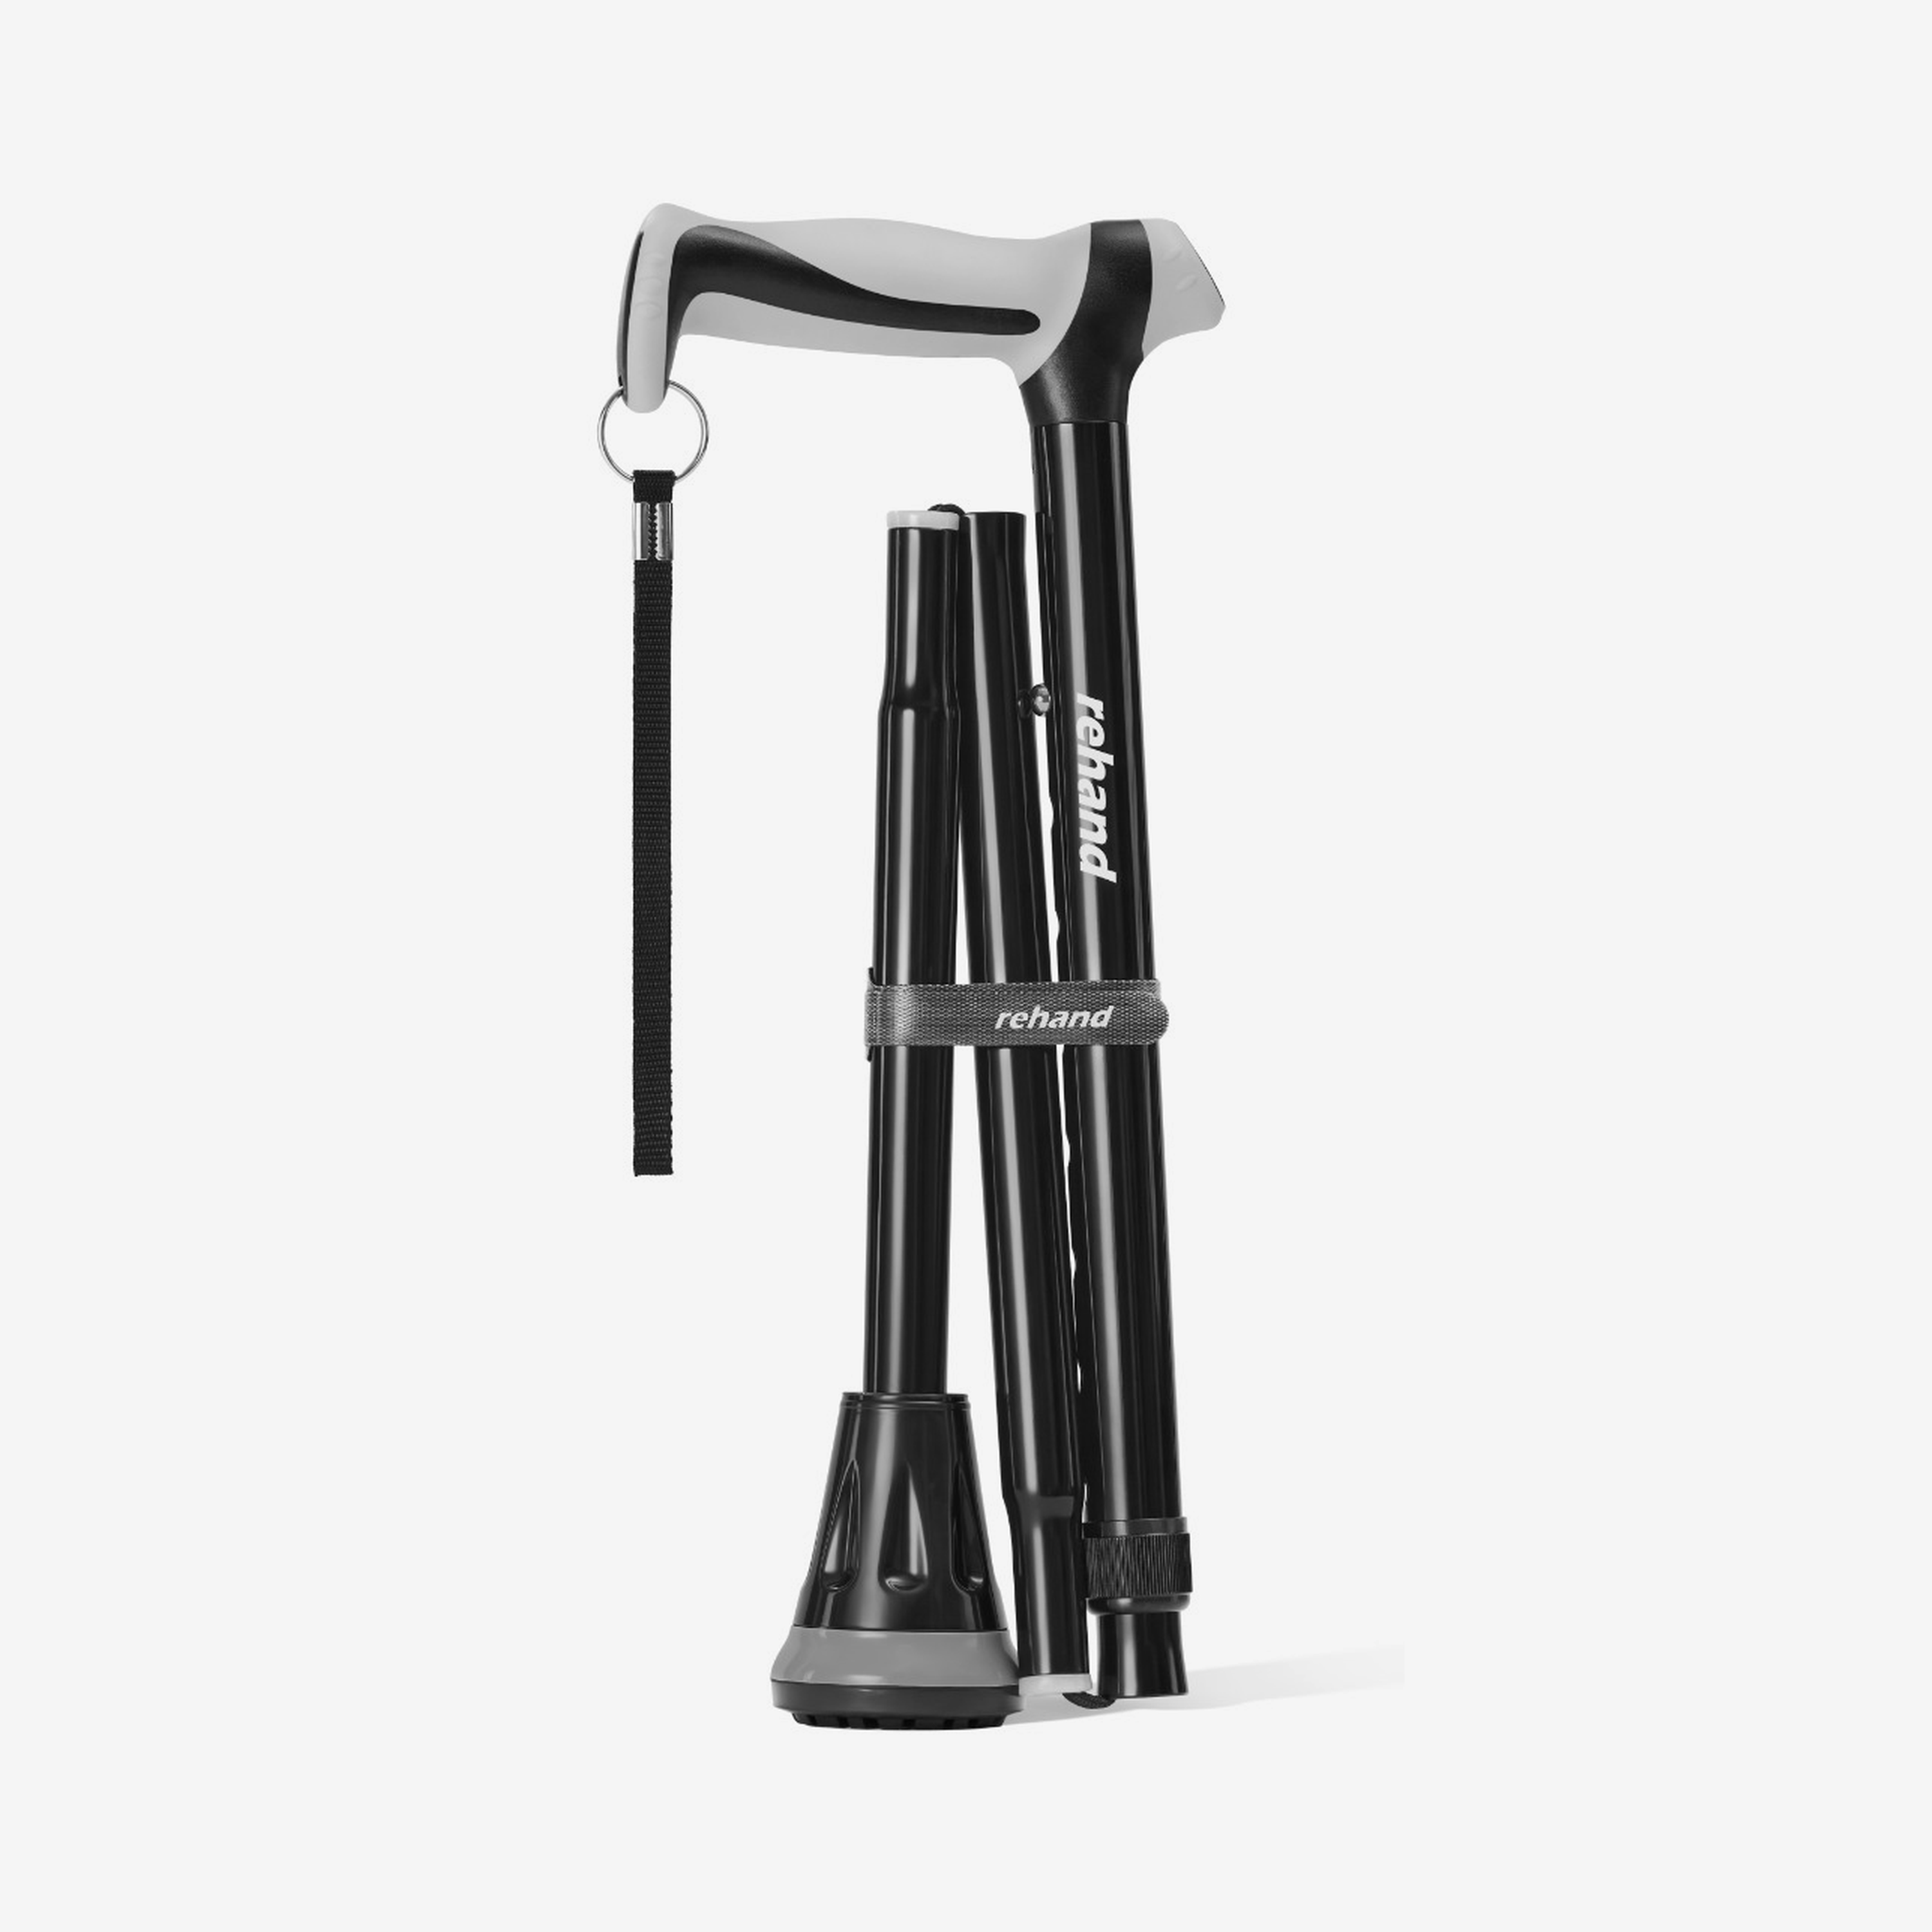
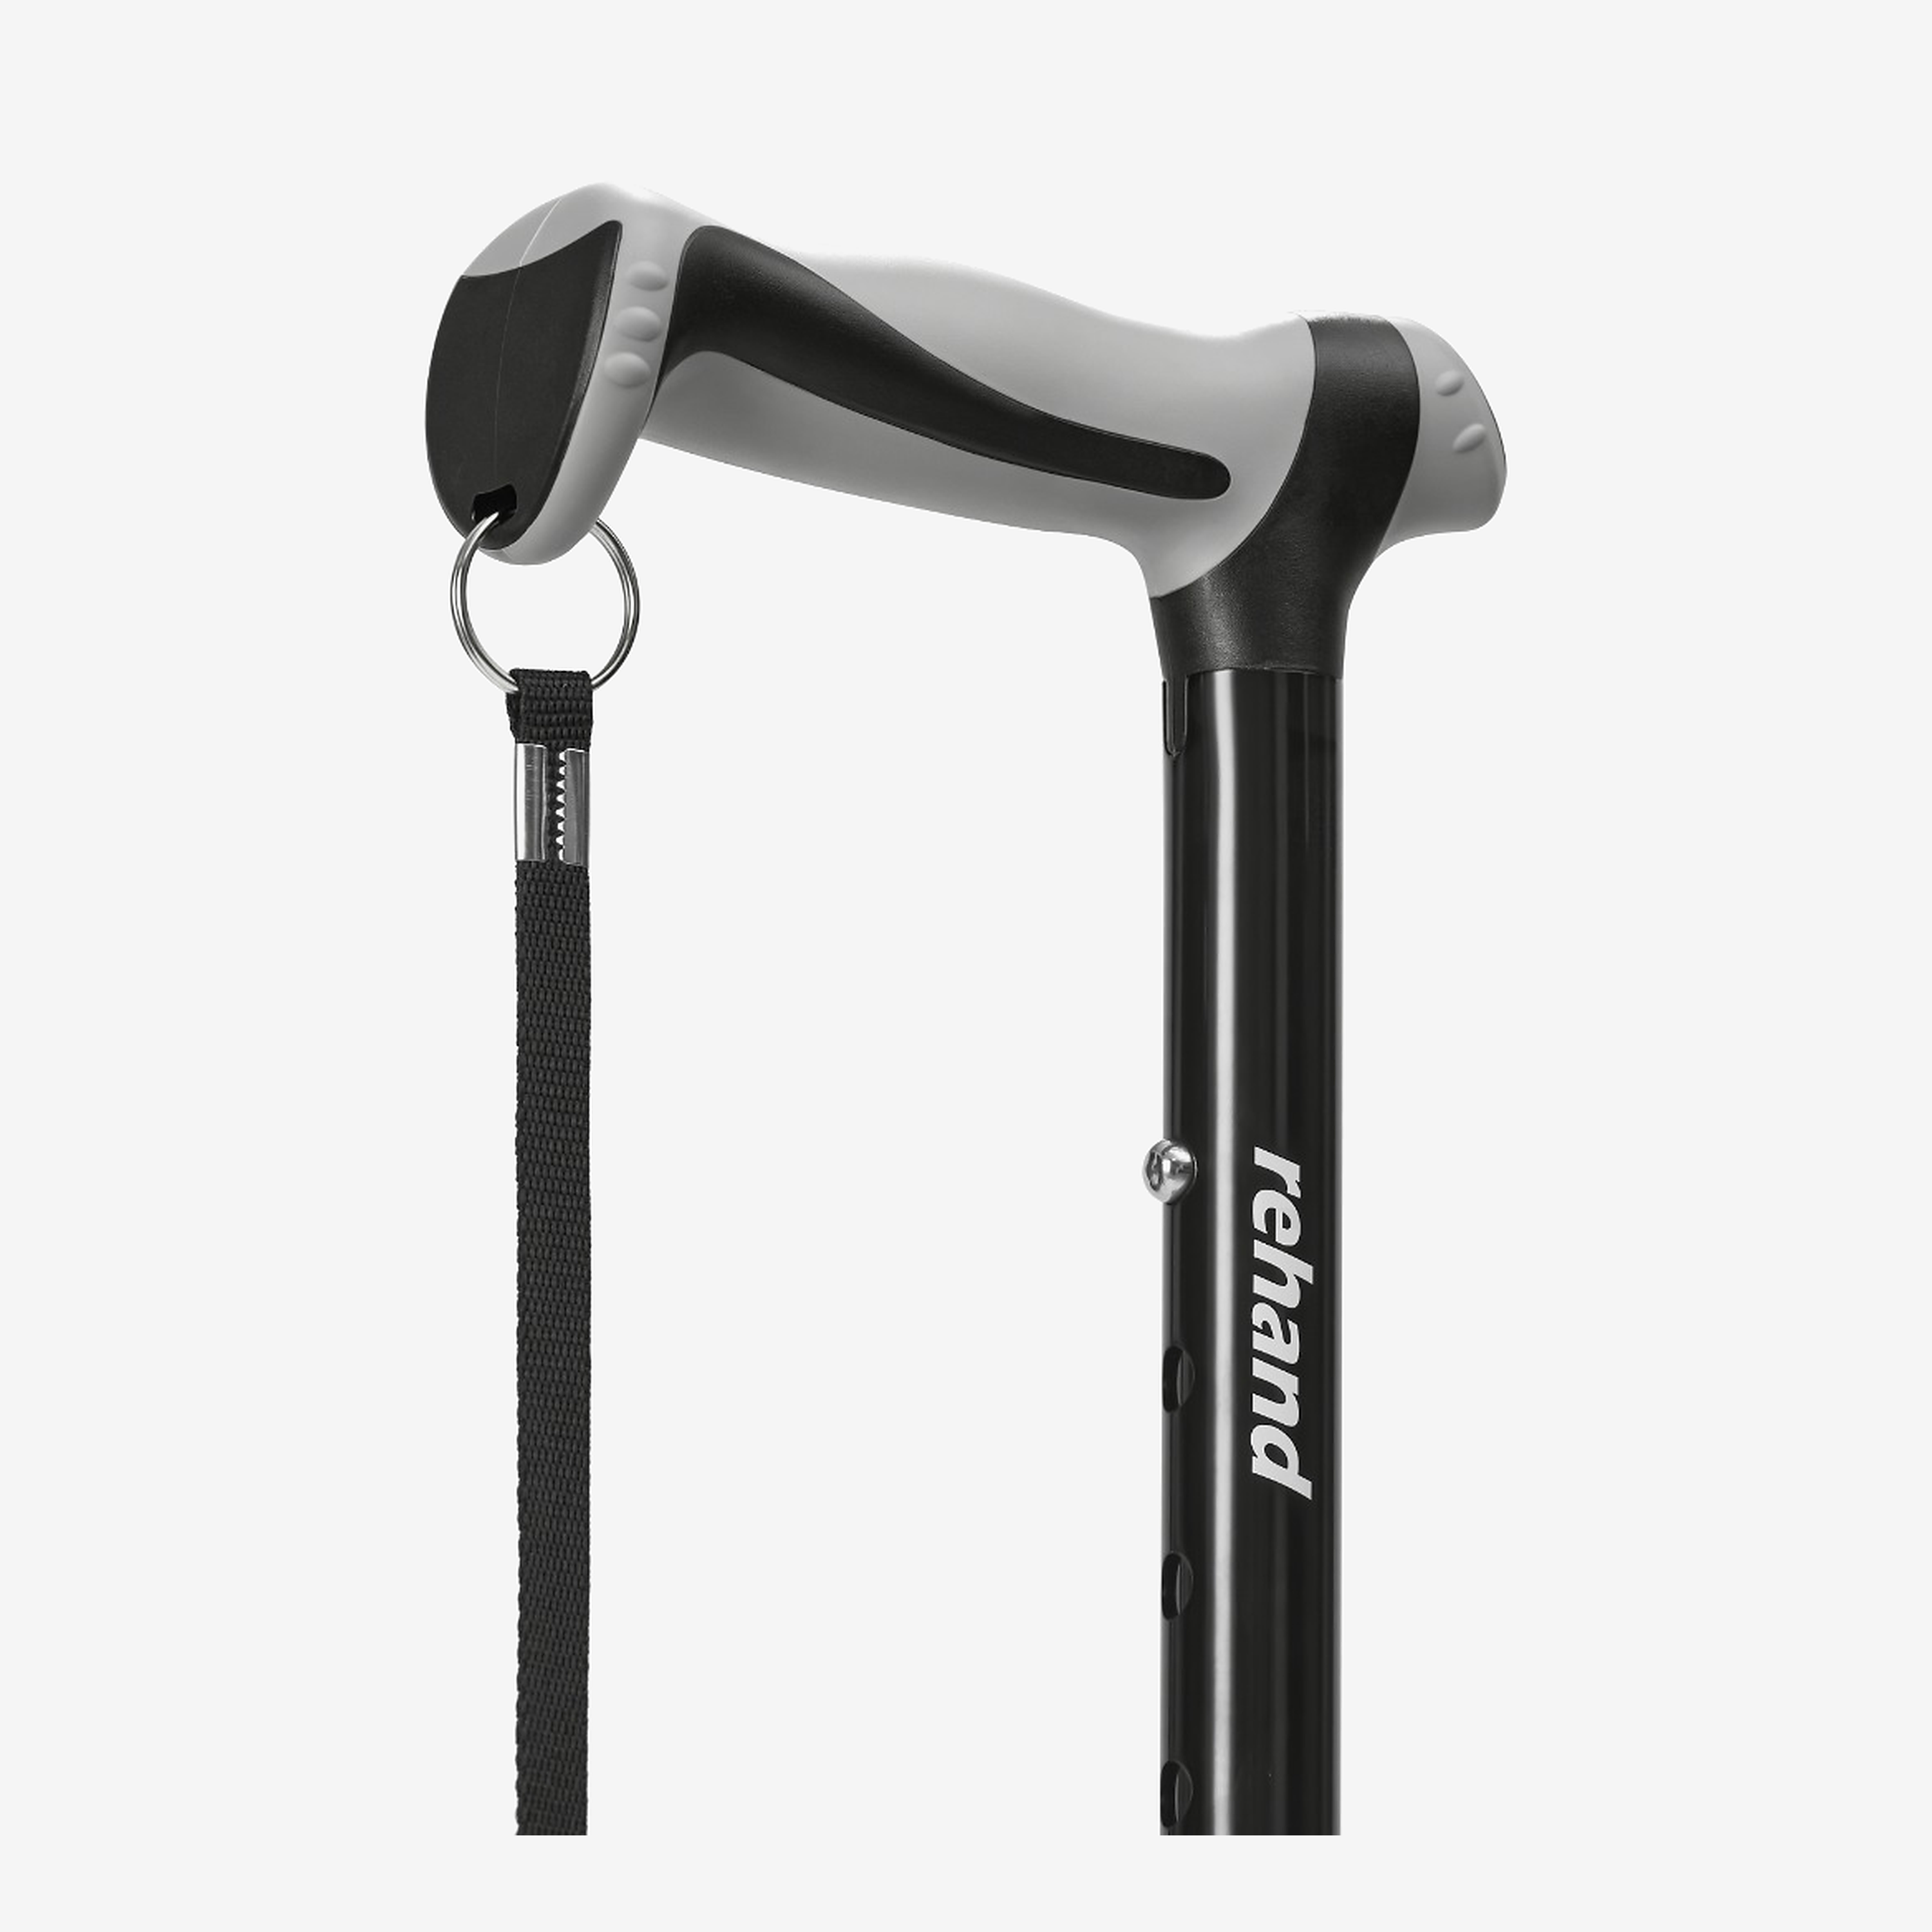
Pro Tip: Traditional quad canes often use cheap click-buttons that rattle and limit you to generic height steps. Look for an adjustable quad cane featuring precision height settings (like Rehand’s 8-level adjustment system) to lock in the exact millimeter your body needs for optimal posture.
2. The Golden Rule: Which Hand Holds the Quad Cane?
This is the number one mistake post-surgery patients make: Holding the cane on the injured side.
Always hold the quad cane in the hand OPPOSITE your surgical or weaker leg.
If your left knee was operated on, hold the cane in your right hand. Why? When we walk naturally, our opposite arm and leg swing together. Holding the cane on the strong side allows you to shift your body weight away from the healing joint, drastically reducing joint pressure while maintaining your natural gait.
3. The Step-by-Step Walking Sequence
Walking after hip or knee surgery requires a rhythmic, three-step sequence. Do not rush it. Focus on smooth, deliberate movements.
-
Step 1: Advance the Cane. Move the quad cane forward about one short step ahead of you. Ensure all four prongs touch the floor flat and simultaneously.
-
Step 2: Step with the Surgical Leg. Step forward with your weak/operated leg, bringing it even with the quad cane. Press down firmly on the cane's handle to absorb your body weight.
-
Step 3: Step Past with the Strong Leg. Step forward with your unoperated, strong leg, placing it past the cane and your injured leg.
4. How to Sit and Stand Safely (The High-Risk Zone)
Most post-op falls don't happen while walking; they happen when transitioning from a chair to a standing position. When your thigh muscles are weak from surgery, pushing yourself up can feel incredibly unstable.
Standing Up Safely:
-
Do NOT pull on the cane to pull yourself up. Quad canes are designed for downward weight, not pulling force; it will tip over.
-
Slide your hips to the edge of the chair.
-
Hold the cane handle in your strong hand, keeping the base flat on the floor.
-
Place your other hand on the armrest of the chair.
-
Push down simultaneously through the chair's armrest and the cane to stand up straight.
The Ultimate Recovery Hack: Stand-Assist Handles
If you are worried about leg weakness during the first 6 weeks of recovery, consider upgrading to a heavy-duty quad cane with a built-in stand-assist handle. This lower, secondary grip acts as a mechanical lever, allowing you to use your upper body strength to push up evenly from a seated position without putting sudden, sharp stress on your new knee or hip.
5. Navigating Stairs with a Quad Cane
When it comes to stairs, physical therapists use a simple phrase to help patients remember what to do: "Up with the Good, Down with the Bad."
Going UP Stairs:
-
Leave the cane on the ground.
-
Step up first with your strong (good) leg.
-
Push down on the cane and bring your injured leg up to the same step.
-
Bring the cane up last.
Going DOWN Stairs:
-
Lower the cane down to the step first.
-
Step down with your injured (bad) leg, letting the cane support your weight.
-
Bring your strong leg down to meet them on the same step.
Why the Right Quad Cane Changes Your Recovery Timeline
Your recovery tool shouldn't feel like a medical punishment; it should feel like an extension of your body. Standard medical-supply canes often use hard, slippery plastic handles that trigger carpal tunnel or arthritis flare-ups during extended rehab.
When choosing a quad cane for long-term recovery, prioritize features that safeguard your joints:
-
Ergonomic TPR Soft Grip: Look for contoured handles that distribute pressure evenly across your palm, preventing wrist fatigue.
-
All-Terrain Pivoting Base: A base that mimics the natural movement of your ankle ensures that all four rubber tips stay firmly planted, whether you are walking on living room carpet or a backyard sidewalk.
-
High Weight Capacity: Opt for heavy-duty aluminum construction rated for 350 lbs (158 kg) to guarantee zero flexing or warping under high-stress recovery loads.
By mastering these simple mechanics, you protect your surgical investment, speed up your rehabilitation, and transition back to independent living faster and safer.
Medical Disclaimer: The information provided in this article is for educational and informational purposes only and is not intended as medical advice. Always consult with a qualified healthcare professional, surgeon, or physical therapist before purchasing or using mobility aids, or starting any recovery exercise regimen.