

Quick answer: Put on the shoes you normally wear, stand as upright as you comfortably can with your arms relaxed, and measure from the floor to the crease on the inside of your wrist. Adjust the cane so the top of the handle is around that level. When you hold the handle, your elbow should remain slightly bent and your shoulder should stay relaxed.
That method is a practical starting point—not a diagnosis or a guarantee that one setting is right for every person. Your posture, arm length, footwear, gait, device type, and clinical instructions can change the final fit.
If you have new weakness, dizziness, repeated falls, significant pain, a recent operation, or instructions to limit weight on a leg, ask a qualified healthcare professional to confirm whether a cane is the right device and how it should be used.
What You Need
Prepare these items before measuring:
-
the shoes you usually wear while walking;
-
a tape measure or yardstick;
-
a stable, level floor;
-
the cane and its model-specific manual, if you already own it; and
-
another person to read the measurement, when possible.
Do not hold onto the person who is measuring you. If you cannot stand safely without support, have a clinician perform the fitting rather than trying to complete the measurement alone.
Step 1: Wear Your Everyday Walking Shoes
Shoe soles and heels change your standing height. Measuring barefoot and then walking in thick-soled shoes can make the selected cane setting feel too short. Measuring in boots and then switching to thin slippers can have the opposite effect.
Choose the shoes you use most often. If you regularly alternate between noticeably different sole heights, record both measurements and confirm whether your adjustable cane can be reset securely.
Step 2: Stand Naturally on a Level Surface
Stand as upright as you comfortably can. Keep your head facing forward, shoulders relaxed, and arms hanging at your sides.
Do not force an unusually rigid posture just for the measurement. The goal is to reflect how you normally stand and walk. At the same time, avoid looking down at the tape because bending the neck and trunk can change the reading.
Step 3: Find the Wrist Crease
Locate the crease on the inside of the wrist where the hand meets the forearm. With the arm relaxed at your side, have another person measure vertically from the floor to that crease.
The American Academy of Orthopaedic Surgeons, Mayo Clinic, and Cleveland Clinic all use wrist-crease alignment as a practical cane-fitting reference.
Keep the tape straight rather than following the curve of the body. Record the result in inches or centimeters so you can compare it with the manufacturer’s adjustment range.
Step 4: Set the Handle Near Wrist-Crease Height
Adjust the cane so the top of the handle is approximately level with the wrist crease. Follow the manual for the exact model.
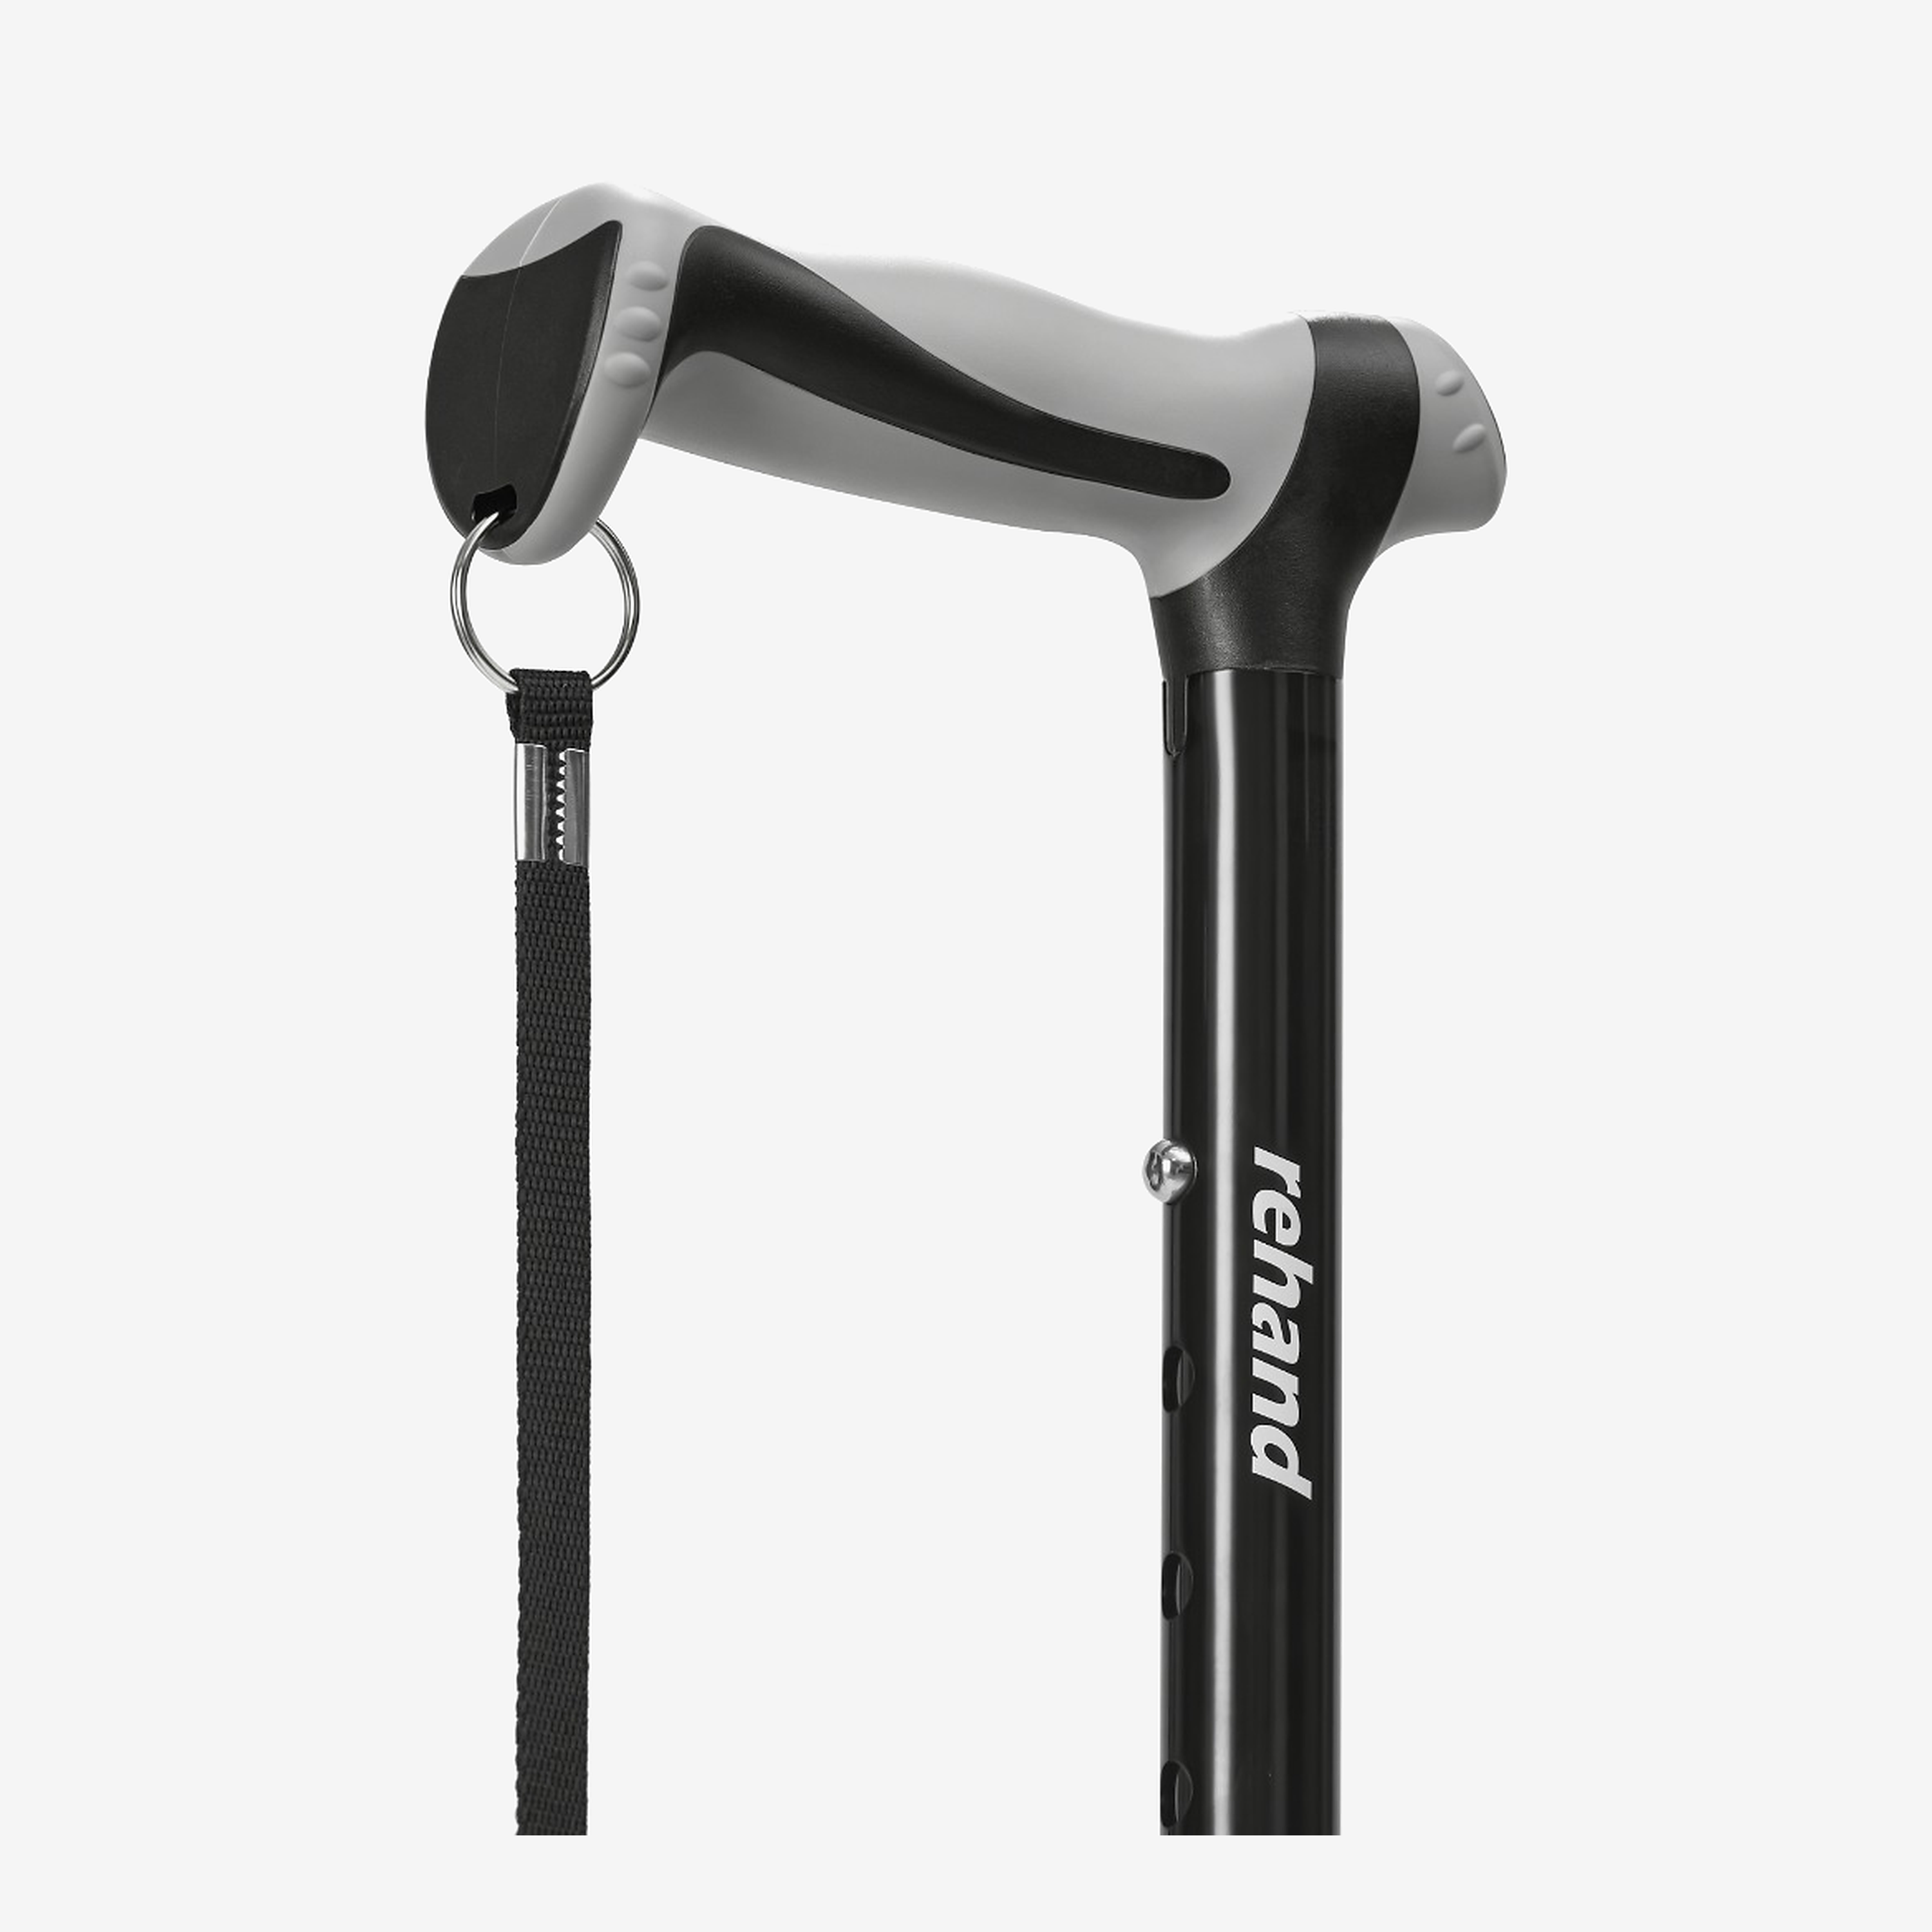
For a common push-button adjustable cane:
-
Loosen the locking collar if the model includes one.
-
Press the height-adjustment button.
-
Move the shaft to the selected hole.
-
Confirm that the button fully protrudes through the hole.
-
Tighten the locking collar.
-
Apply light pressure before walking to confirm the shaft does not slide or rotate unexpectedly.
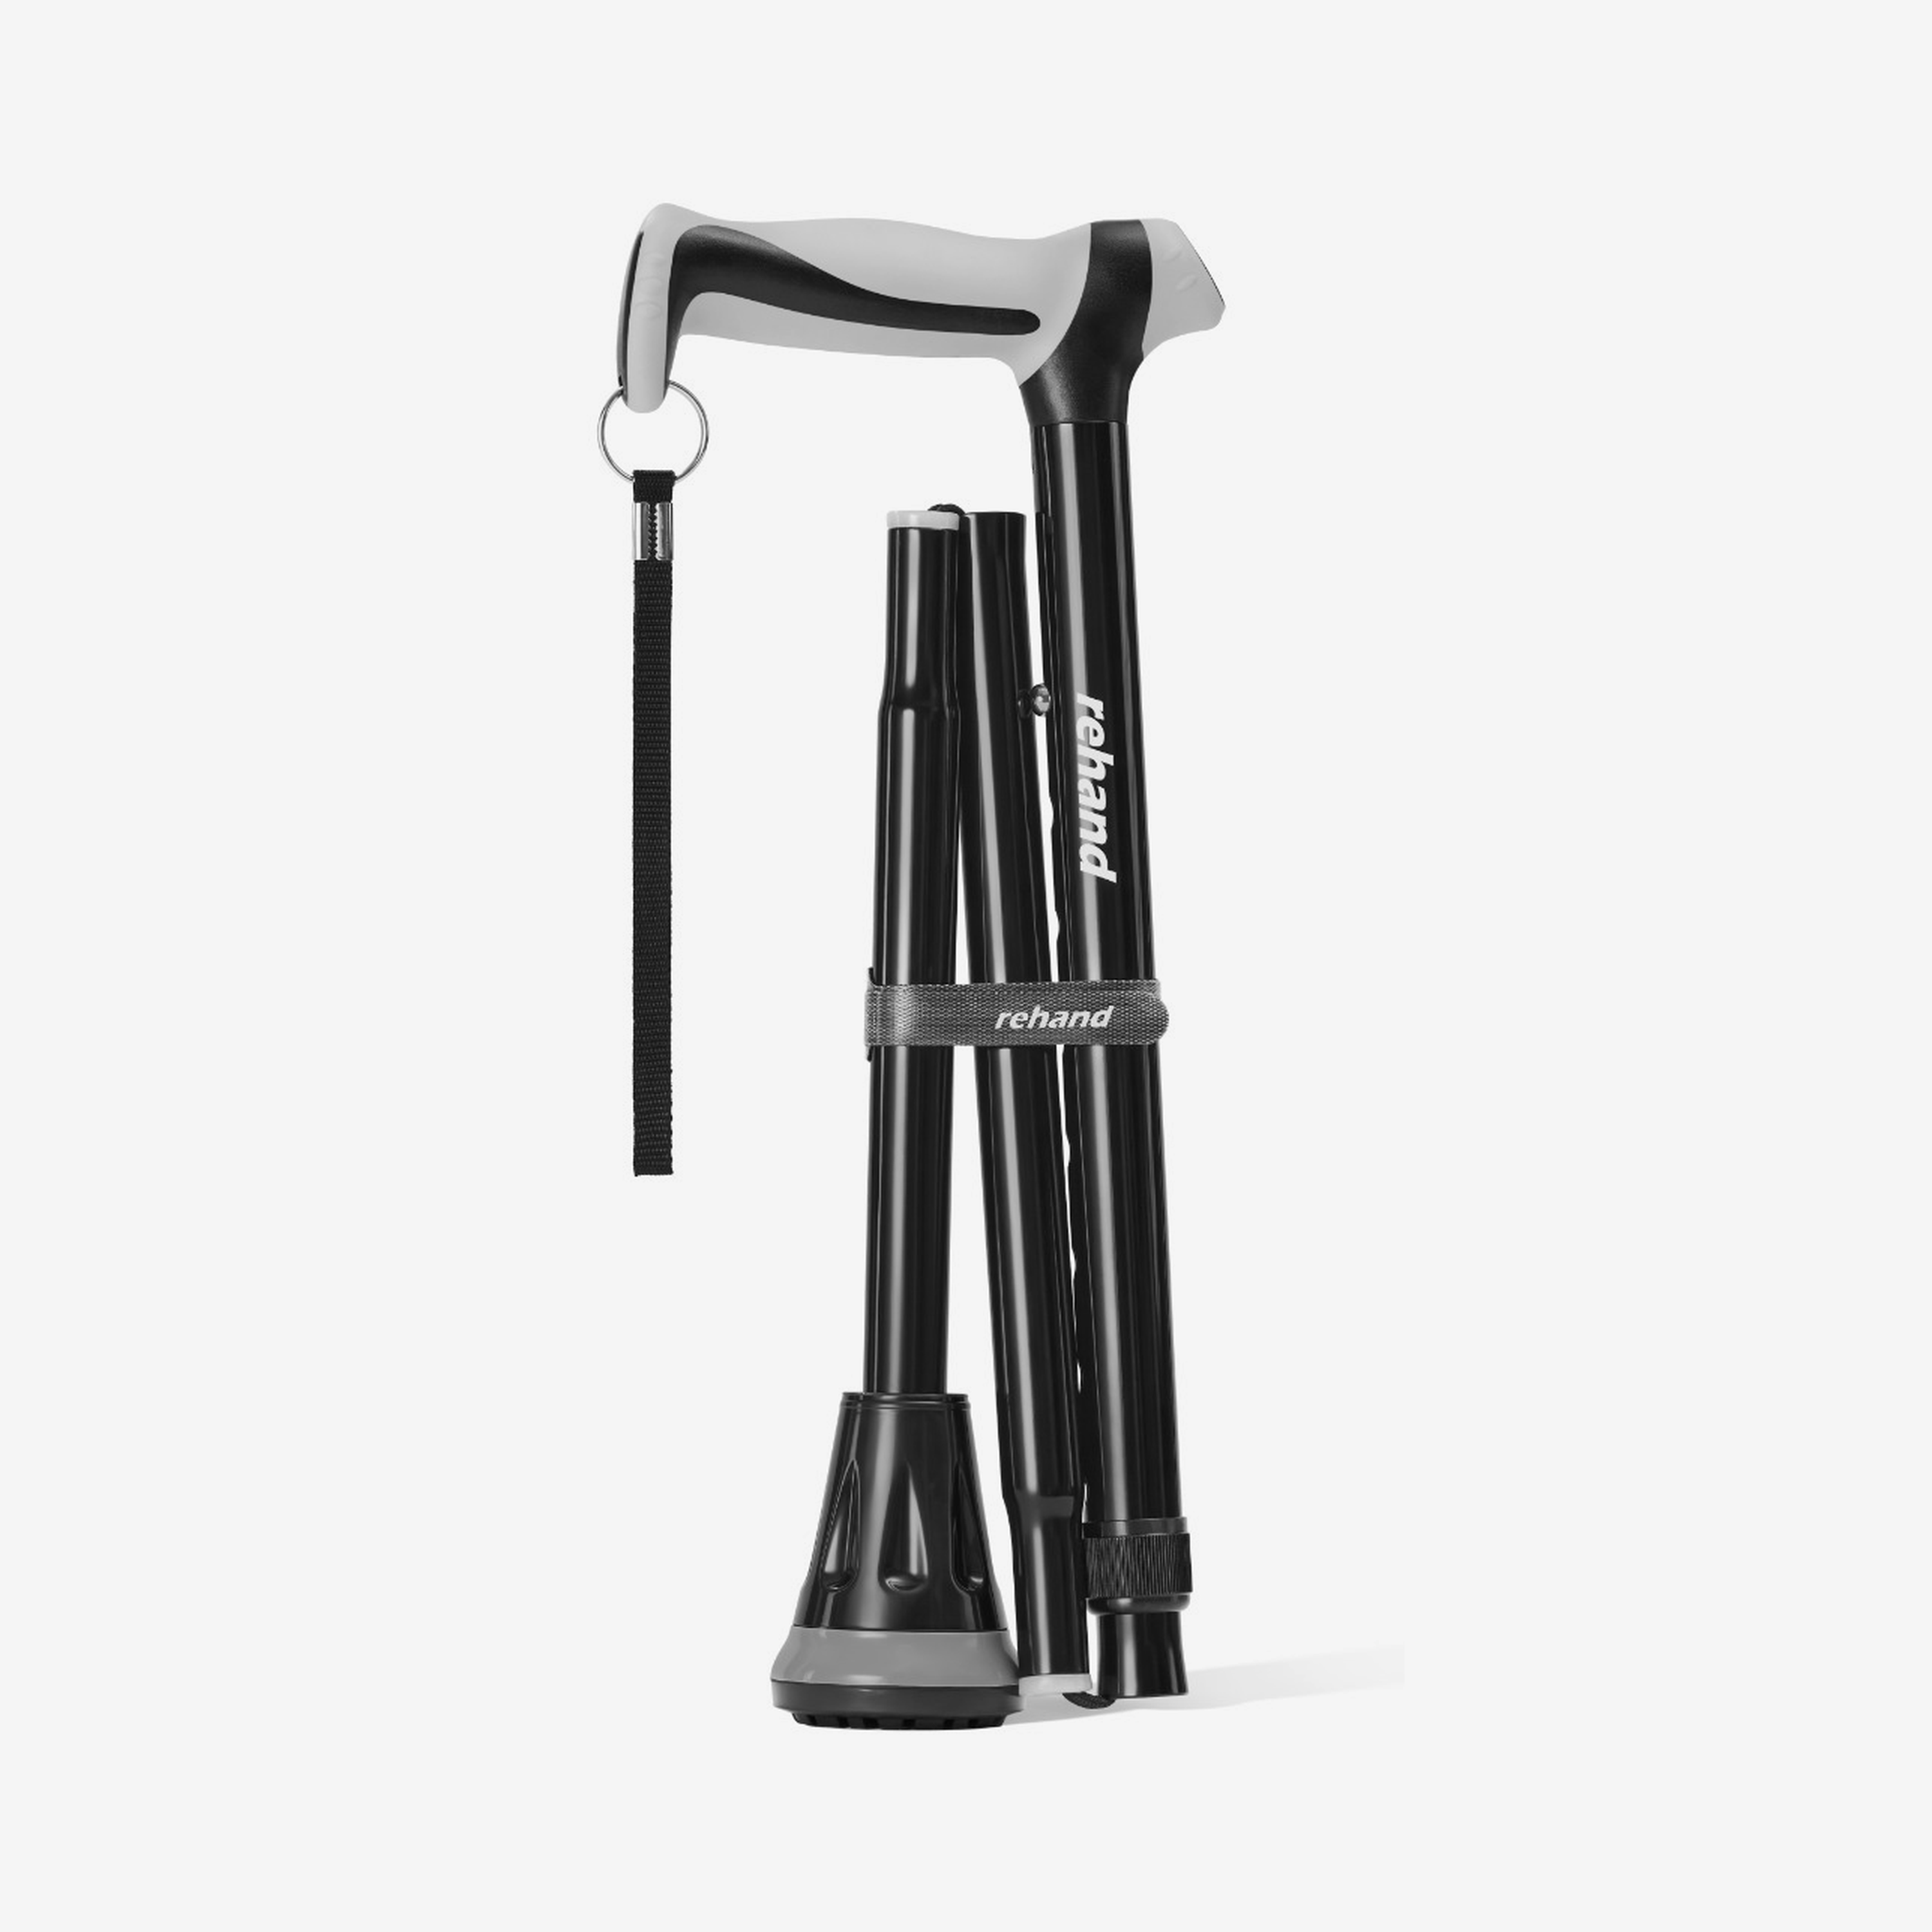
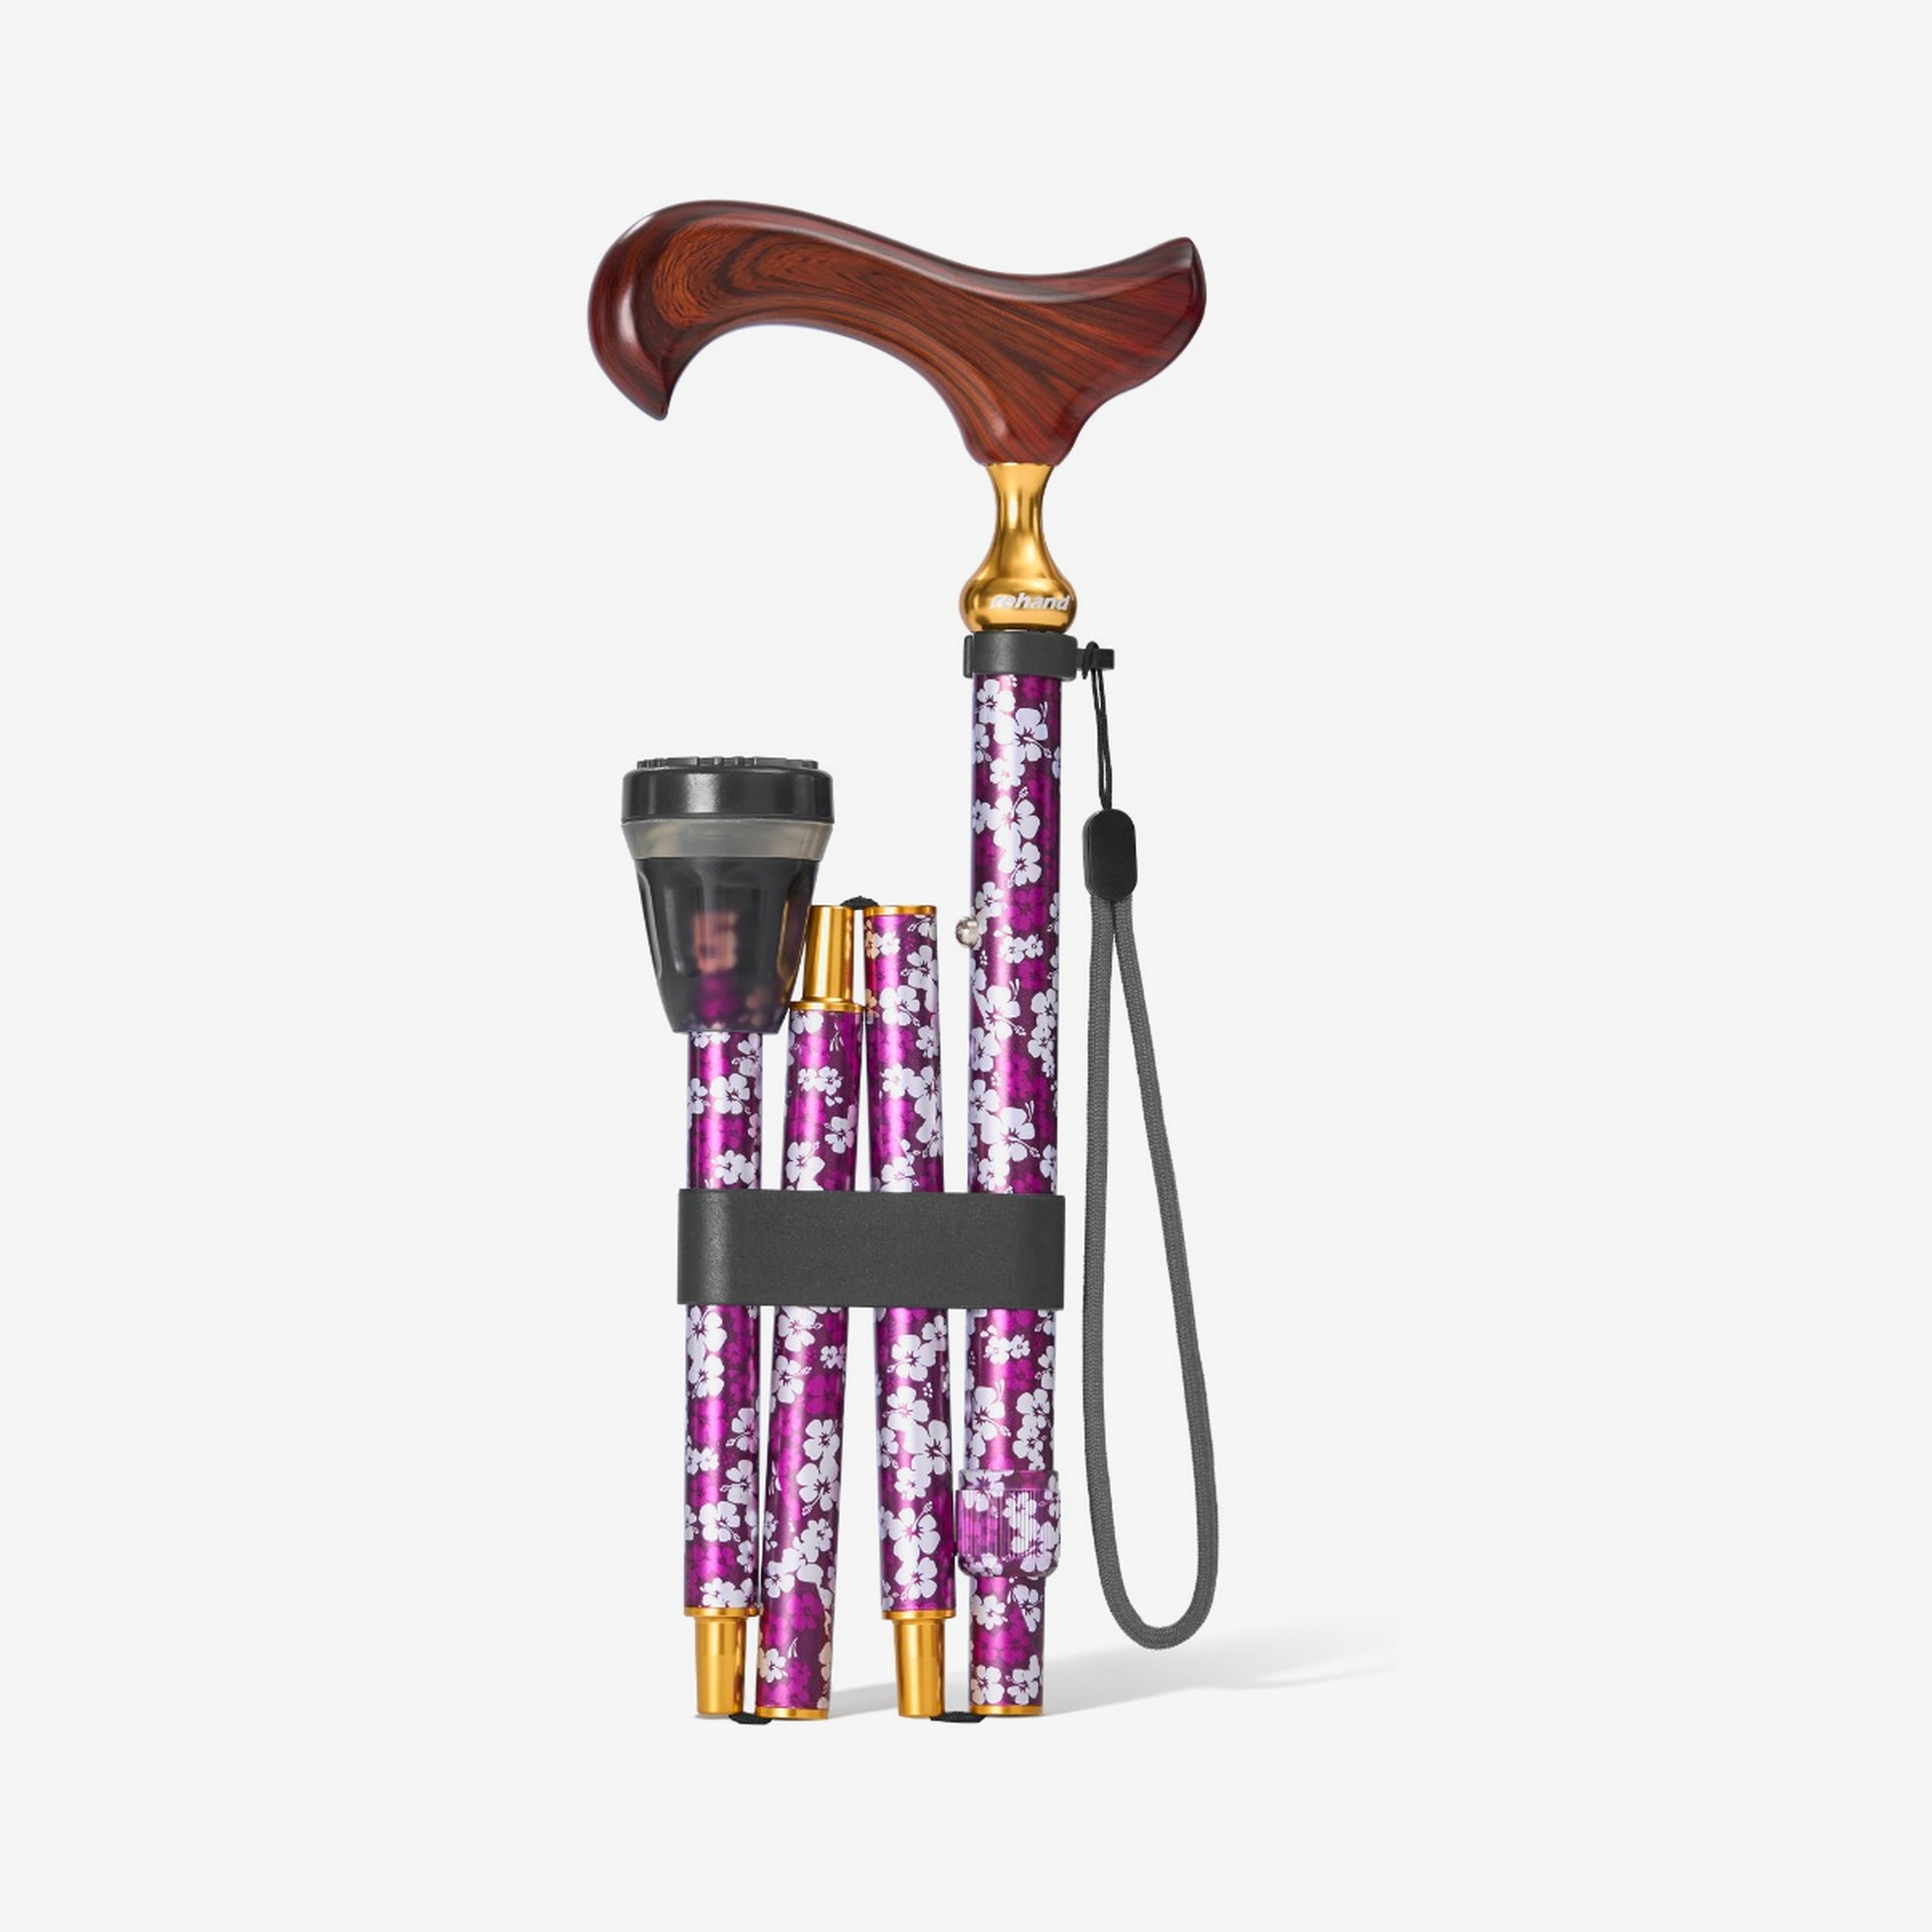
Do not call a cane “stepless” when it uses defined adjustment holes. The current Rehand Foldable Walking Cane has eight one-inch settings from 31 to 38 inches.
Step 5: Check Your Elbow and Shoulder
Place your hand naturally on the grip. Your elbow should have a slight, comfortable bend rather than being locked straight or sharply flexed. Cleveland Clinic describes about 20 degrees as a common reference, while other clinical guidance uses a modest range around that figure.
Use the angle as a check, not as a number you must force on your own. Also confirm that:
-
your shoulder remains relaxed instead of rising toward your ear;
-
you do not have to reach far down for the handle;
-
your wrist can stay in a manageable position on the grip; and
-
you can stand without leaning heavily over the cane.
If the fit still looks or feels unusual after rechecking the steps, ask a physical therapist or other qualified clinician for a hands-on assessment.
Step 6: Confirm the Tip and Base Sit Correctly
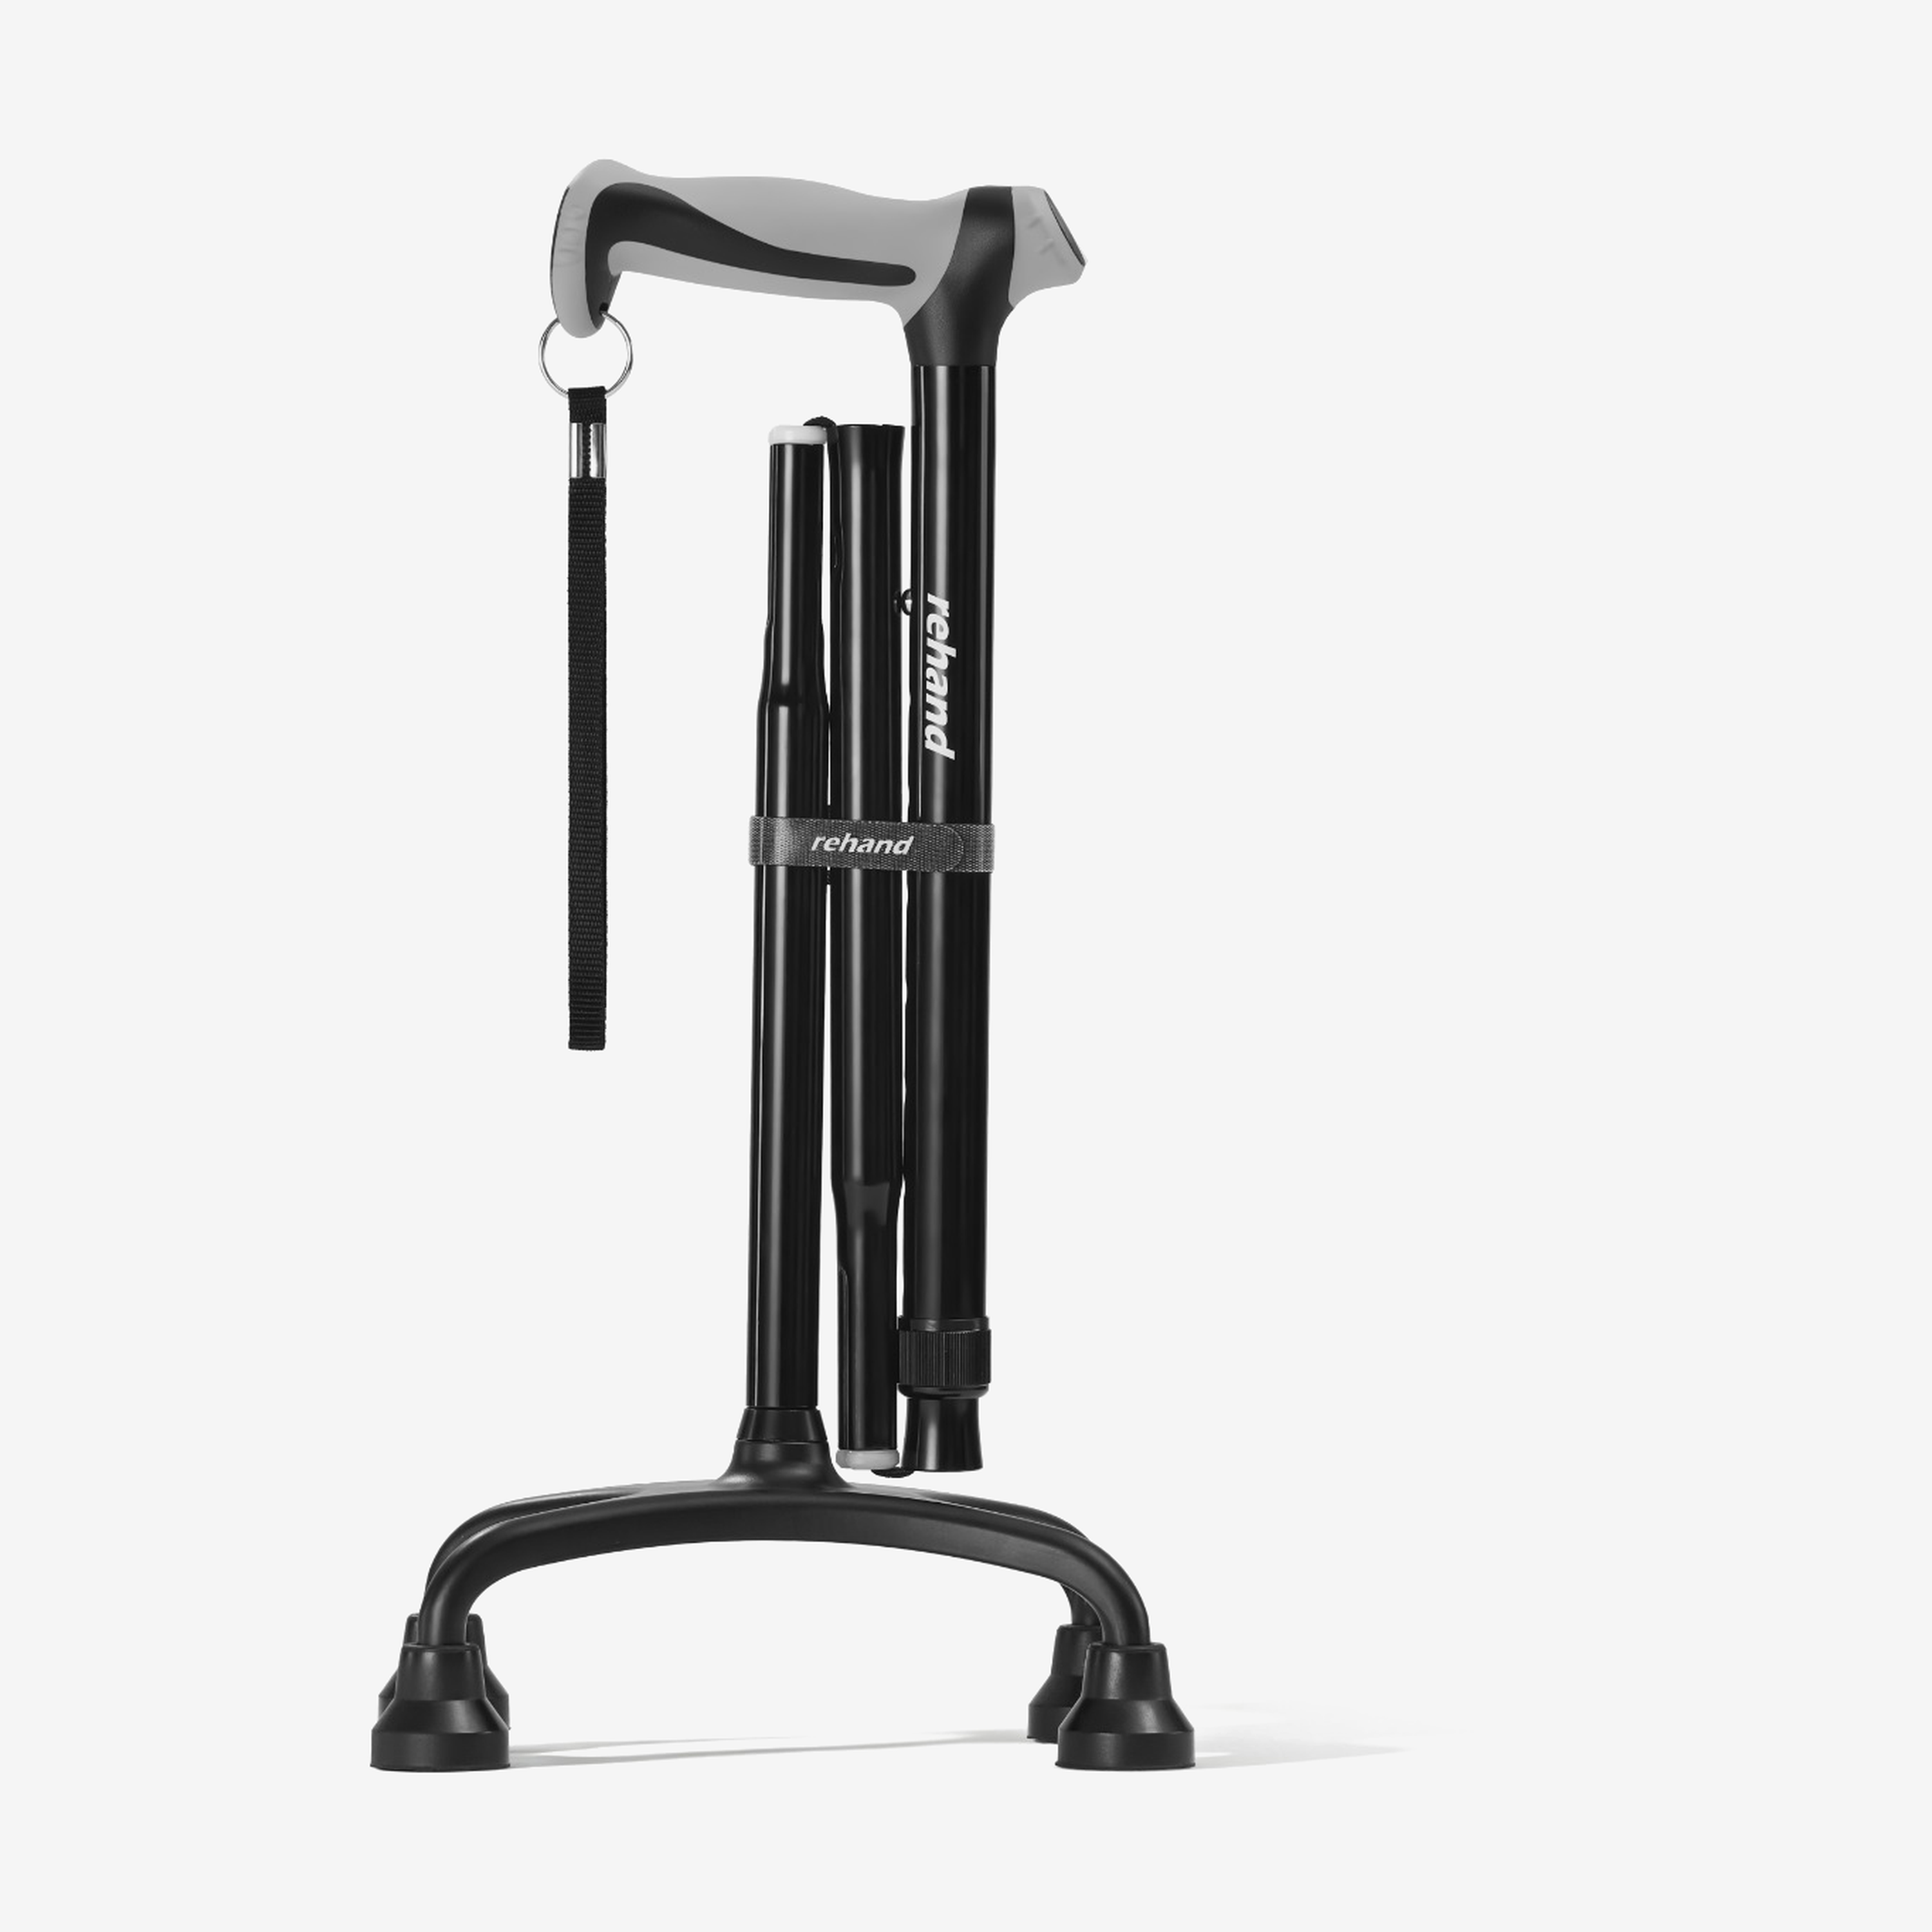
Set the cane on a clean, level floor. A single-point rubber tip should sit fully on its contact surface. A quad base should have all four tips contacting the floor in its intended orientation.
Inspect the tip for cracks, hardening, looseness, debris, or uneven wear. A worn tip can change the effective height slightly and may affect floor contact. Replace it with a compatible part according to the manufacturer’s instructions.
A listed weight capacity does not mean that a user may ignore prescribed weight-bearing restrictions. It also does not guarantee traction on every surface.
How to Measure an Existing Cane
If an existing cane already fits well, you can record its length before buying another model.
Place the cane upright on a level floor and measure from the bottom of the tip to the top surface of the handle where the hand rests. Handle shapes differ, so compare the manufacturer’s measuring instructions when moving between brands or styles.
Do not copy another person’s cane setting. Two people of the same overall height can have different arm proportions, posture, footwear, and mobility needs.
Why Height Charts Are Only Estimates
Some sellers estimate cane length from a person’s overall height. A height chart can help narrow a shopping range, but it should not replace a wrist measurement and fit check.
Research comparing cane-length estimation methods found that direct wrist-crease measurement was preferable to relying only on a person’s height. Individual body proportions create too much variation for a simple “half your height” rule to be exact for everyone.
Use a chart to identify candidate products, then confirm the actual handle height in your normal shoes.
Signs That the Cane May Be Too High
A cane may be set too high if you notice that you must:
-
raise or shrug the shoulder;
-
bend the elbow more than feels natural;
-
hold the wrist at an awkward angle;
-
move the cane farther away to clear the floor; or
-
change your normal posture to place the tip.
These observations do not prove that the cane caused pain or injury. They are reasons to stop, recheck the setup, inspect the device, and seek professional input if symptoms persist.
Signs That the Cane May Be Too Low
A cane may be set too low if you must:
-
reach down for the handle;
-
lean the trunk forward or sideways;
-
straighten the elbow completely while bearing down; or
-
place the cane unusually far from the body.
Again, do not diagnose the cause of pain from cane height alone. New pain, numbness, weakness, or balance changes deserve appropriate medical assessment.
Common Measuring Mistakes
Measuring without normal shoes
The selected setting may not match real walking conditions. Measure in the footwear you actually use.
Looking down at the tape
This changes head and trunk position. Let another person read the measurement when possible.
Using overall height as the final answer
Overall height is an estimate. Arm length and posture vary.
Copying a setting from another cane
Different handle shapes, tips, and measurement conventions can produce different usable heights.
Failing to lock the adjustment button
The correct measurement is not enough if the shaft is not mechanically secured.
Ignoring tip wear
Inspect the contact surface and replace damaged compatible parts.
Treating an eight-level cane as stepless
Defined holes create defined settings. Use accurate product language and select the closest appropriate setting within the manual’s instructions.
When to Measure Again
Recheck cane height when:
-
you change to shoes with a meaningfully different sole or heel;
-
you replace the rubber tip with a different compatible design;
-
your posture, strength, balance, or walking pattern changes;
-
you move to a different cane model or handle style;
-
the cane has been folded, adjusted, repaired, or handled roughly; or
-
a clinician updates your mobility or weight-bearing instructions.
Before a trip, combine the fit check with the folding cane travel checklist.
How This Guide and the Rehand Fit Guide Work Together
This article explains the measuring process, error checks, and reasons to remeasure. The Rehand Fit Guide is the faster path for comparing available mobility-aid categories and current product fit ranges.
If you are shopping for a specific model, verify that your measured handle height falls within its stated adjustment range. The current Rehand Foldable Walking Cane offers eight settings from 31 to 38 inches and is listed for users from 5 feet to 6 feet 5 inches. Direct wrist measurement should still take priority over a broad user-height label.
Review the Rehand walking cane collection for current models, then check the exact user manual before adjustment.
Frequently Asked Questions
How tall should a walking cane be?
With your arm relaxed at your side, the top of the handle should generally be around the crease of your wrist. When you grip it, your elbow should remain slightly bent and your shoulder relaxed.
Should I measure a cane with shoes on?
Yes. Wear the shoes you normally use for walking because sole and heel height affect the measurement.
Is cane height exactly half of my body height?
Not necessarily. “Half your height” is only an estimate. Direct measurement from the floor to the wrist crease better reflects individual proportions.
What if my measurement falls between two settings?
Follow the model’s manual and ask a clinician to confirm the closest appropriate setting if the fit is uncertain. Do not drill new holes or modify the shaft unless the manufacturer specifically authorizes it.
Can the wrong cane height cause back pain?
An unsuitable setup can change posture and how a person handles the cane, but back pain has many possible causes. This guide does not establish that cane height caused or will prevent pain. Recheck the fit and seek medical assessment for persistent or severe symptoms.
Which hand should hold the cane?
Clinical guidance commonly instructs users to hold a cane in the hand opposite the side that needs support. Individual instructions can differ, particularly after surgery or with neurological conditions, so follow the gait pattern taught by your clinician.
The Bottom Line
Use wrist-crease height as a practical starting point: normal shoes on, arm relaxed, shoulder level, and elbow slightly bent. Then confirm the adjustment mechanism and tip are secure. Recheck the fit when footwear, device parts, posture, or mobility instructions change.
Next step: Record your wrist-crease measurement, compare it with the named model’s actual adjustment range, and ask a qualified professional to confirm the device and gait pattern when your needs are complex.
Verifiable Sources
-
Mayo Clinic, “Tips for choosing and using canes,” updated July 30, 2026, accessed August 25, 2026: https://www.mayoclinic.org/healthy-lifestyle/healthy-aging/in-depth/canes/art-20548206
-
American Academy of Orthopaedic Surgeons, “How To Use Crutches, Canes, and Walkers,” accessed August 25, 2026: https://orthoinfo.aaos.org/en/recovery/how-to-use-crutches-canes-and-walkers/
-
Cleveland Clinic, “How To Use a Cane,” accessed August 25, 2026: https://my.clevelandclinic.org/health/procedures/how-to-use-a-cane
-
Kumar R, Roe MC, Scremin OU. “Methods for estimating the proper length of a cane.” Archives of Physical Medicine and Rehabilitation. 1995;76(2):117–122: https://pubmed.ncbi.nlm.nih.gov/8540797/
-
Rehand Fit Guide, accessed August 25, 2026: https://rehand.com/pages/fit-guide
-
Rehand Foldable Walking Cane, current PDP accessed August 25, 2026: https://rehand.com/products/rehand-walking-cane

